I-Cord Bind-Off
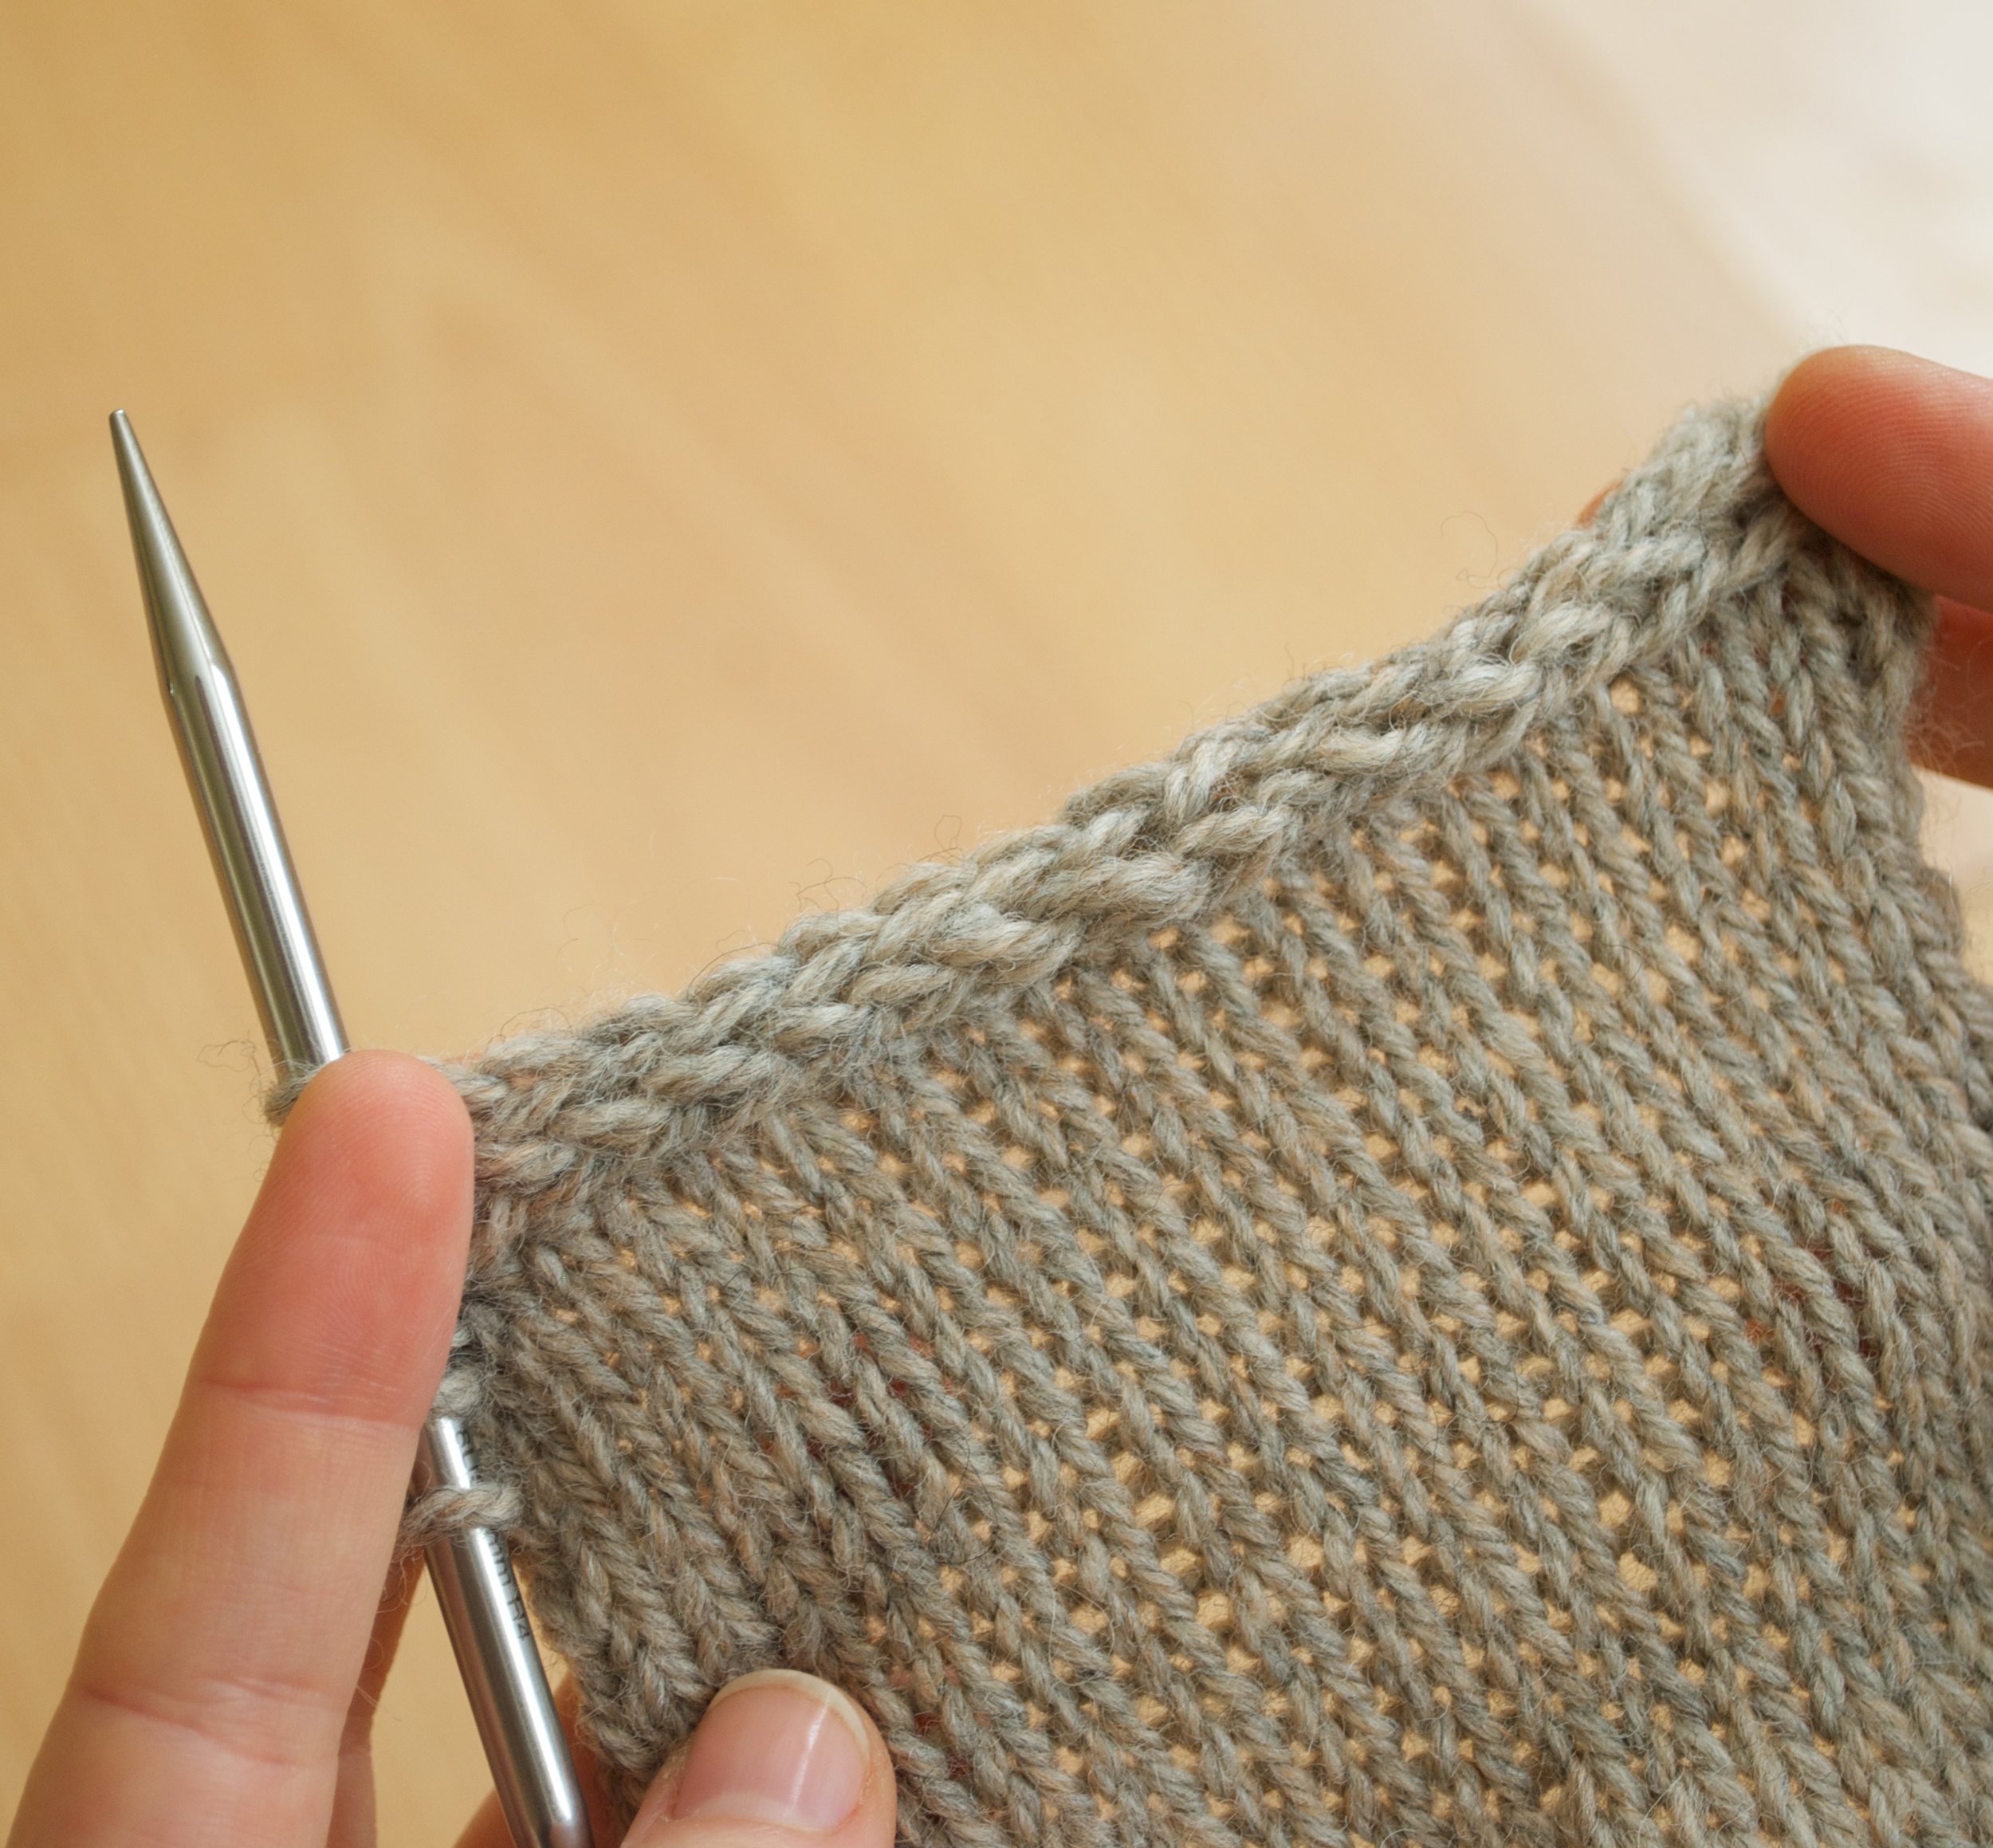
An I-Cord Bind Off creates a beautiful, clean edge. It takes more yarn and time than a traditional bind off, so plan accordingly. It looks different when worked with the RS of your fabric facing than it does when worked with the WS of your fabric facing. Neither is inherently better, so follow your pattern or try both to see which you prefer. This tutorial shows the bind-off worked with the RS of the fabric facing.
In this tutorial I created a small I-Cord by casting on three stitches after working my last row. I-Cord can be worked with more stitches as well for a larger cord - 4 is a common number.
Cable Cast On
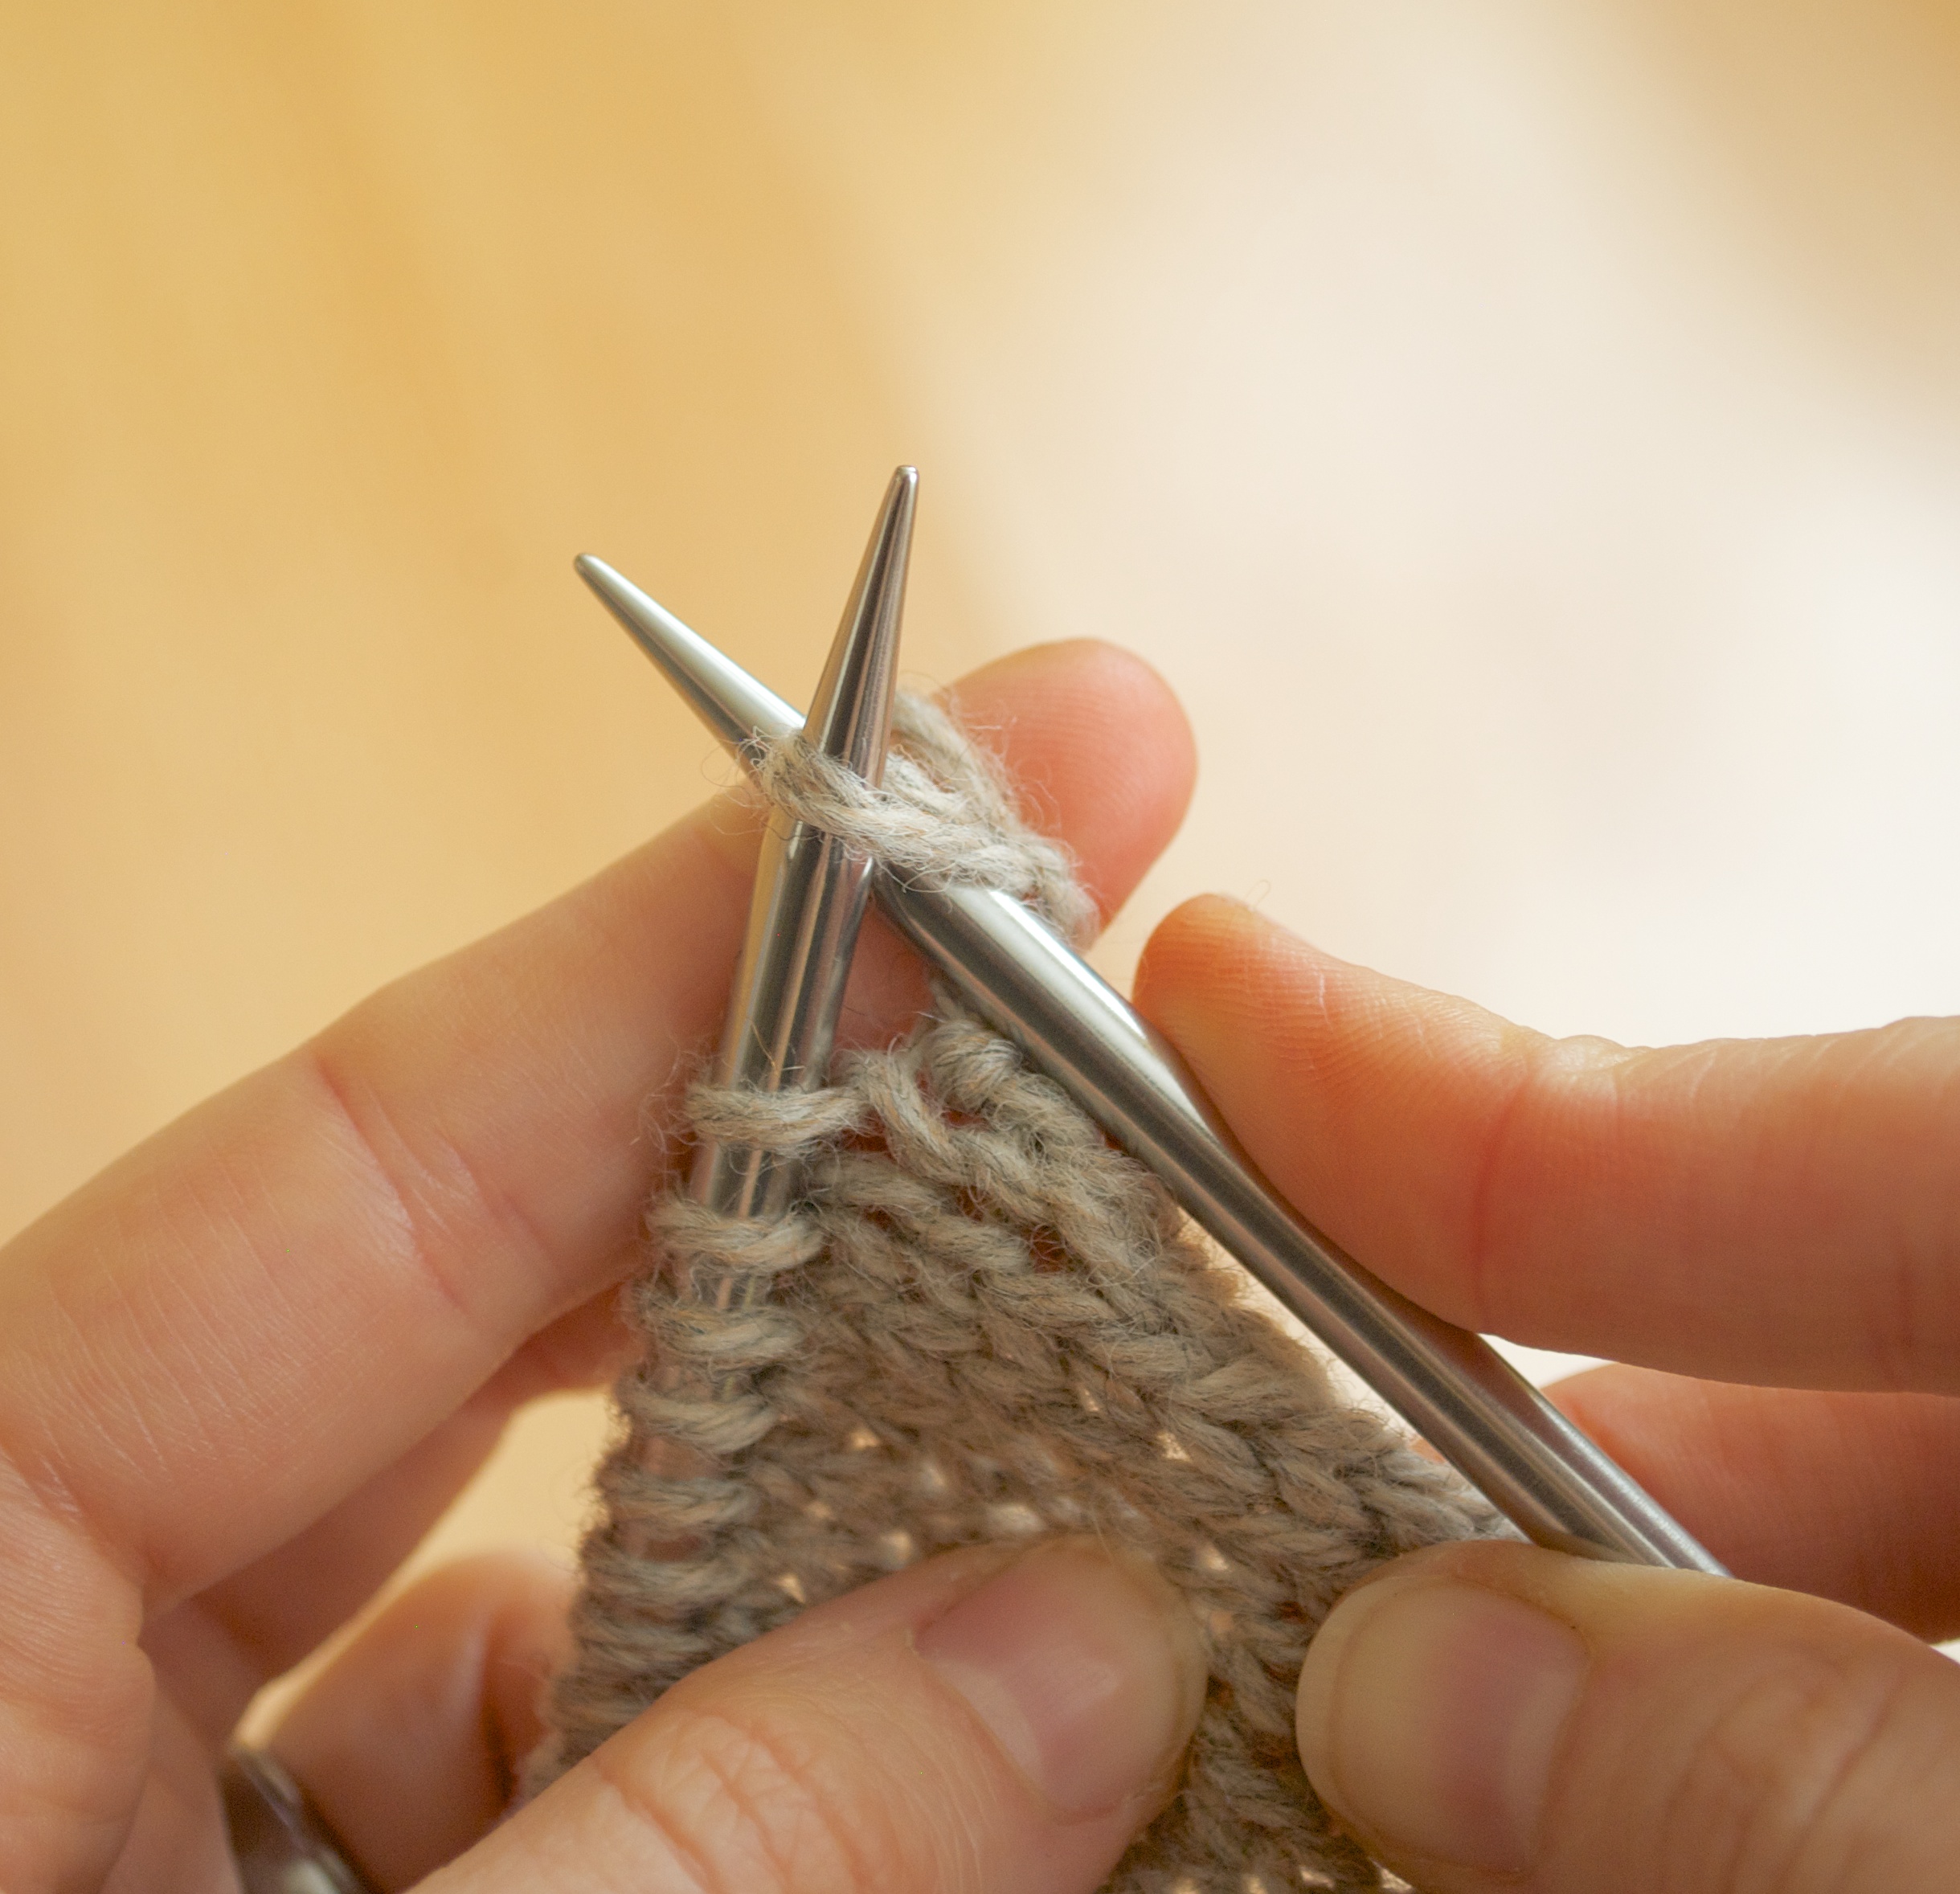
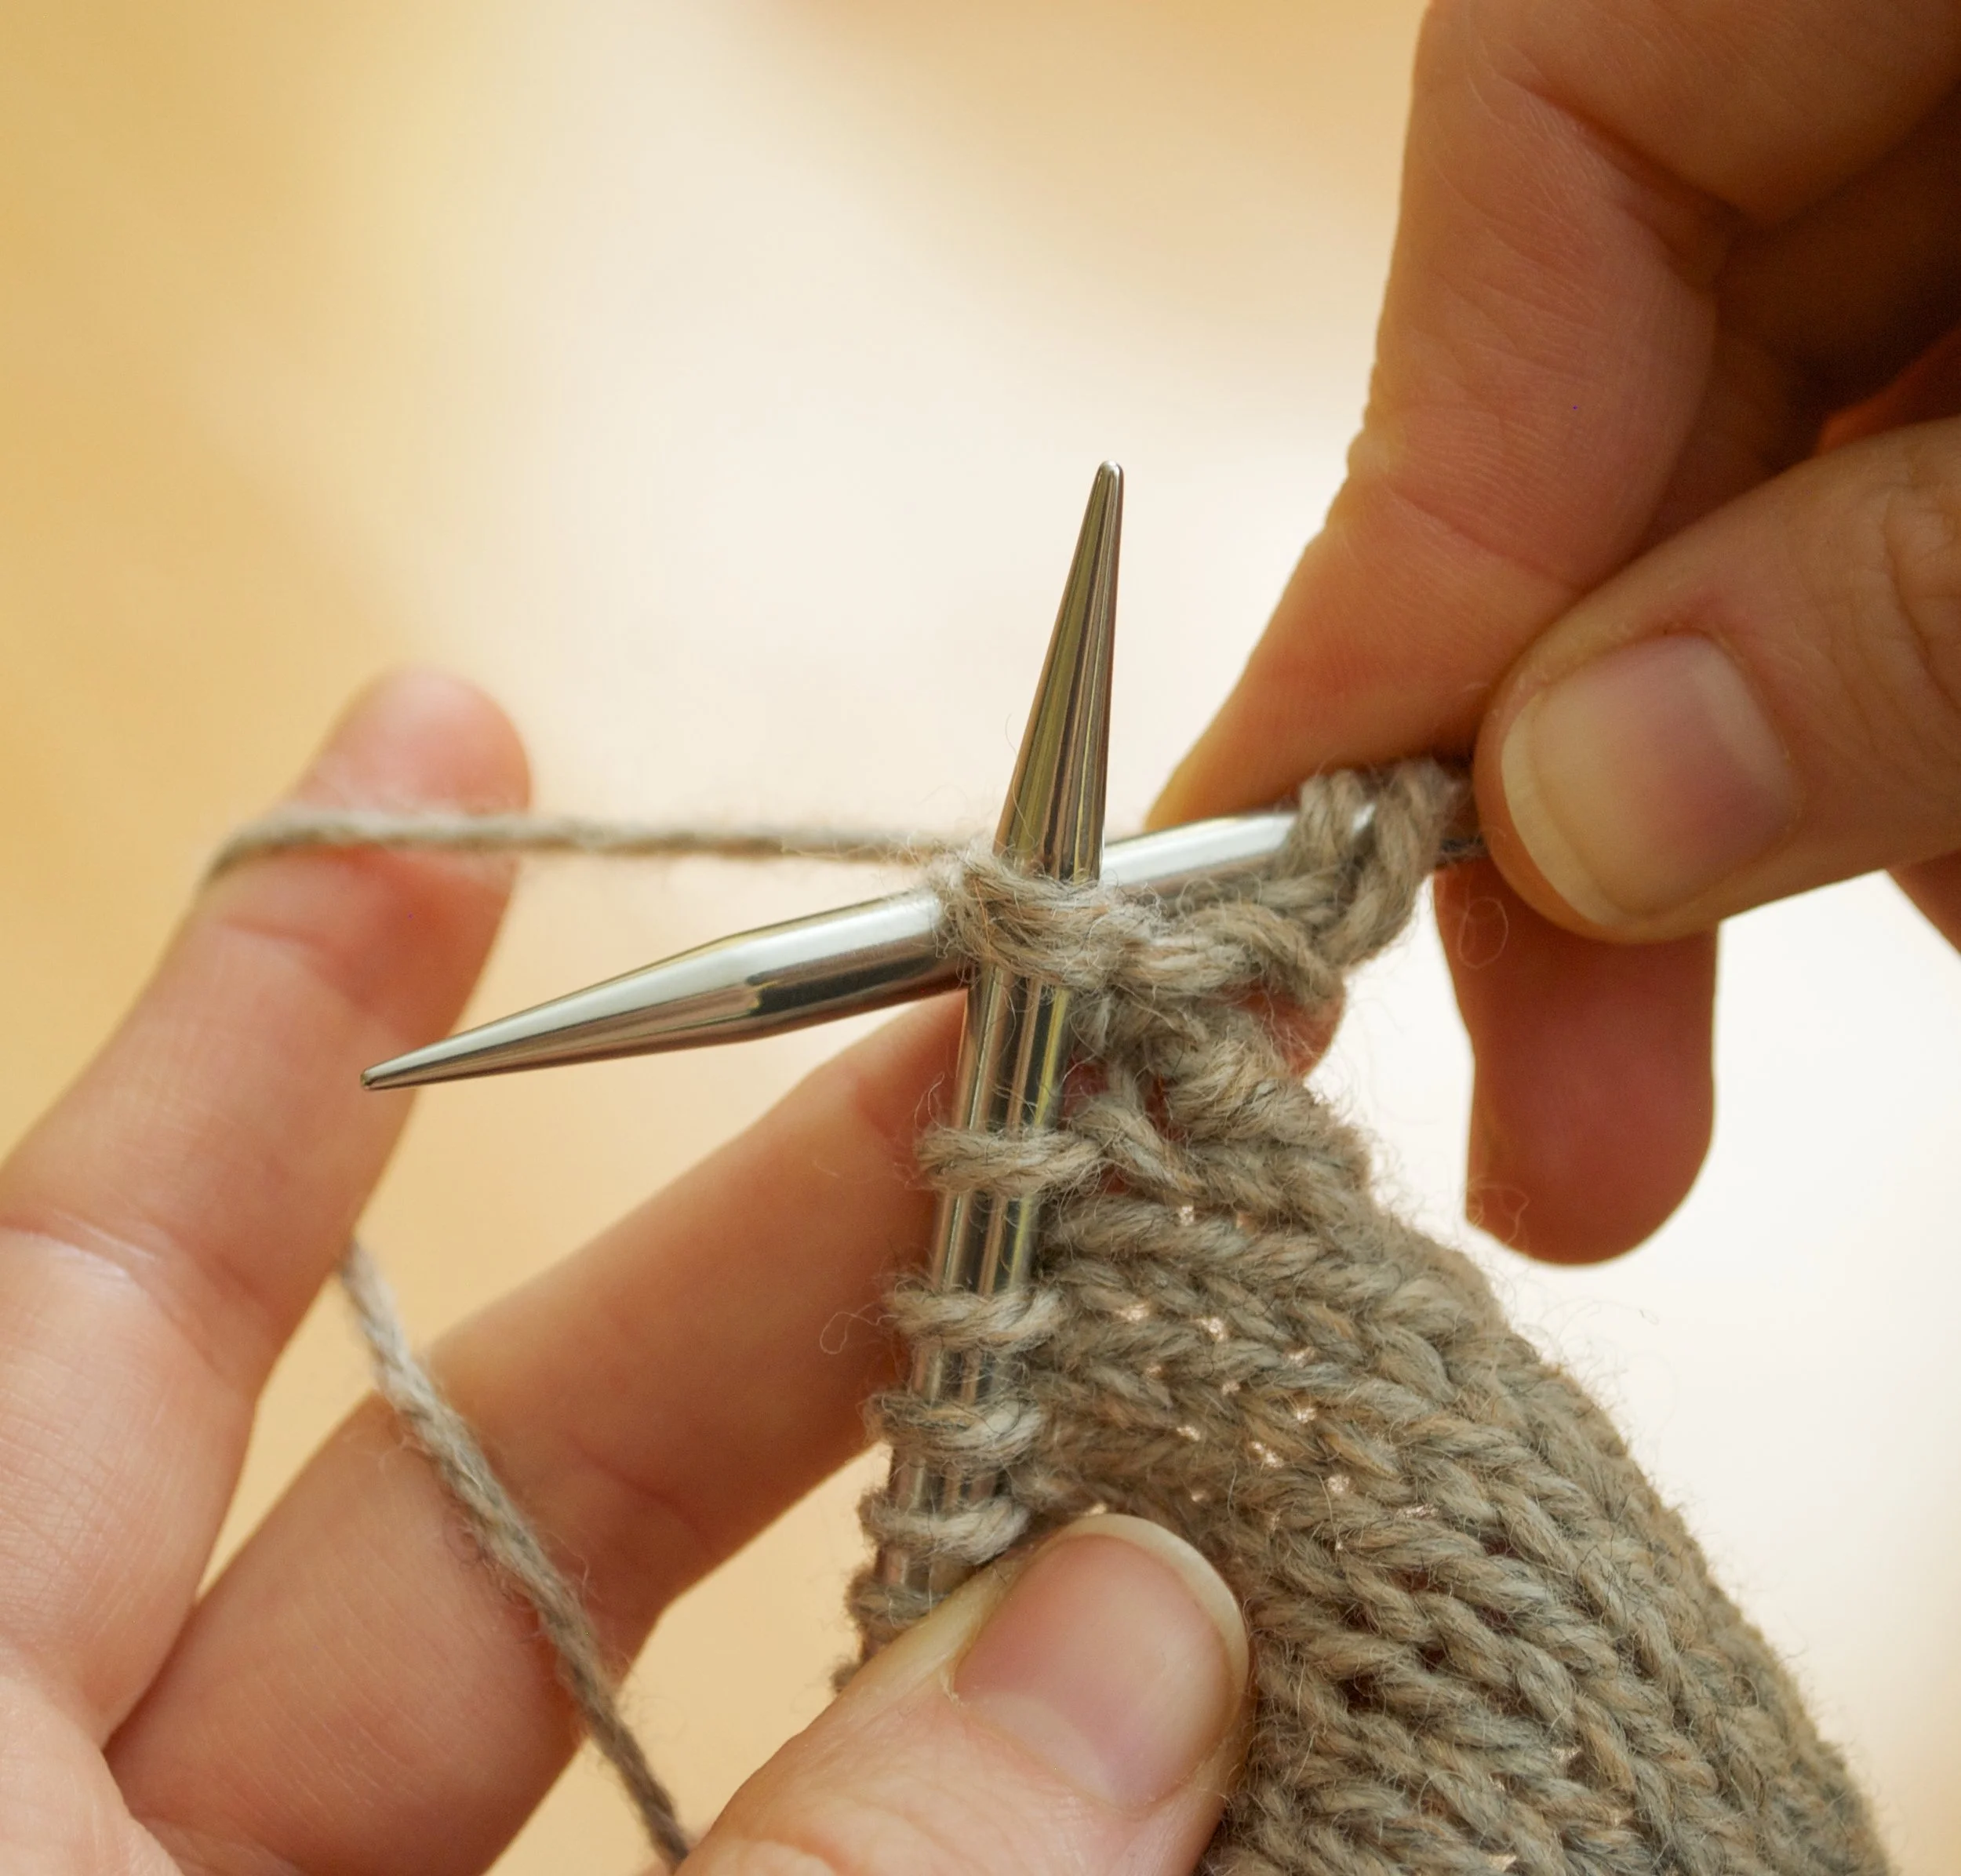
1. Insert right hand needle between rst and second stitches.
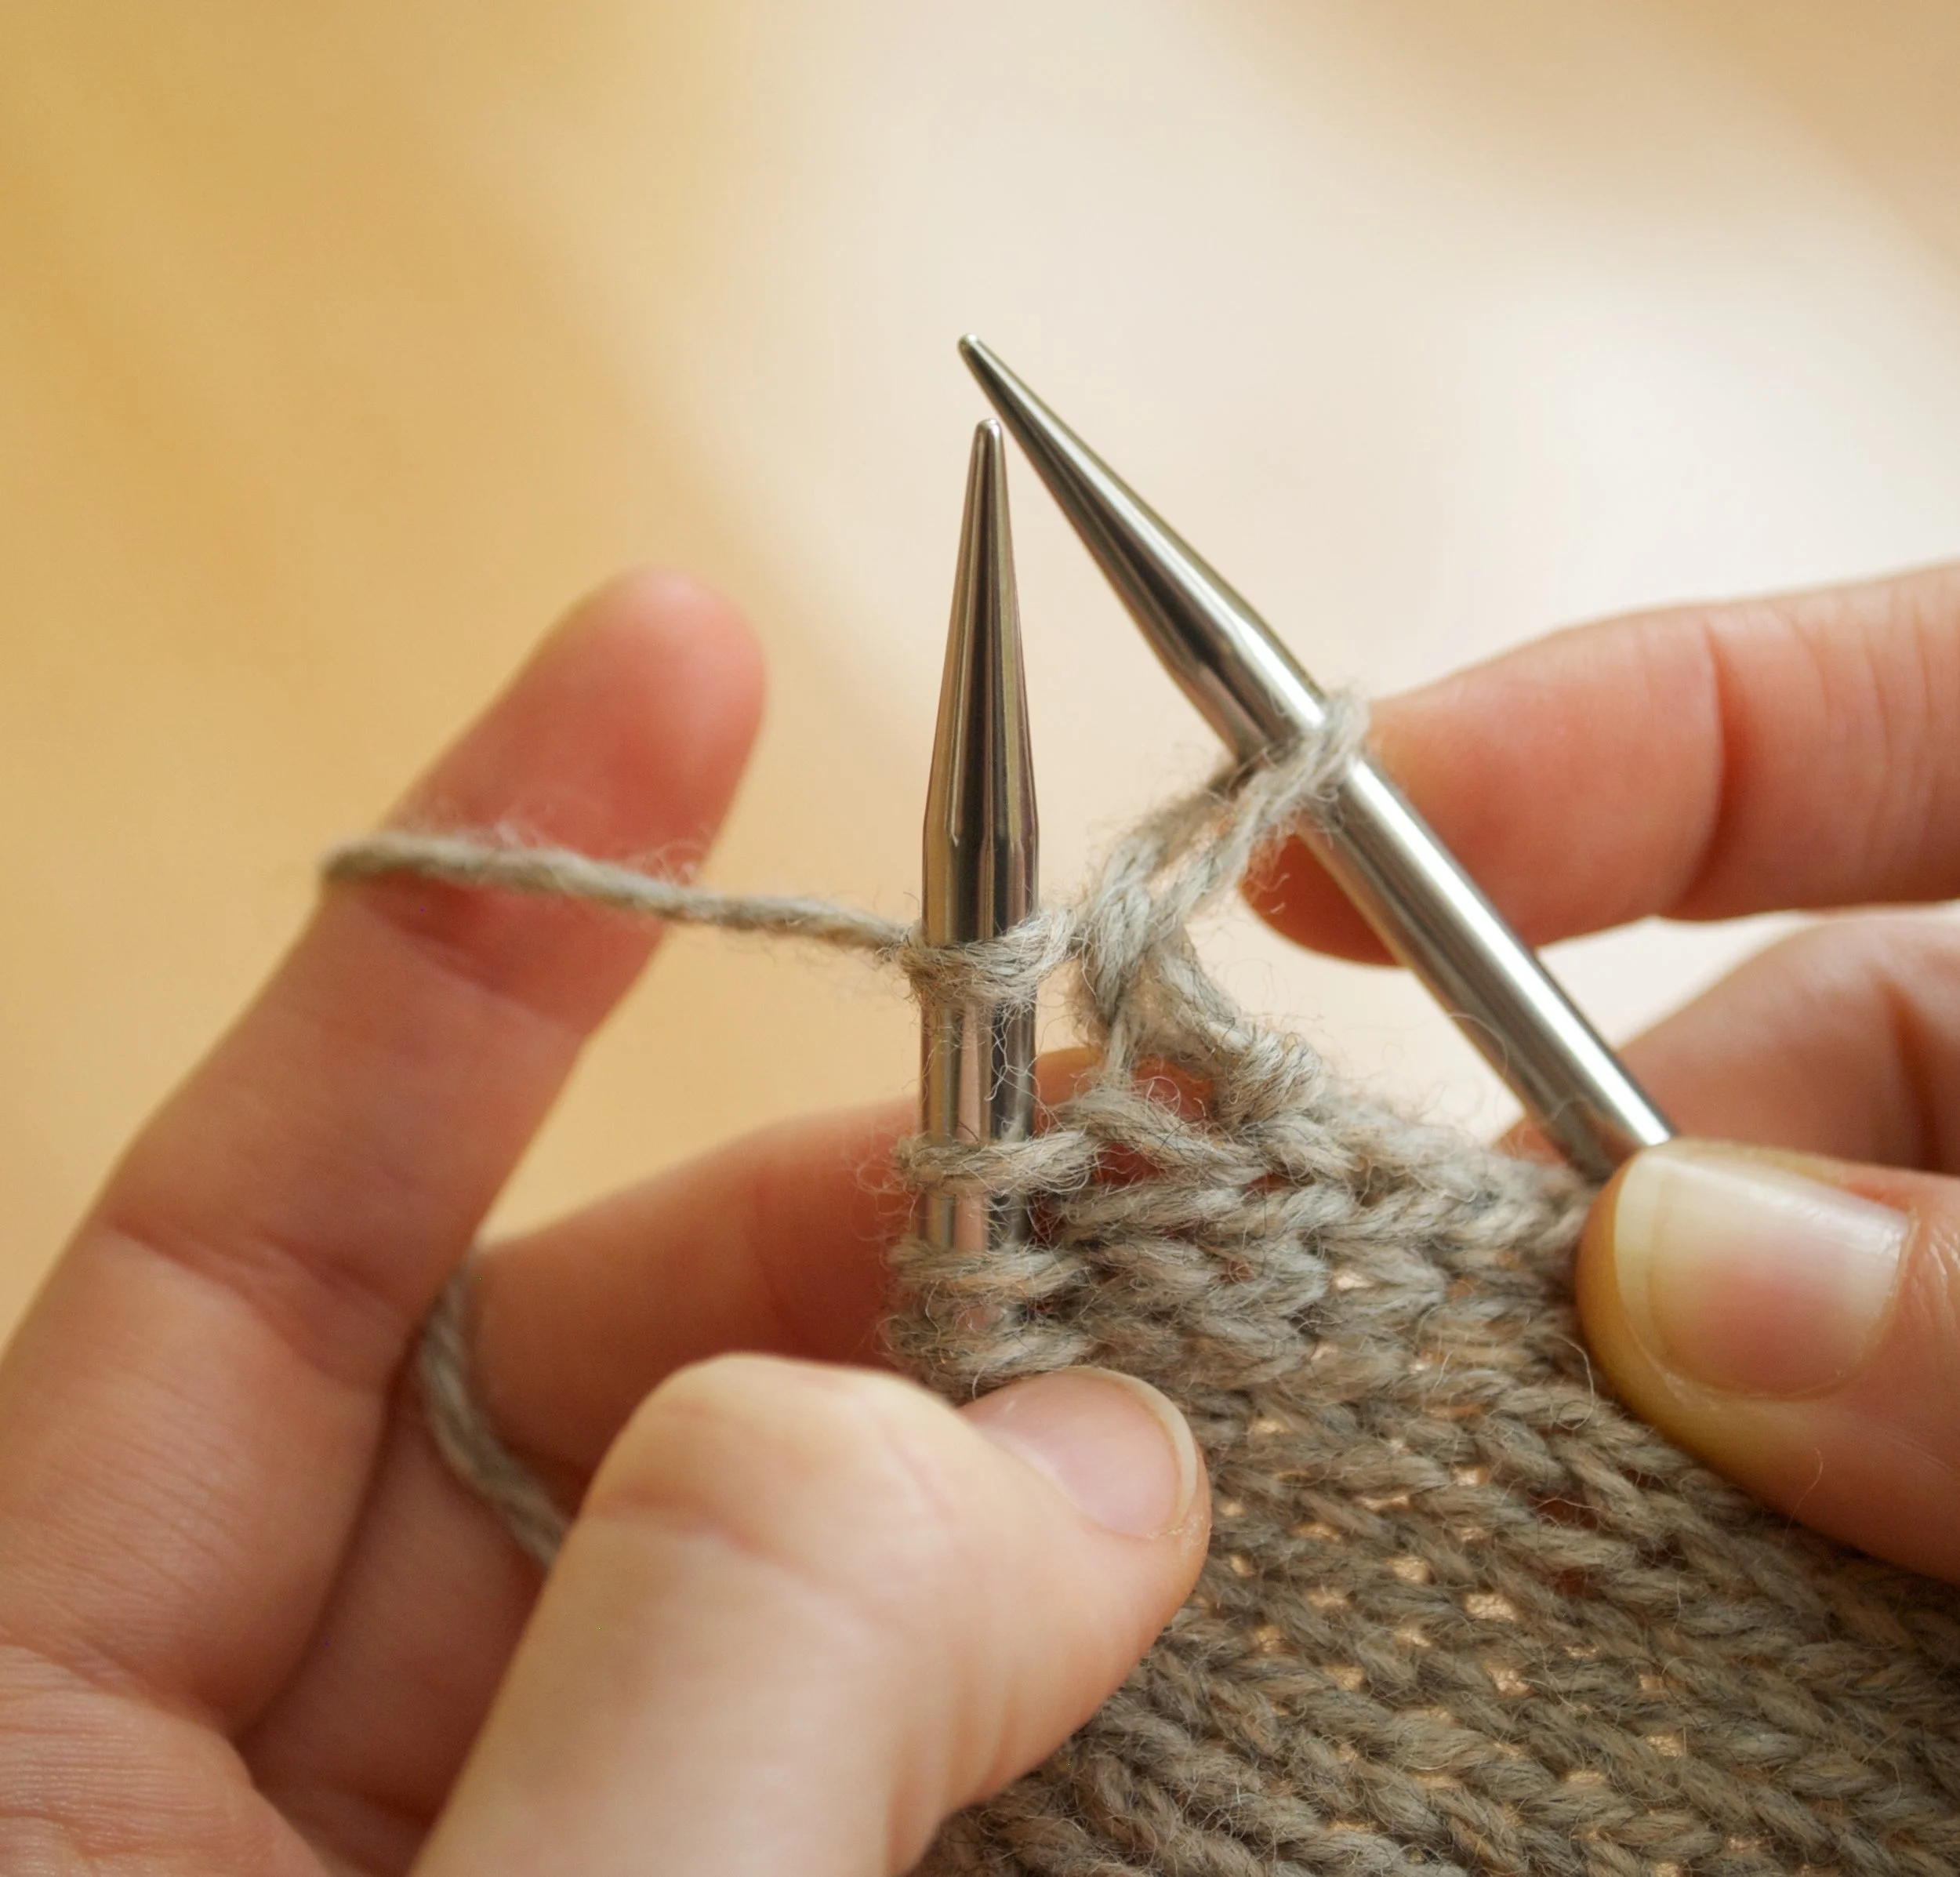
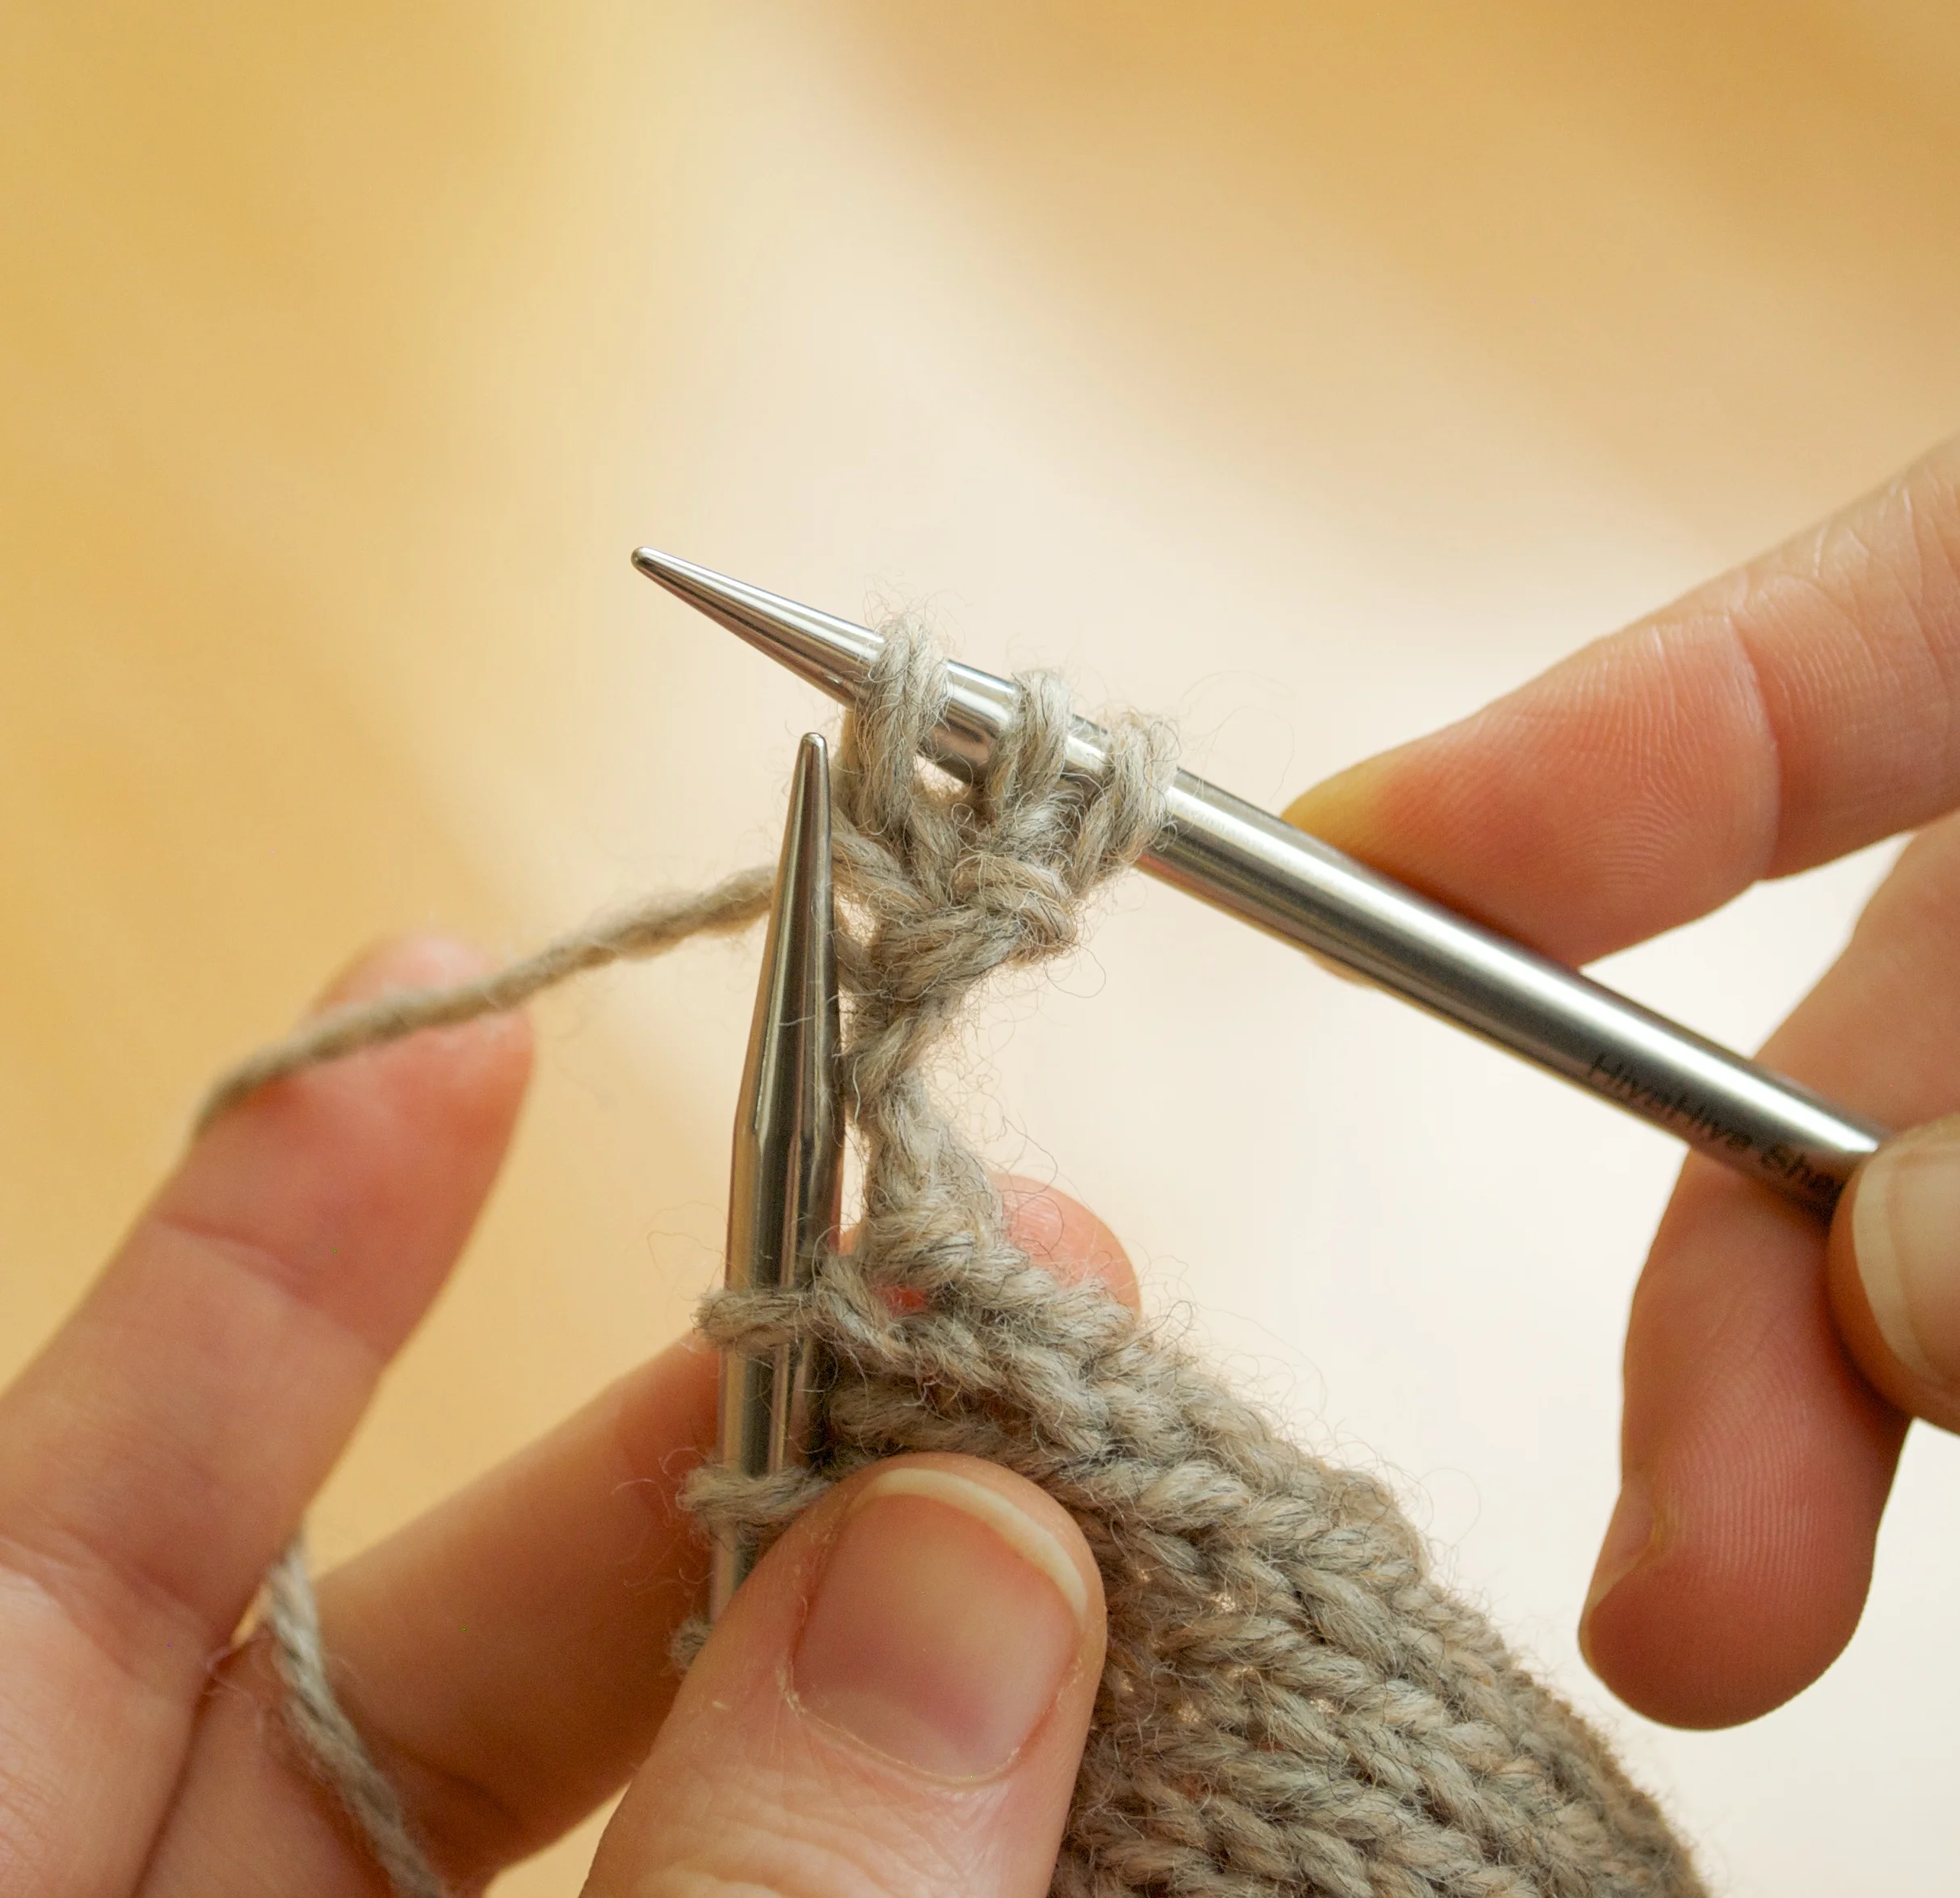
2. Wrap working yarn and draw through so that you have a new stitch on right hand needle.
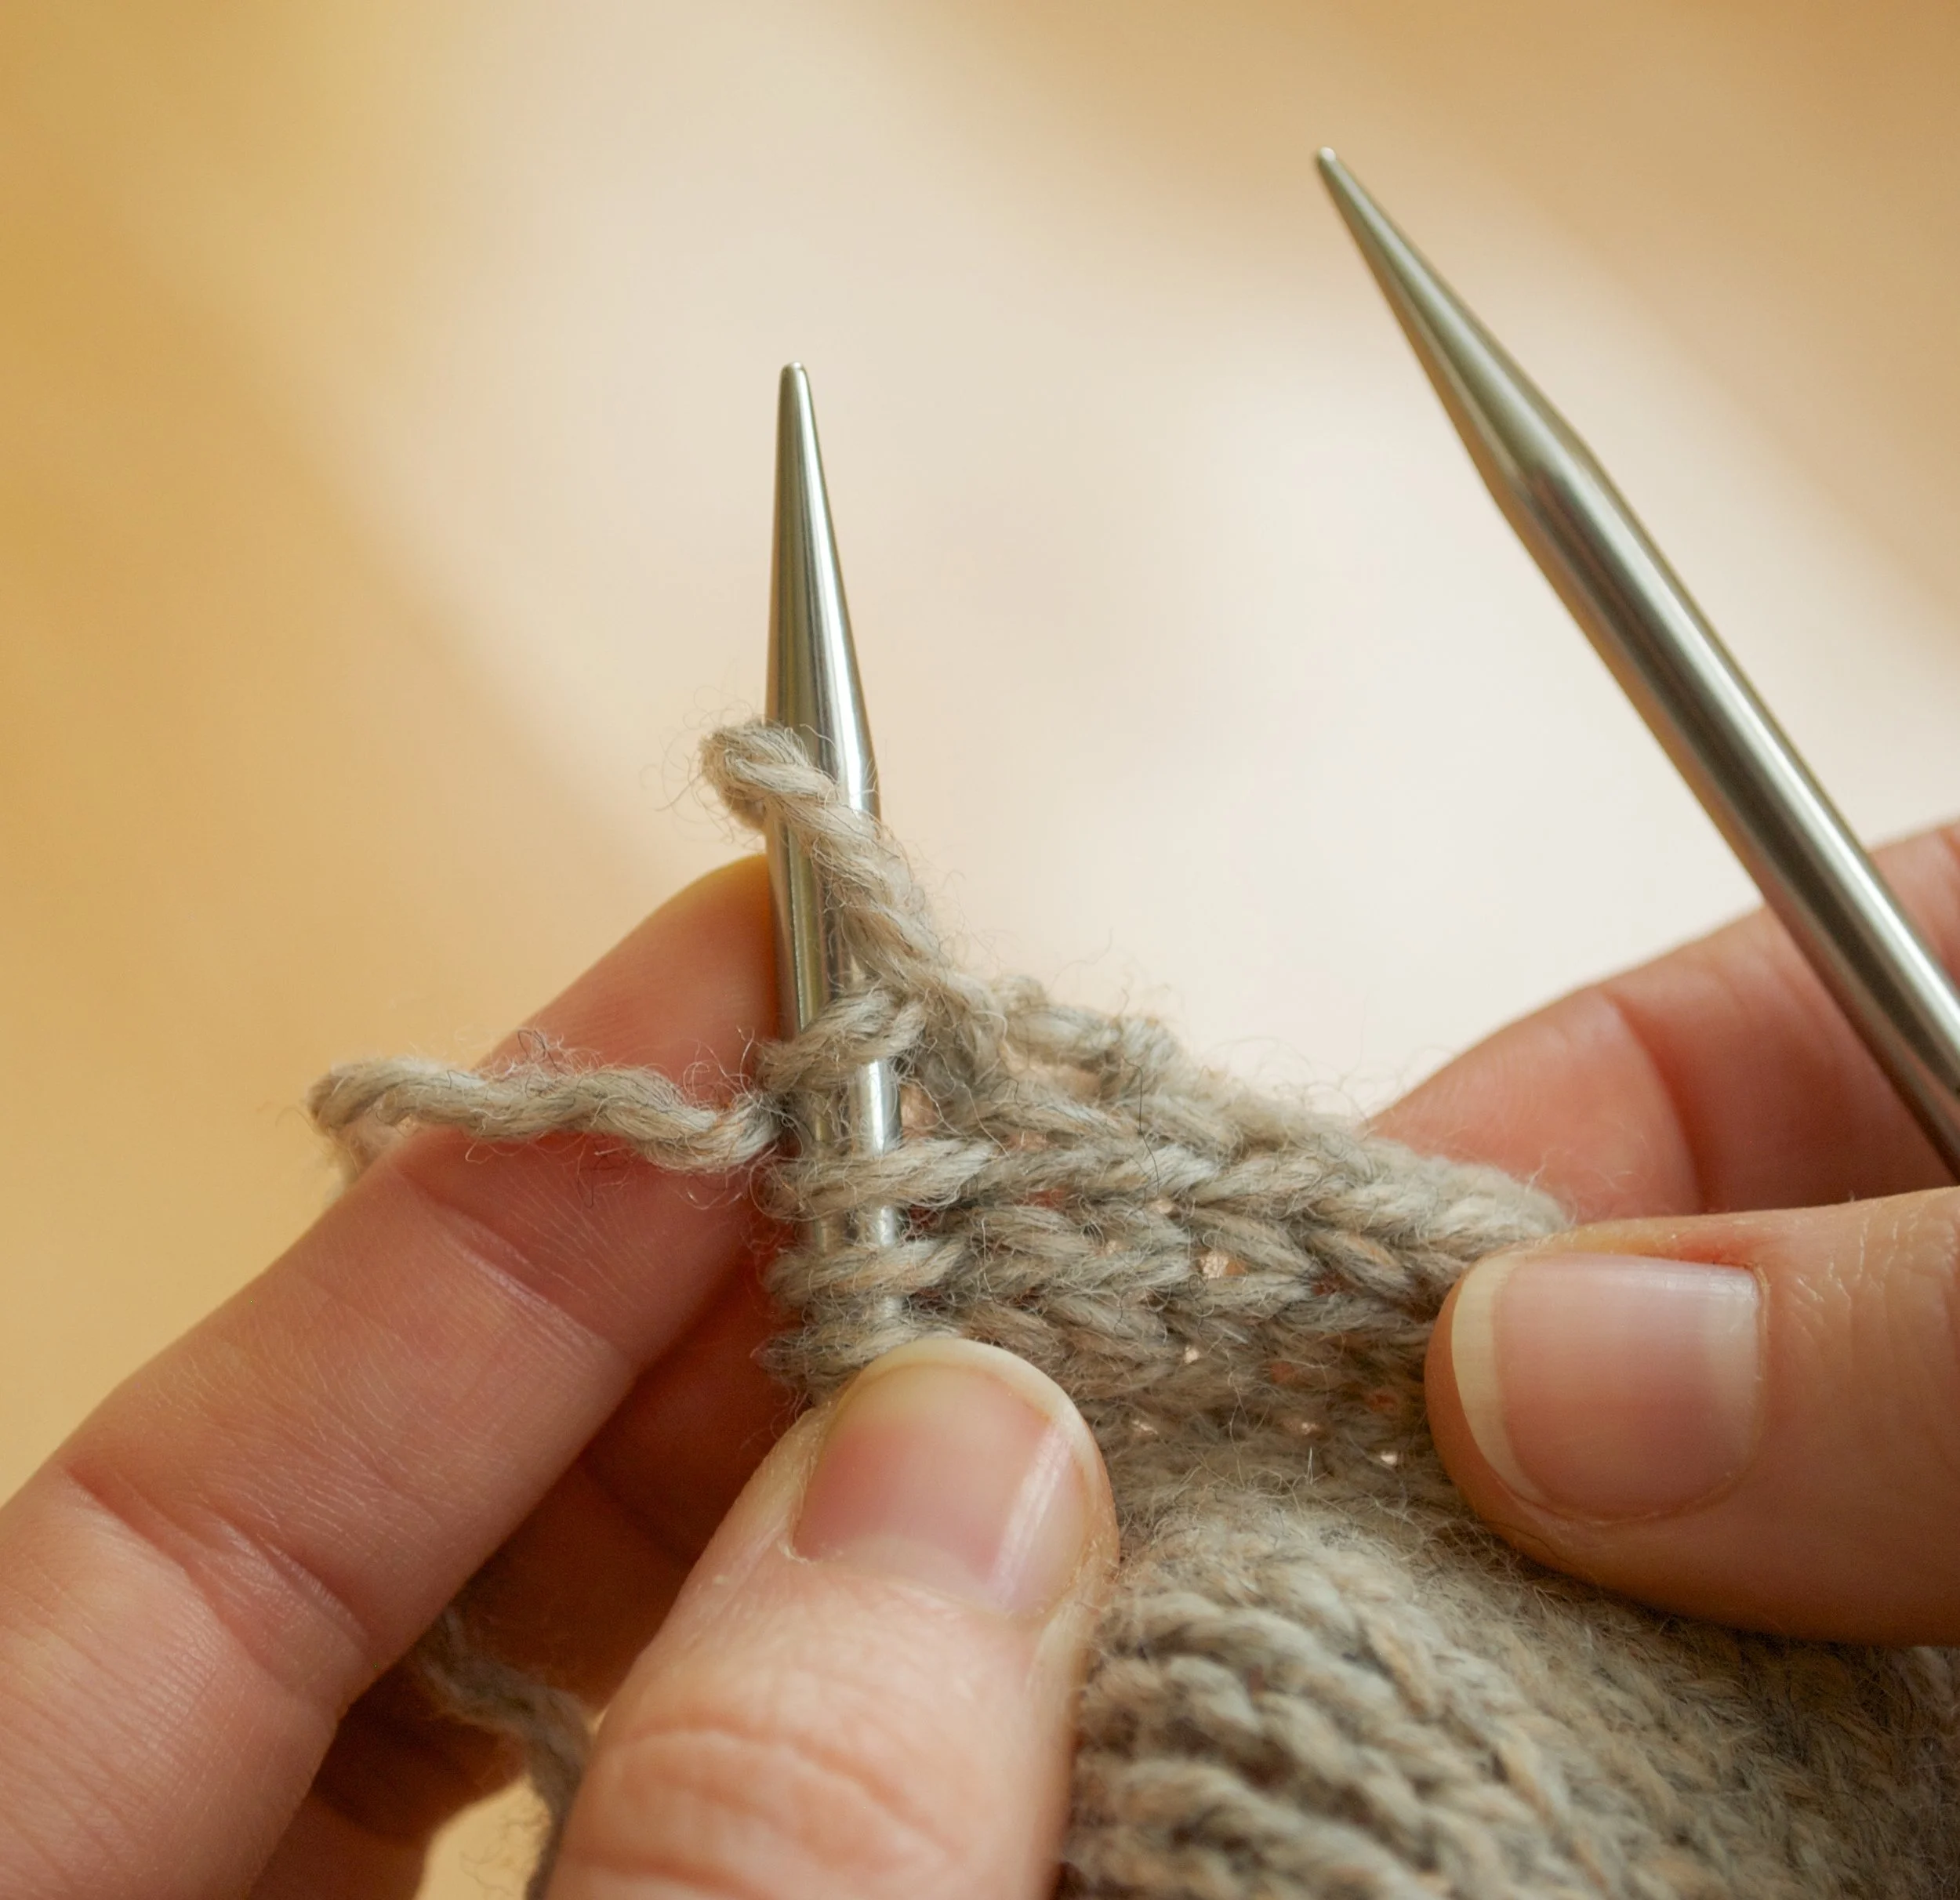
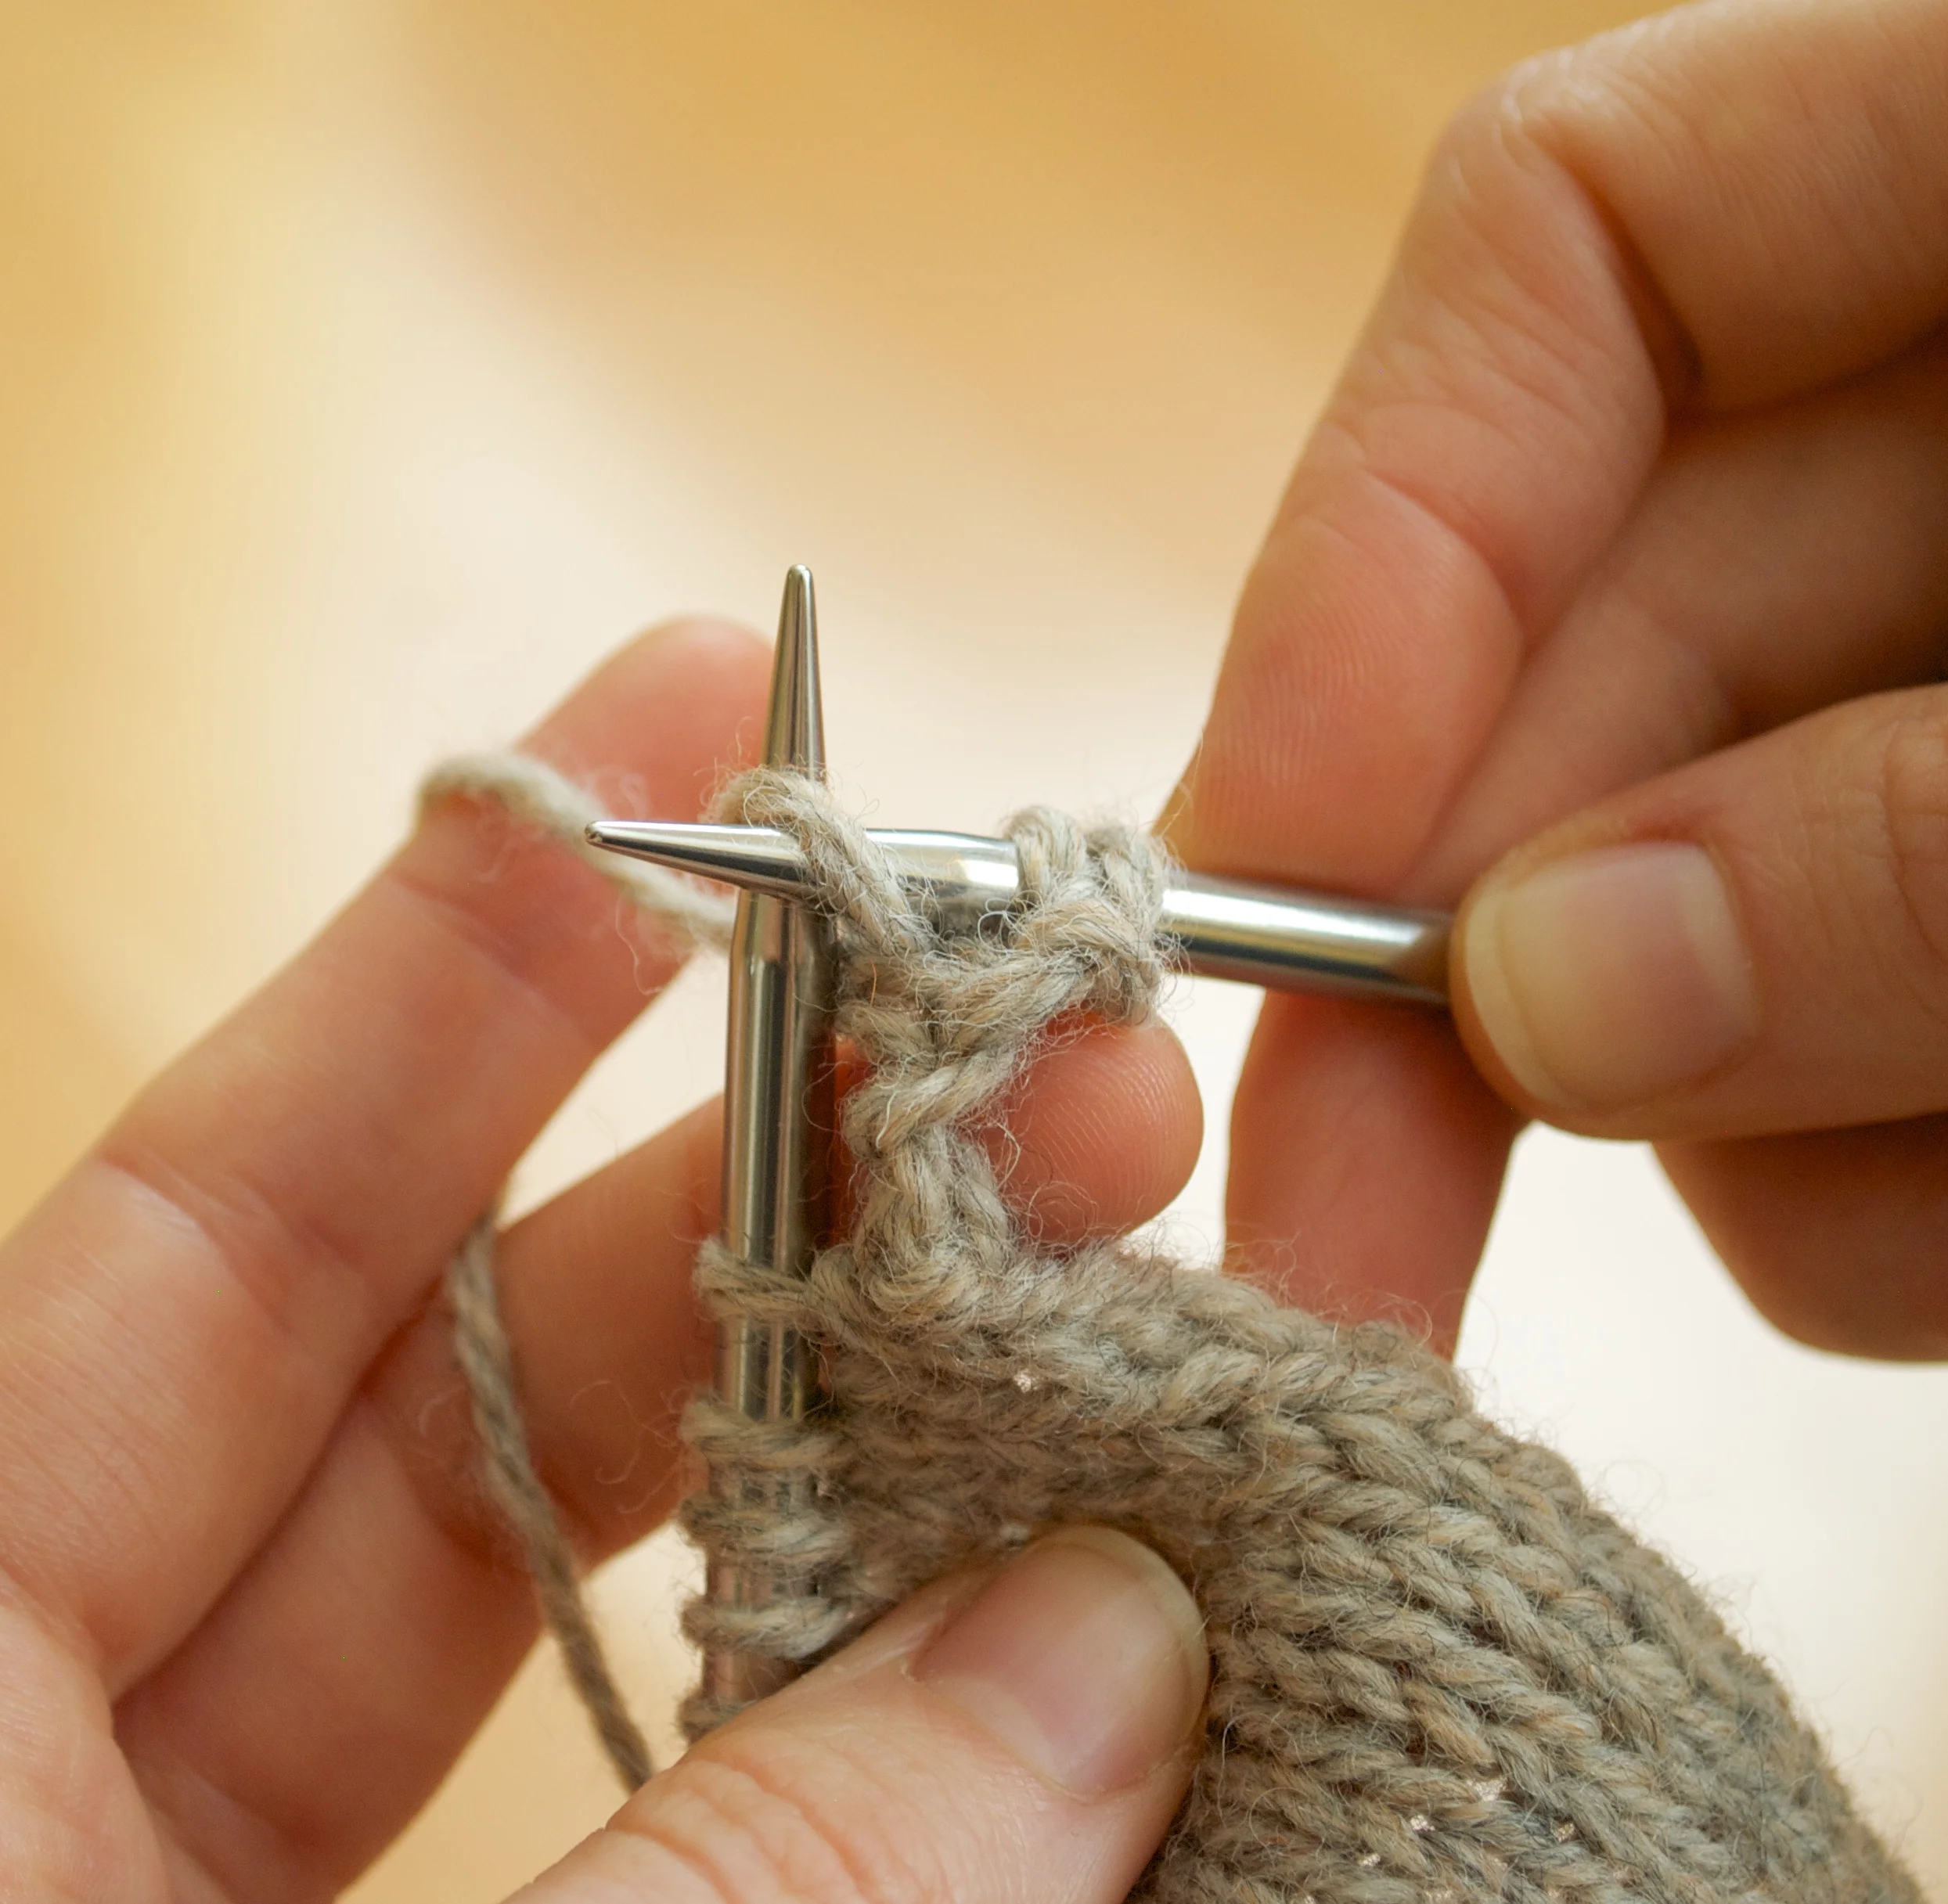
3. Place the new stitch onto the left hand needle.
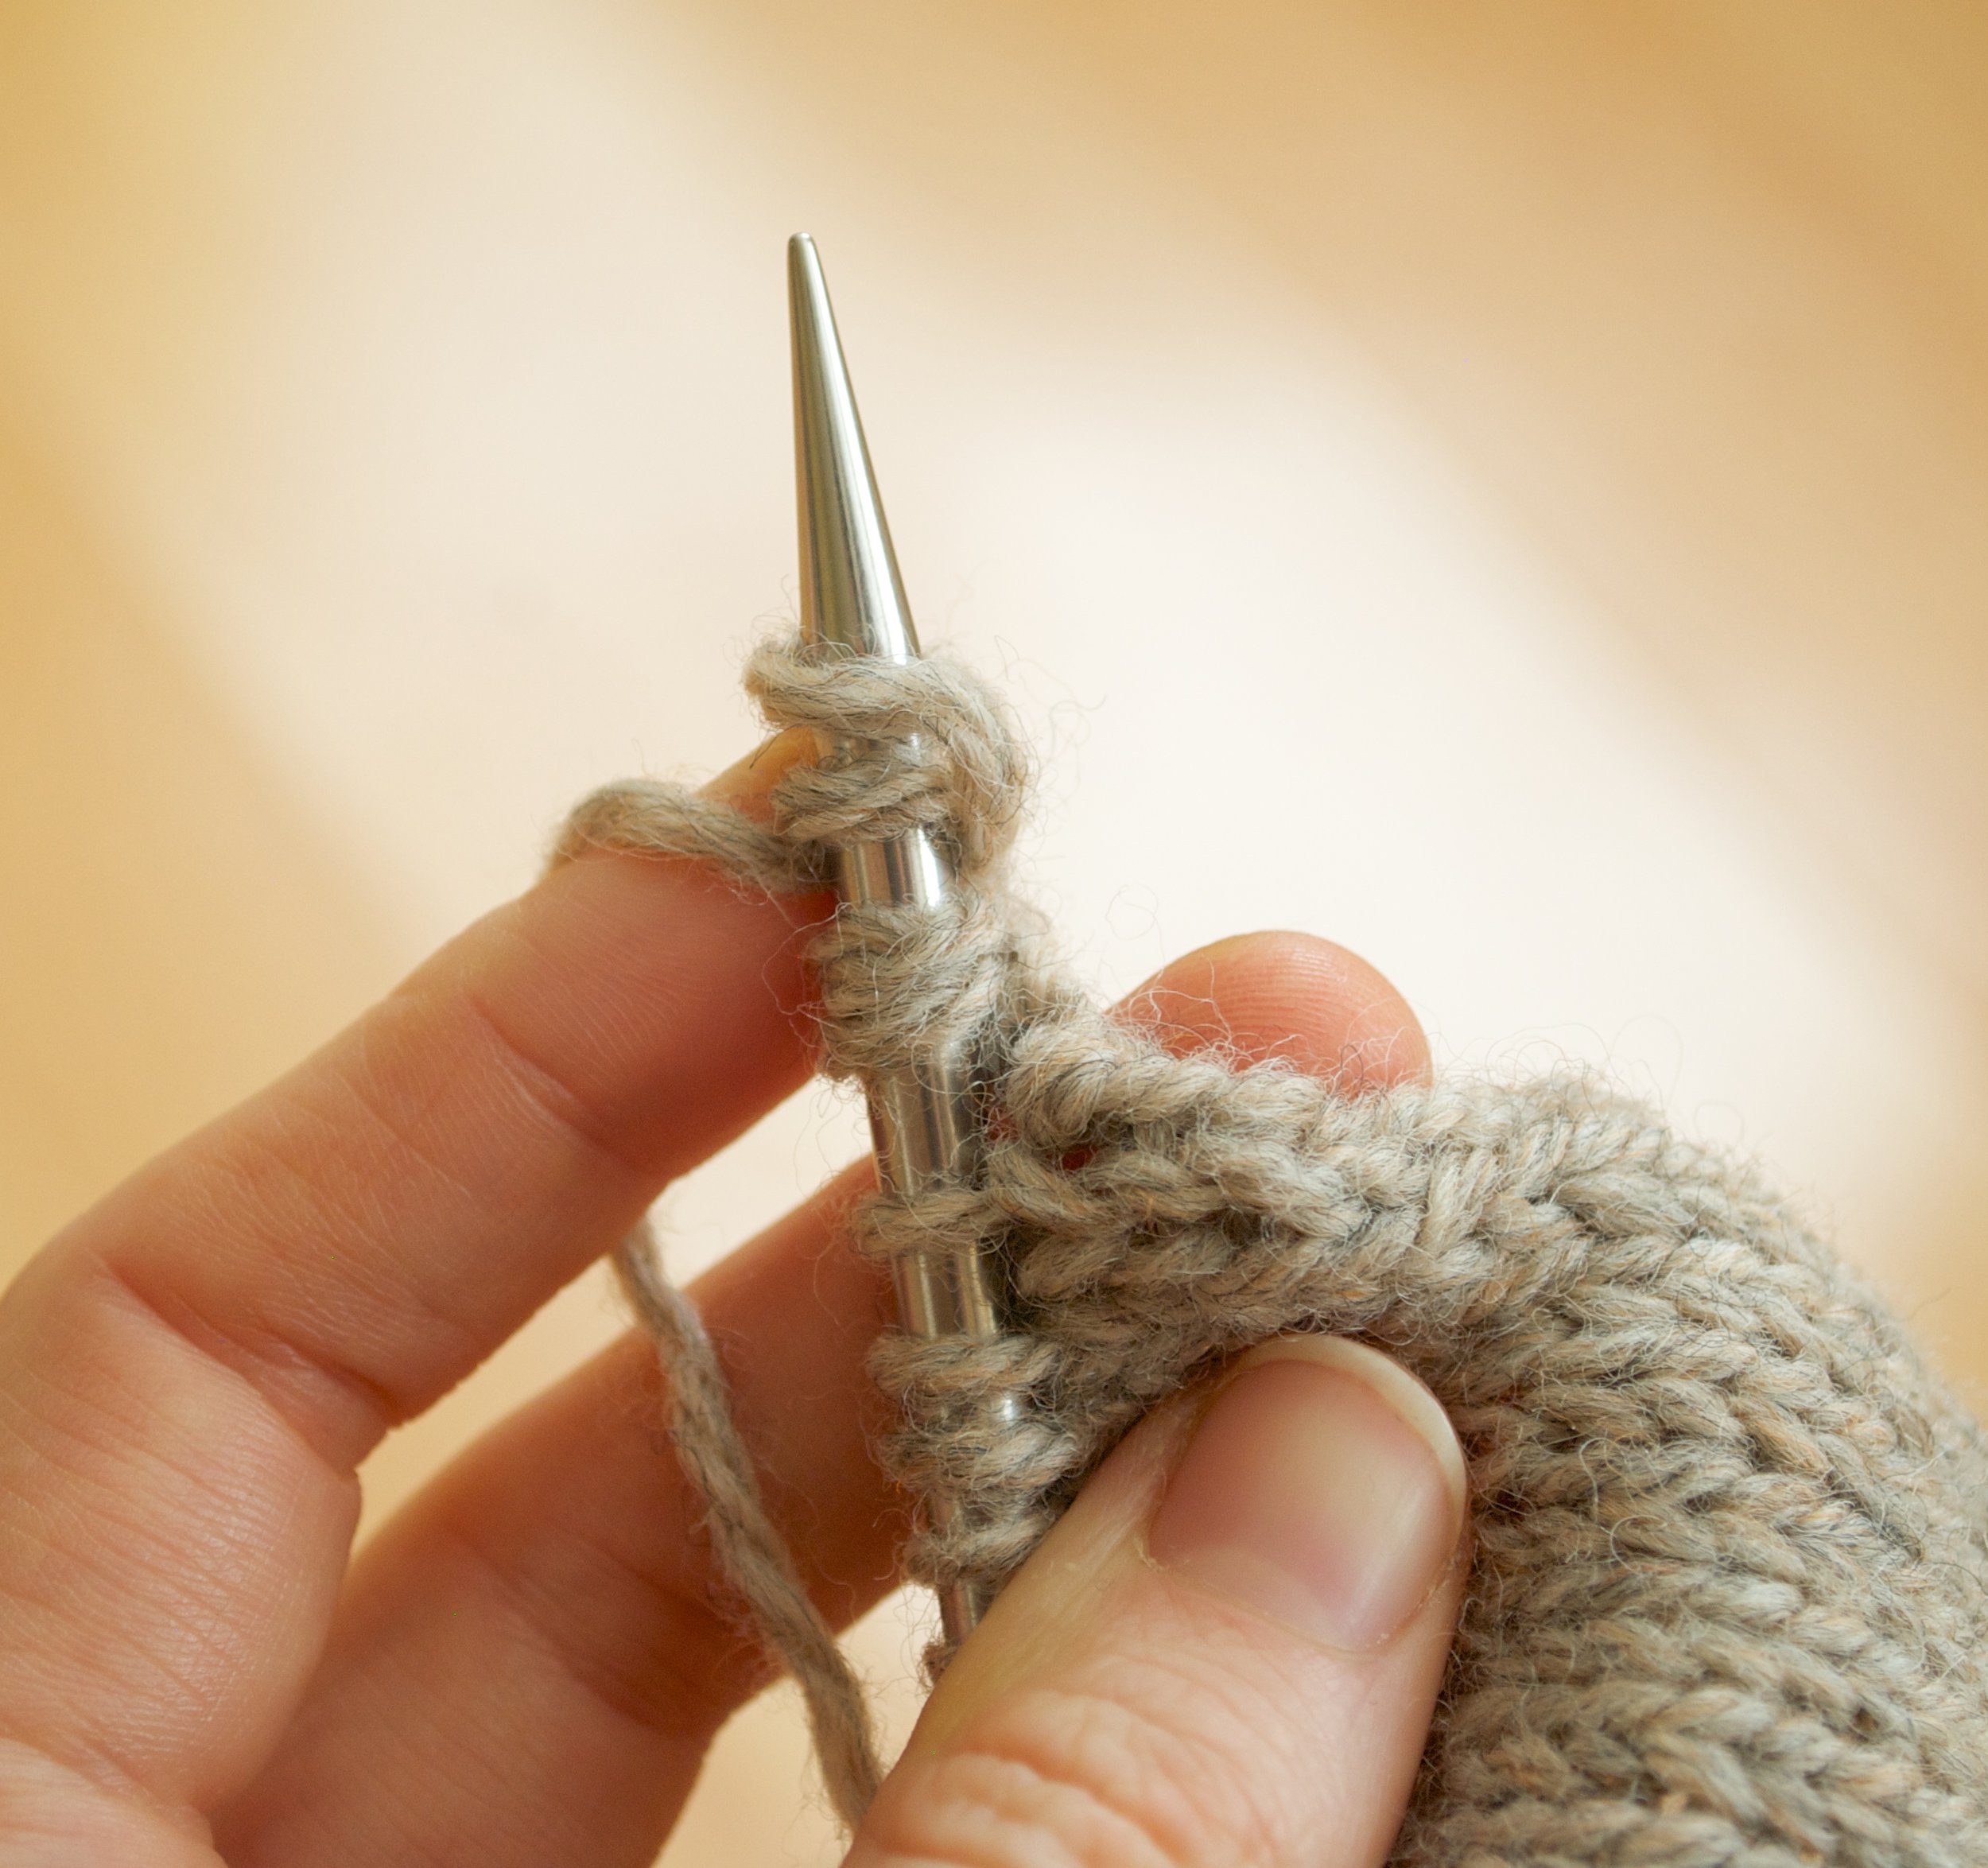

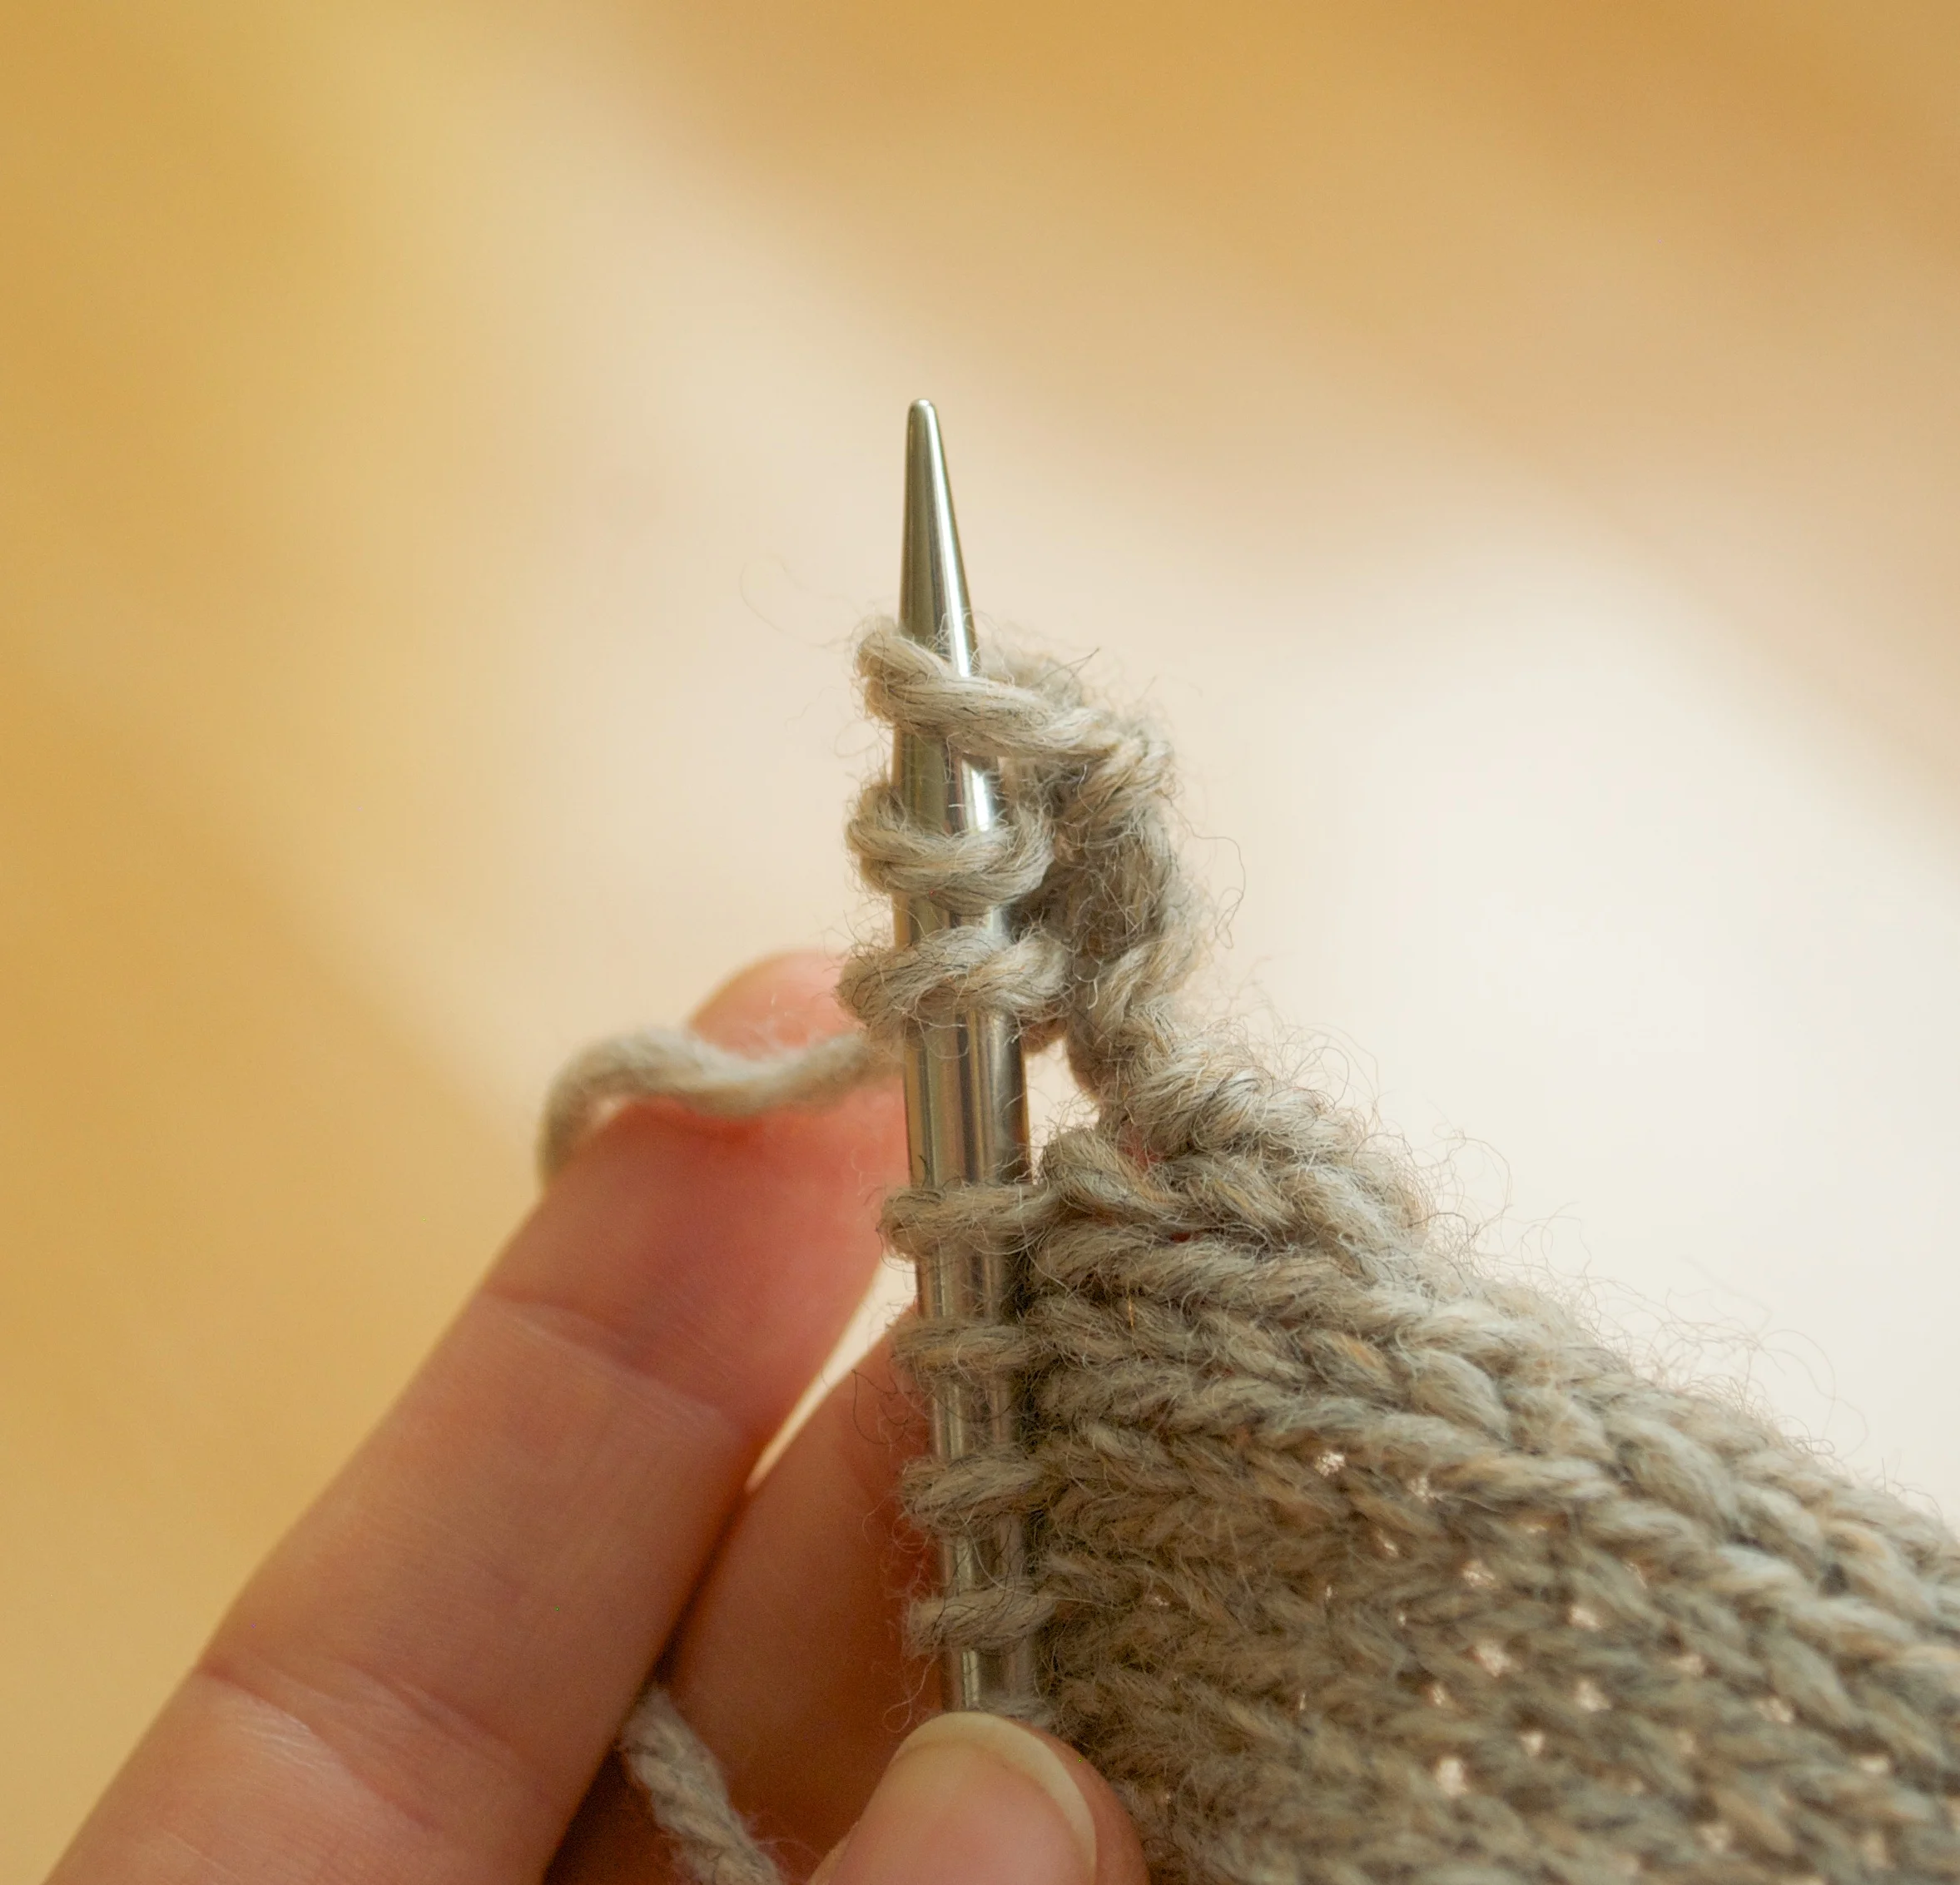
Repeat steps 1-3 twice more for a total of three new stitches
I-Cord Bind Off
1. Knit 2 stitches.
2. Insert needle into next two stitches through the back loops and draw yarn through, knitting the two together.
Three stitches on right hand needle.
3. Slip three stitches from right hand needle back to left hand needle.
Repeat steps 1-3 until all stitches have been worked.
Bind off the last three stitches, cut the yarn, and draw the end through your last loop.
For a decorative look, use a contrasting color for your i cord bind-off.
Patterns That Use This Technique