Wildflower Meadow Socks Calf Hack

Andrea sitting sideways with her back to the camera and her feet to the side so that the bottoms of the gradient socks she’s wearing are shown off. She’s holding a big bouquet of colourful flowers.
Hey how about a simple calf mod?
Quick note: This pattern is from the June 2020 Gauge Dye Works Yarn + Pattern Club. It won’t be available to the general public until fall 2021, but the principles laid out can work for lots of sock patterns. If you want to check out patterns from previous Gauge projects that are available, here’s 2017 and 2018 on Ravelry. 2019’s designs and yarn will be out this fall.
It’s pretty standard for sock patterns to have a calf and foot circumference that are the same. This works pretty well for a lot of folks, especially if the socks aren’t too tall, but not everyone has calves the same size as their feet. So here’s a hack to modify your Wildflower Meadow Socks so that the calves are one size bigger than the feet. This won’t be a perfect fix for everyone, but I hope it encourages you to fuss around with modifying your socks so you get a fit that works better for your wonderful self.
The main thrust of this modification is to start the sock with one size and decrease during the leg ribbing to get to the number of stitches for the next size down. That way you can follow instructions for one size for your calves and a smaller size for your feet without having to do a ton of math to figure out how to change the pattern between sizes.
This can be done with the three biggest sizes, but not the smallest since there isn’t a size below the smallest one.
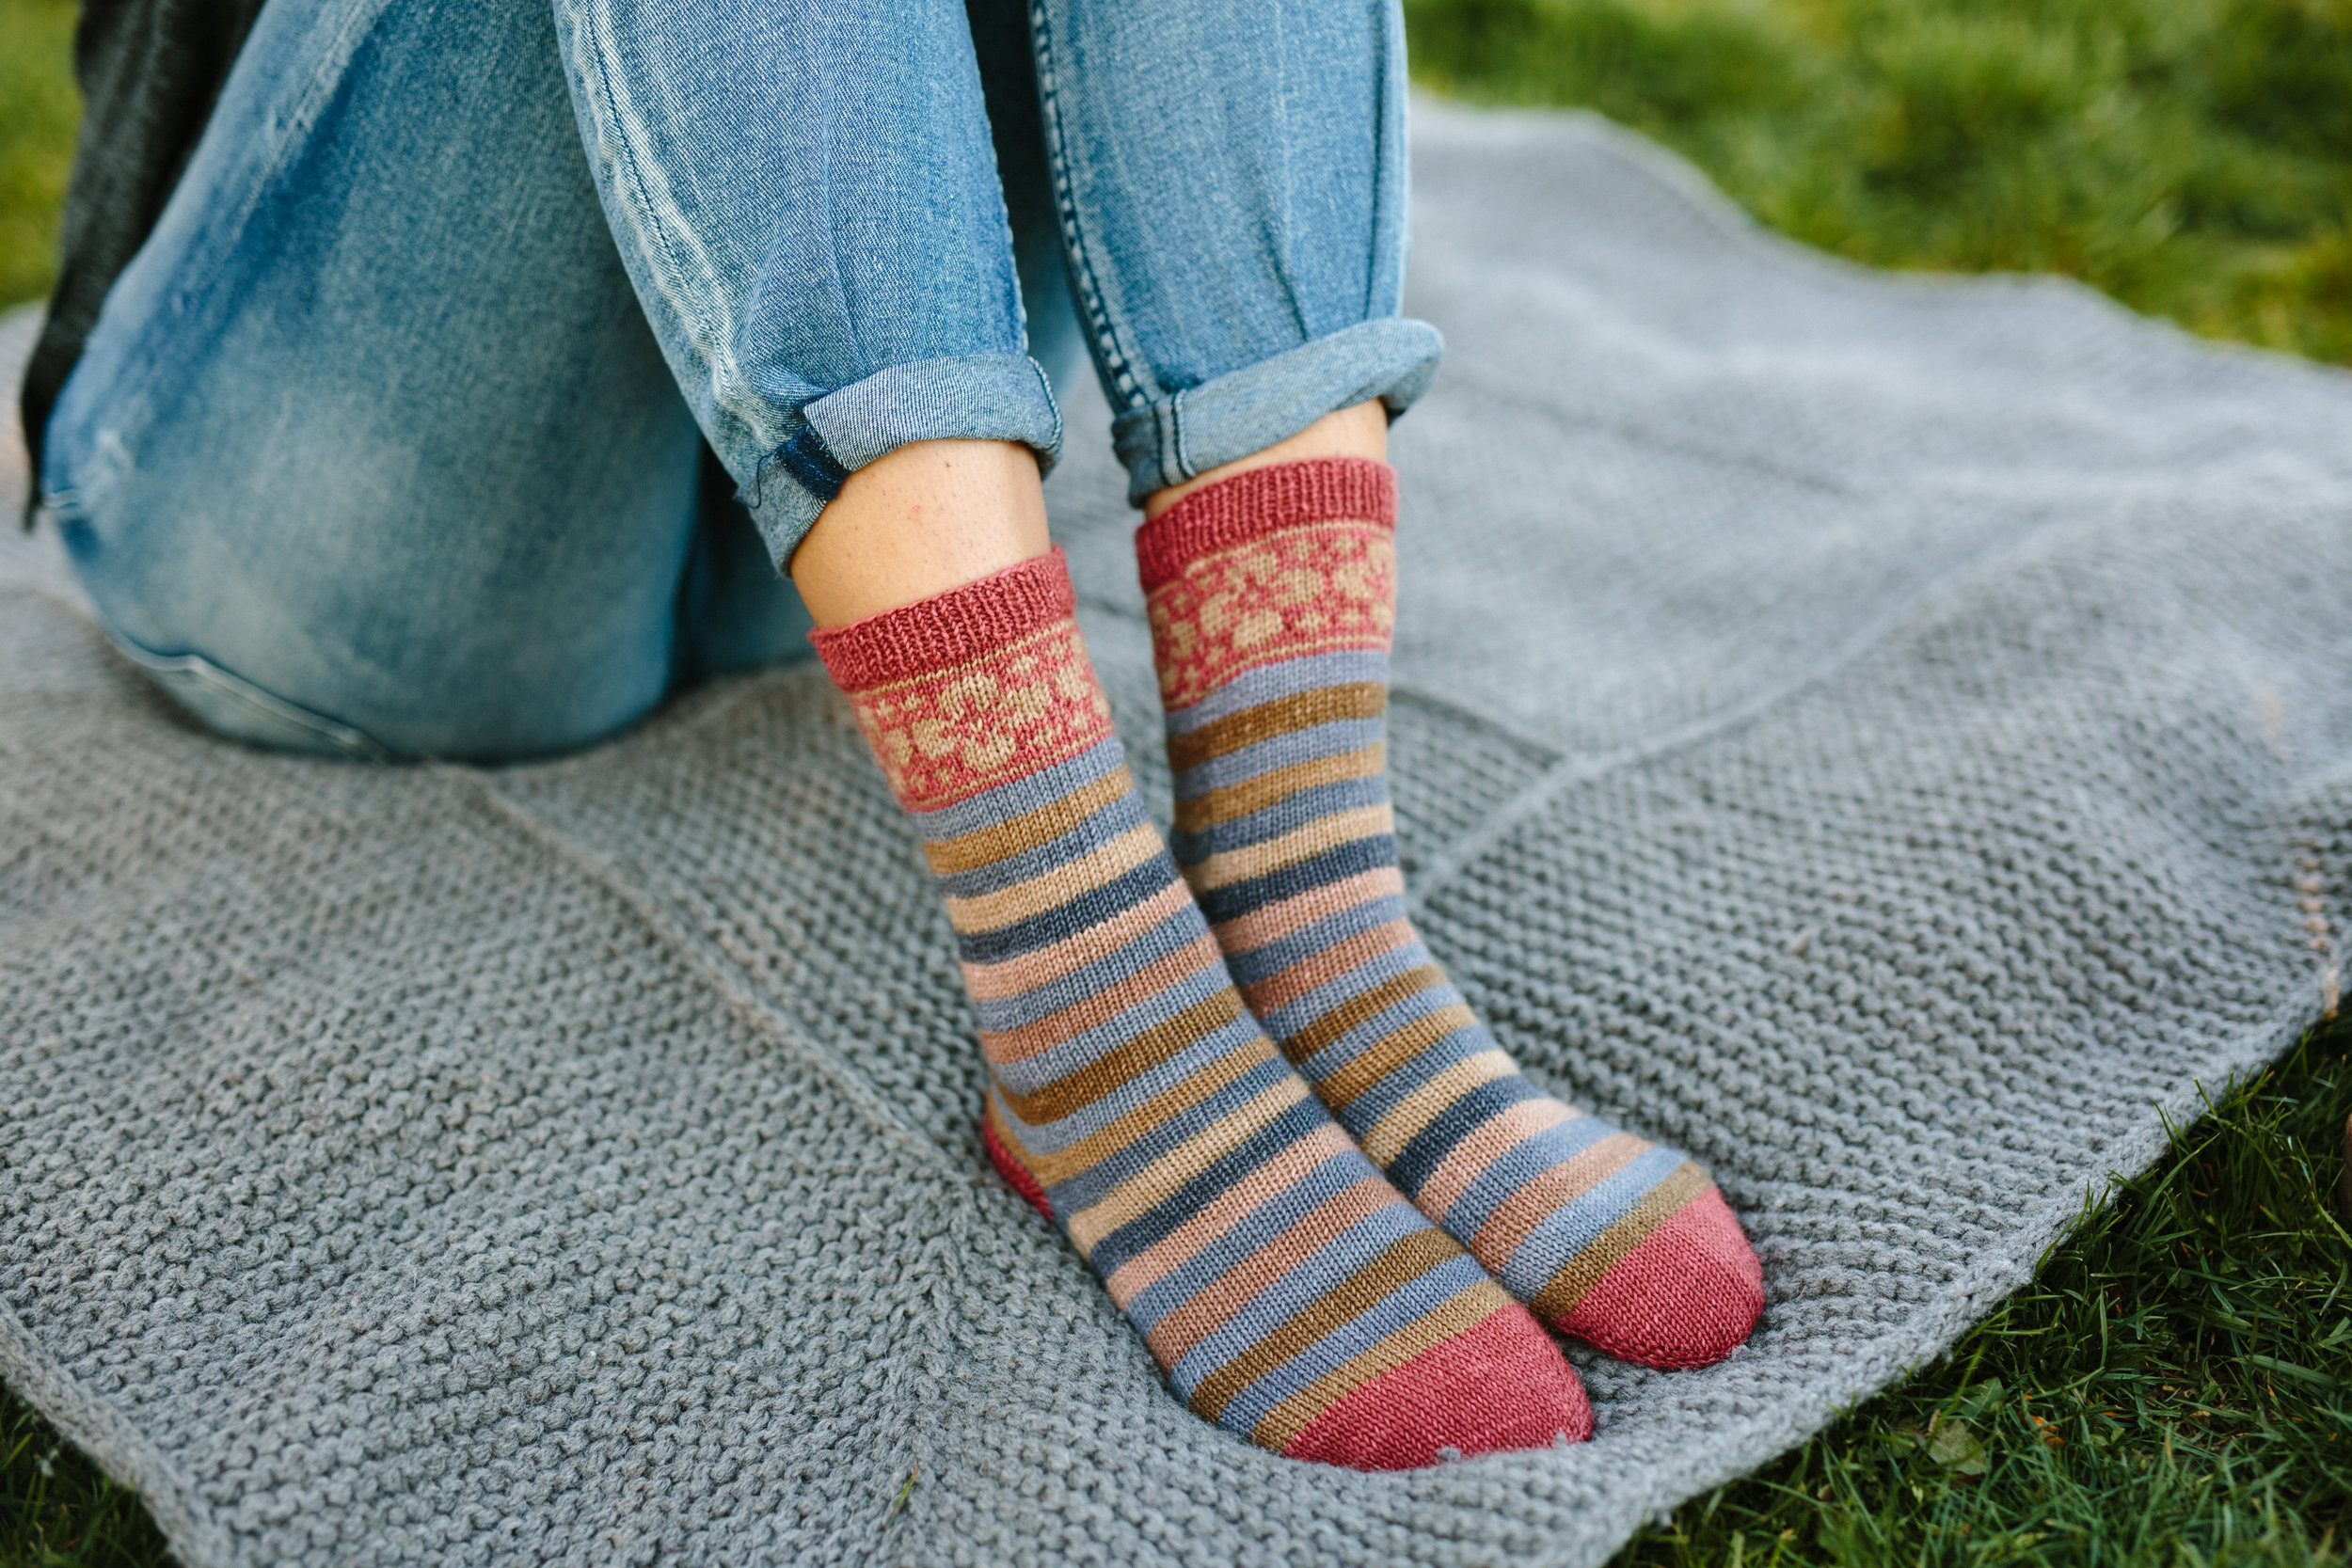
The first step is to measure your calf about 4.25”/11 cm up from the bottom of those sticky-out bones on your ankle. Write that down. Then measure your foot circumference around the ball of your foot (basically where the colour motifs are at the toes on the socks in the photos.) If those numbers are about the same, there’s no need to do this mod. But if the calf number is a half an inch to an inch/about 1-2.5 cm bigger than the foot number, this mod could be helpful for you.
The second step is to choose which size to start with. You’ll be working the calf in that size and decreasing to get the stitch count for the next size down by the time you get to the heel so that you can work the heel, gusset, and foot in the smaller size. Remember that a little negative ease helps your sock stay put and feel more comfortable, so when in doubt, size down.
Here’s how the actual knitting works:
Cast on for the larger size based on your calf measurement. Work the ribbed cuff and the colourwork section. During your last round before the Ribbing section, place a marker indicating the centre back of your sock. (This is calculated based on where your heel flap will be.) You should place your marker after —(17, 19, 21) stitches. (This doesn’t work for the smallest size, so I’ll just be using “—” for that smallest size throughout this.)
You have 26 rounds of ribbing to work with and you’ll need to decrease —(8, 8, 4) stitches in order to get to the stitch count for the next size down. You’re going to decrease 2 stitches every time you work a decrease round, so that means you need to decrease every —(6th, 6th, 12th) round —(4, 4, 2) times.
For the sizes that need 4 decreases, you’ll decrease on rounds 6, 12, 18, and 24, then work 2 rounds even in established ribbing before beginning the Heel Flap.
For the largest size that just needs 2 decreases, you’ll decrease on round 12 and 24, then work 2 rounds even in established ribbing before beginning the heel flap.
The decreases should happen on either side of that centre back marker you placed.
For the sizes where that marker is in between 2 knit stitches, I suggest working your decreases by knitting 2 together before the marker (right-leaning decreases) and ssk-ing after the marker (left-leaning decreases. That will maintain the centre back 2-knit-stitch panel while neatly decreasing away stitches that are next to it. This looks pretty cool in my opinion.
One size has that centre marker between two purl stitches. You can of course decrease however you like, but I suggest using the k2 panels on either side of that centre p2 panel to decrease. That will maintain the look of the k2, p2, k2 panel at the centre back while decreasing away stitches around it. To do this you’ll work in ribbing to 5 stitches before the centre back marker, k2tog, k1, p1, sl m, p1, k1, ssk, and work in established ribbing to the end of the round.
On all plain rounds, work in established ribbing, knitting the knits and purling the purls, keeping in mind that you won’t have exactly “k2, p2” all the way around because of the decreases.
This method can work for other sock patterns too and requires a lot less calculating than modifying to get completely custom stitch counts for your exact measurements.
Your feet and ankles are awesome the way they are, so your socks should fit! Here’s to making our own clothes!

Andrea taking a step in her Wildflower Meadow socks, which go from green at the toes through blue, to bright purple at the cuffs with leafy colourwork at the toes and cuffs. The bottom of one foot is lifted up and the other foot is flat on the ground.

A flat lay of green, blue, and purple socks on wooden sock blockers next to a huge bouquet of colourful flowers.

A pretty ridiculous image of Andrea’s feet in gradient socks with a bunch of flowers and greenery stuffed into the top of them.
Thanks to everybody who’s in this club and to all of you who have signed up for the August club too!
You can see the pattern on Ravelry here and join in the knit along in the Gauge Dye Works group too if you’re a club member! (If you’re not a club member, feel free to take a peek too so you can see what it’s like!)
You Might Also Like
Hardy enough for adventuring yet pretty enough for lounging, Saxe Point will be a lovely addition to your sock collection. The socks are worked toe-up with an afterthought heel and shaped leg, with a colourwork cuff to top it all off. I designed this pattern in collaboration with Catherine of Gauge Dye Works. She took colour inspiration from one of my photos of Vancouver Island’s rocky seashore, and together we created a yarn designed to create a wonderful knitting experience — along with the perfect pattern to show it off. The self-striping yarn makes colours appear on your needles as if by magic. I have included instructions for creating the same effect by substituting yarn.
The pattern now includes the bonus “Twinkle” chart for some holiday cheer!
The yarn designed especially for this pattern is from Gauge Dye Works.

Full Spectrum is a clever reversible hat with fetching stripes on one side and pleasing geometric colourwork on the other. It’s worked from the crown of one side, through the brim, and to the crown of the other, so that the whole doubled hat is worked in one piece. It was designed in collaboration with Gauge Dye Works - their self-striping yarn makes this an addicting and enjoyable knit!
The yarn designed for this pattern is available in three colourways from Gauge Dye Works.
There’s also a cheery Twinkle colourway! You can get the colour-blocked version for the toque (it would also be great for the Botanical Sampler cowl) or the multi-striped version for the Saxe Point socks.

A flowing gradient splashed with short row “leaves” turns this semi-circular pi shawl into a stunning statement piece — and the perfect wrap for your outdoor adventures. And the best part? It’s worked in a unique self-striping yarn that shifts and blends, with golden sections appearing as you knit to tell you when to work each Leaf. It’s addictively mesmerising! I worked closely with Catherine of Gauge Dye Works to design this special shawl. It was an unusual collaboration, in that the yarn colourway and the pattern were developed in tandem to create a knitting experience that’s fun, engaging, and reflects the beauty of the great outdoors. Instructions are included for substituting a non-striping yarn.
The yarn designed especially for this pattern is available from Gauge Dye Works.