Dissent Mods: Adding Waist Shaping
A thing I love about making my own clothes is that I can modify them to fit me. I designed Dissent to be a bit boxy, so I didn’t include waist shaping, but I know a lot of knitters love to get a bit of a trimmer look. So today I’m going to teach you how to add waist shaping to any garment, with Dissent being the particular example.
If you want more help with Dissent, don’t miss these previous posts too:
How to Add Waist Shaping
How much to decrease
When I first started learning to design, I figured that I ought to make sweater waist shaping match my body. I have a 31 in/79 cm bust and a 26 in/66 cm waist, so I though I was supposed to decrease 5 in/13 cm in order to get good waist shaping. (31 - 26 = 5) But matching the body exactly is usually really excessive and tends to create a weird pinched look at the waist with the hip section of the sweater looking like a peplum or skirt. Unless a garment is exactly the same size as the body or has negative ease (is smaller than the body), that kind of decreasing will hang around the hips in a strange way that looks to me like it doesn’t fit. (The firmer or thicker the fabric, the worse of a problem this is.) Instead I think a better option is to decrease a bit just to give the impression of a waist. Removing one or two inches of fabric at the waist is usually perfectly sufficient.
For this example, I’m going to start by suggesting we decrease about 1.5 in/4 cm.
Decreasing math
The only math required is basic arithmetic and I’ll walk you through it here. The first number we need is how much we plan to decrease. In this example we’re going with 1.5 in/4 cm. The next number we need is our gauge. Because I’m used to working with the imperial measurement system (I was raised in the States), I’m going to do my arithmetic with imperial, but I’ll include metric where I can so I’m not leaving anyone out.
Dissent Gauge: 5 sts = 1 in/2.5 cm
Decrease: 1.5 in/4 cm
The next number we’ll need is the number of stitches to decrease. In order to find that number, I’ll multiply my gauge per inch/2.5 cm by the measurement we want to decrease.
5 (gauge) x 1.5 (decrease amount) = 7.5
So if we were decreasing exactly 1.5 in, we’d need to decrease 7.5 stitches, which is obviously not possible. We’ll need to round in order to get a whole number.
Ideally, we want our whole number to be a multiple of 4. Why? Every time we do a decrease row/round, it’s best to decrease 2 stitches at the front and 2 at the back, 4 total for the row/round. That makes it symmetrical. So in this example, I’d round 7.5 to 8. I can double check that 8 will work by dividing it by my gauge.
8 (stitches to decrease) ÷ 5 (gauge) = 1.6 inches
It’s a little more than my goal of 1.5 in/4 cm, but not much, so I’ll take it. In fact, when I convert 1.6 in to cm, it rounds to 4 cm, so that’s really close.
So how many decrease rows/rounds do we have to work?
8 (stitches to decrease) ÷ 4 (stitches decreased each decrease row/round) = 2.
Overview: We’ll work 2 decrease rows/rounds, decreasing 4 stitches each time. That will decrease a total of 8 stitches which measures 1.6 in/4 cm.
But what rows do I decrease on? And what about increasing again?
Everyone has a different body shape, so there isn’t a hard-and-fast rule about where shaping should be done. If I’m including waist shaping in my patterns, I use the formula below that works for a lot of bodies. You can use that too, but if you’re modifying the pattern to include shaping that doesn’t include it, you may has well do the calculations to fit you just right.
The idea is to decrease until you get to the smallest part of your waist, then increase to the bottom of the sweater. Tie a ribbon around the smallest part of your waist. Then hold a tape measure up to your body, aligning the “0” with approximately where your underarm will start (or better yet, get a friend to do it) and measure how far to your waist ribbon. That’s the length over which you’ll want to work your decreases. Then you’ll work your increases over the rest of the body. I do like to subtract the ribbing plus an extra inch or so from that increasing length in order to have some plain work after the final increase. See the example below.
My usual formula is to divide the body length by 3 (not including the ribbing). This assumes that the smallest part of the waist is 1/3 down from the armhole (since we’re working top-down on this one, it’s easier to think about it that way.) So your decreases should be complete when you’ve knit 1/3 of the body length. The increases will be spaced out across the bottom 2/3 of the body, so they won’t be worked as frequently.
Example:
The Body length for Dissent is 11.5 in/29 cm. The ribbing measures 1.5 in/4 cm, so the measurement I’ll work with is 10 in/25.5 cm. (11.5 - 1.5 = 10)
10 (total body length minus ribbing) ÷ 3 = 3.333…
I’ll round that to 3.25 in/8 cm. So I want to complete my decreases over 3.25 inches. I need to know how many rounds that is, so I need to multiply 3.25 by my row gauge, 7.5.
3.25 x 7.5 = 24.375
I’ll round that down to an even number, 24. I need to decrease twice (see above) over 24 rounds, so I divide 24 by 2 to get the frequency of decreases.
24 ÷ 2 = 12
Overview: Decrease 4 stitches every 12th round twice. - 8 stitches decreased.
We’re increasing over the other 2/3 of the body. So our total body length (mins hem of course) was 10 inches. I’ll subtract the 3.25 inches we used for decreasing to get the length of that 2/3. 10 - 3.25 = 6.75. So I’ll work my increases over 6.75 inches. To get how many rounds that is, I multiply 6.75 by my row gauge:
6.75 x 7.5 = 50.625
I’ll round that to 50 for an even number. But I don’t want my final increase to be at the very bottom of the sweater. I want a little bit of plain knitting after the last increase. I’ll say about 1 inch because I’ll also have the 1.5 inches of the ribbing. So I need to subtract another inch-worth of rounds. Since my row gauge is 7.5 I’m going to round that up to 8.
50 - 8 = 42
So I’ll increase over 42 rounds.
Side note: For this example, I’m just increasing back to the original number of stitches, meaning I’ll increase twice. If you’re like me though, you may have bigger hips than your bust, so you may actually want to do an extra increase or two. Or, if you’ve got a bigger bust and smaller hips, you may not want to increase again at all. The beauty is that you can modify to fit you exactly how you like it.
Back to my example, since I need to increase twice over 42 rounds, I just divide 42 by 2.
42 ÷ 2 = 21
Overview: Increase 4 stitches every 21st round. - 8 stitches increased (back to original number).
So where on the body should I work the shaping?
Option 1:
The easiest answer is to work your shaping on either side of the “side seams.” In the round there aren’t actual seams, but you can find where they would be by placing a marker at the halfway point of the stitches you cast on for your underarm. Leave the stitches directly adjacent to the marker alone and work decreases in the two stitches before and after those directly-adjacent stitches. So *work to 3 stitches before an underarm marker, k2tog, knit 1, slip marker, k1, ssk; repeat from * once more, knit to end.
Option 2:
It can be really nice to actually work shaping away from the sides. If you work the shaping about a quarter of the way in from the side “seams” you’ll get a more elegant 3-D shape. This is what I choose if I don’t have a complicated stitch pattern that would be interrupted. It’s what I would choose for this sweater because it’s all Stockinette. I’ll do the calculations using the stitches on the Back of the sweater to avoid confusion about the steek panel and button bands. I still need to know where my “side seams” are, so I’m still going to place those markers at the halfway point of my cast-on underarm stitches. Then I’ll count the stitches across the back body and divide by four.
Example (Size 46 in/117 cm):
I had 107 stitches for the back plus 6 underarm stitches. (I did cast on 6 underarm stitches at each side, so a total of 12, but I’m only counting 6 of those total because the other 6 belong to the Fronts.)
107 + 6 = 113
113 is my total Back stitches. To figure out where to place my shaping, I need to divide that by 4.
113 ÷ 4 = 28.25
Since I can’t divide a stitch, I’m going to give that extra stitch to the centre. So I’m dividing the Back stitches as follows:
28 (first fourth) - 57 (centre “half”) - 28 (last fourth)
(28 + 57 + 28 = 113)
I’ll use that “28” to help me with the Fronts too.
So to establish my shaping, I’ll work to 28 stitches before the first underarm marker, place a marker, work 28 stitches past the first underarm marker, place a marker, work to 28 stitches before the second underarm marker, place a marker, work 28 stitches past the second underarm marker, place a marker, and knit to the end of the round.
My Decrease rounds will look like this: *Knit to 3 stitches before shaping marker, k2tog, knit 1, slip marker, k1, ssk; repeat from * 3 more times. - 8 stitches decreased.
My Increase rounds will look like this: *Knit to 1 stitch before shaping marker, M1R, knit 1, slip marker, knit 1, M1L; repeat from * 3 more times, knit to end. - 8 stitches increased.
Once my increases are complete, I’ll work 8 further rounds and then work my ribbing.

Looking back at this post, that seems like a lot! But it’s a little glimpse into what goes into pattern design. Feel free to post questions below.
Happy Dissenting!

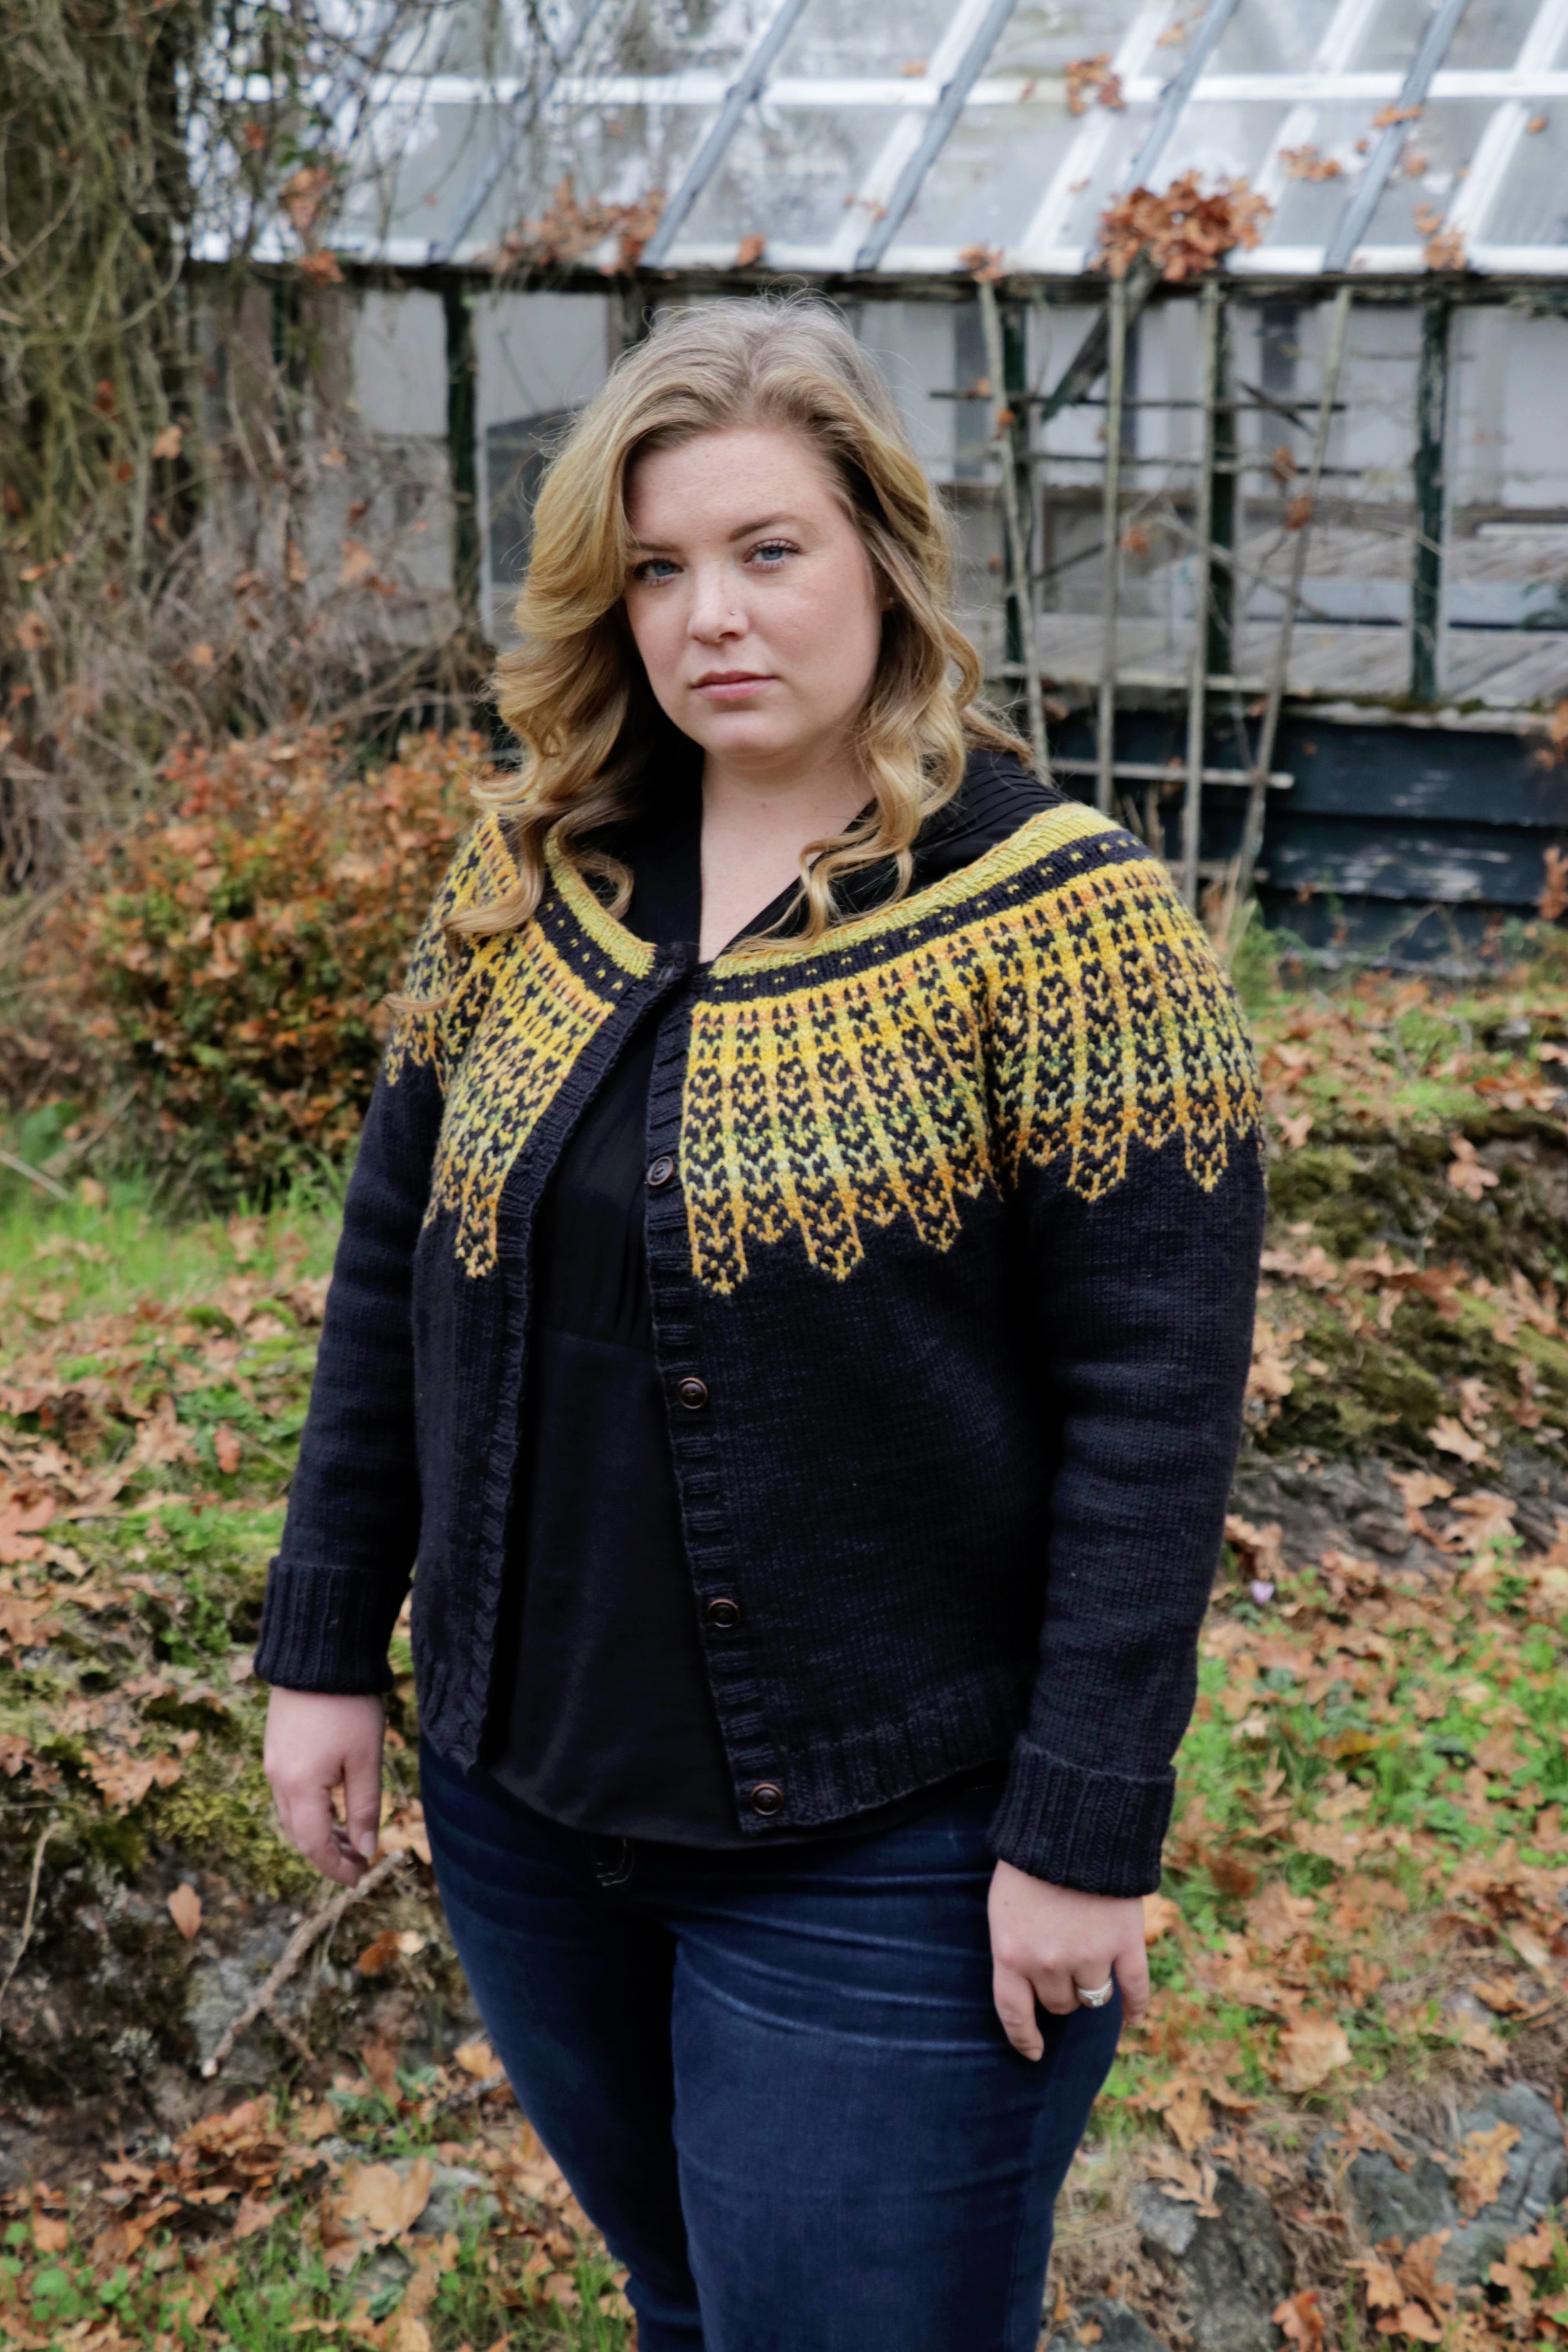
U.S. Supreme Court Justice Ruth Bader Ginsburg is known for her dissenting opinions. When she reads a dissent, she often wears a particular collar, or “jabot.” It’s a striking visual adornment and as soon as I saw it, I knew I wanted to design a yoke sweater inspired by it. This sweater, Dissent, is my tribute to RBG. May we all channel her when wearing our own Dissent.
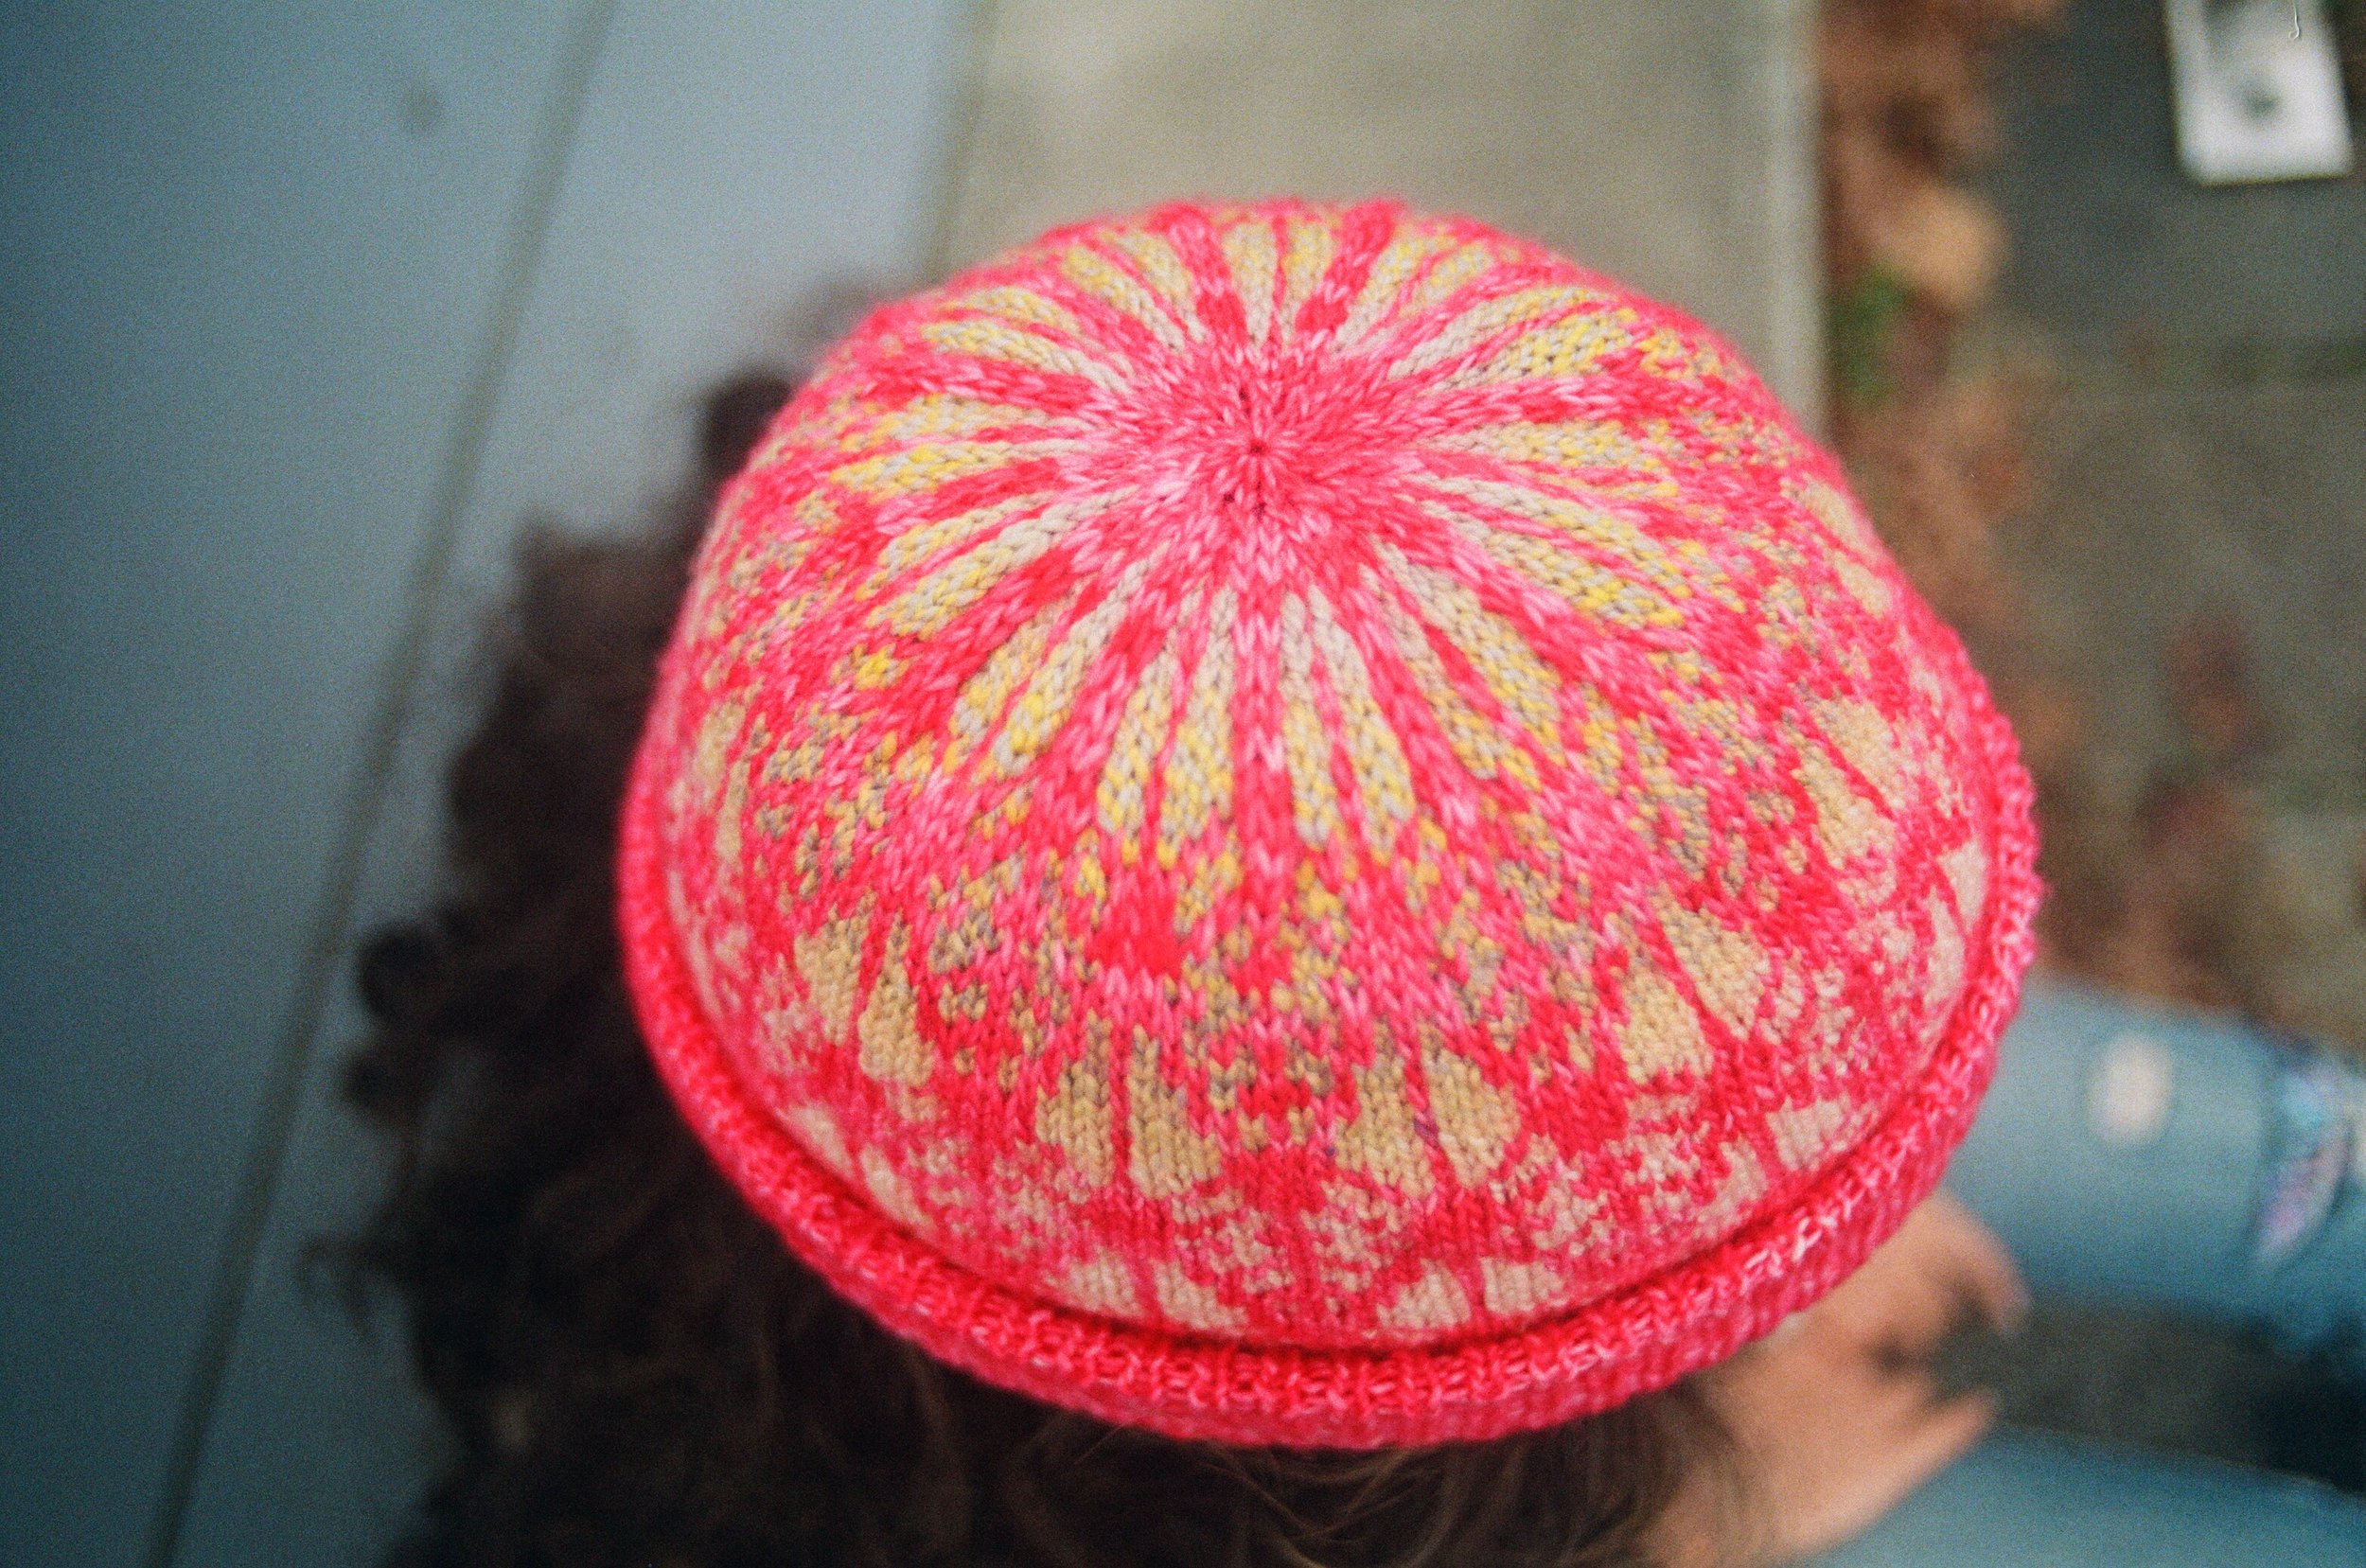
A fingering weight pullover and a hat version of this pattern are also available.