Placing a Lifeline
A lifeline is useful for several purposes. It can be used to hold onto stitches if you're worried you may have to frog - many people use lifelines regularly when working large lace projects. They allow you to rip back to held stitches instead of being worried you may lose some stitches.
I have mostly used lifelines to help aid in pocket placement. I find it difficult to pick up a row of stitches in the middle of knitted fabric without a lifeline showing me exactly which stitches to pick up.
This tutorial shows the steps on a circular needle. You can place a lifeline on straight needles, but I find it much easier to use a circular needle. If you're working with straight needles, you may consider switching to a circular for this process. You can always switch back after the lifeline is placed if you wish.

Push all of your stitches onto the cord of your circular needle.

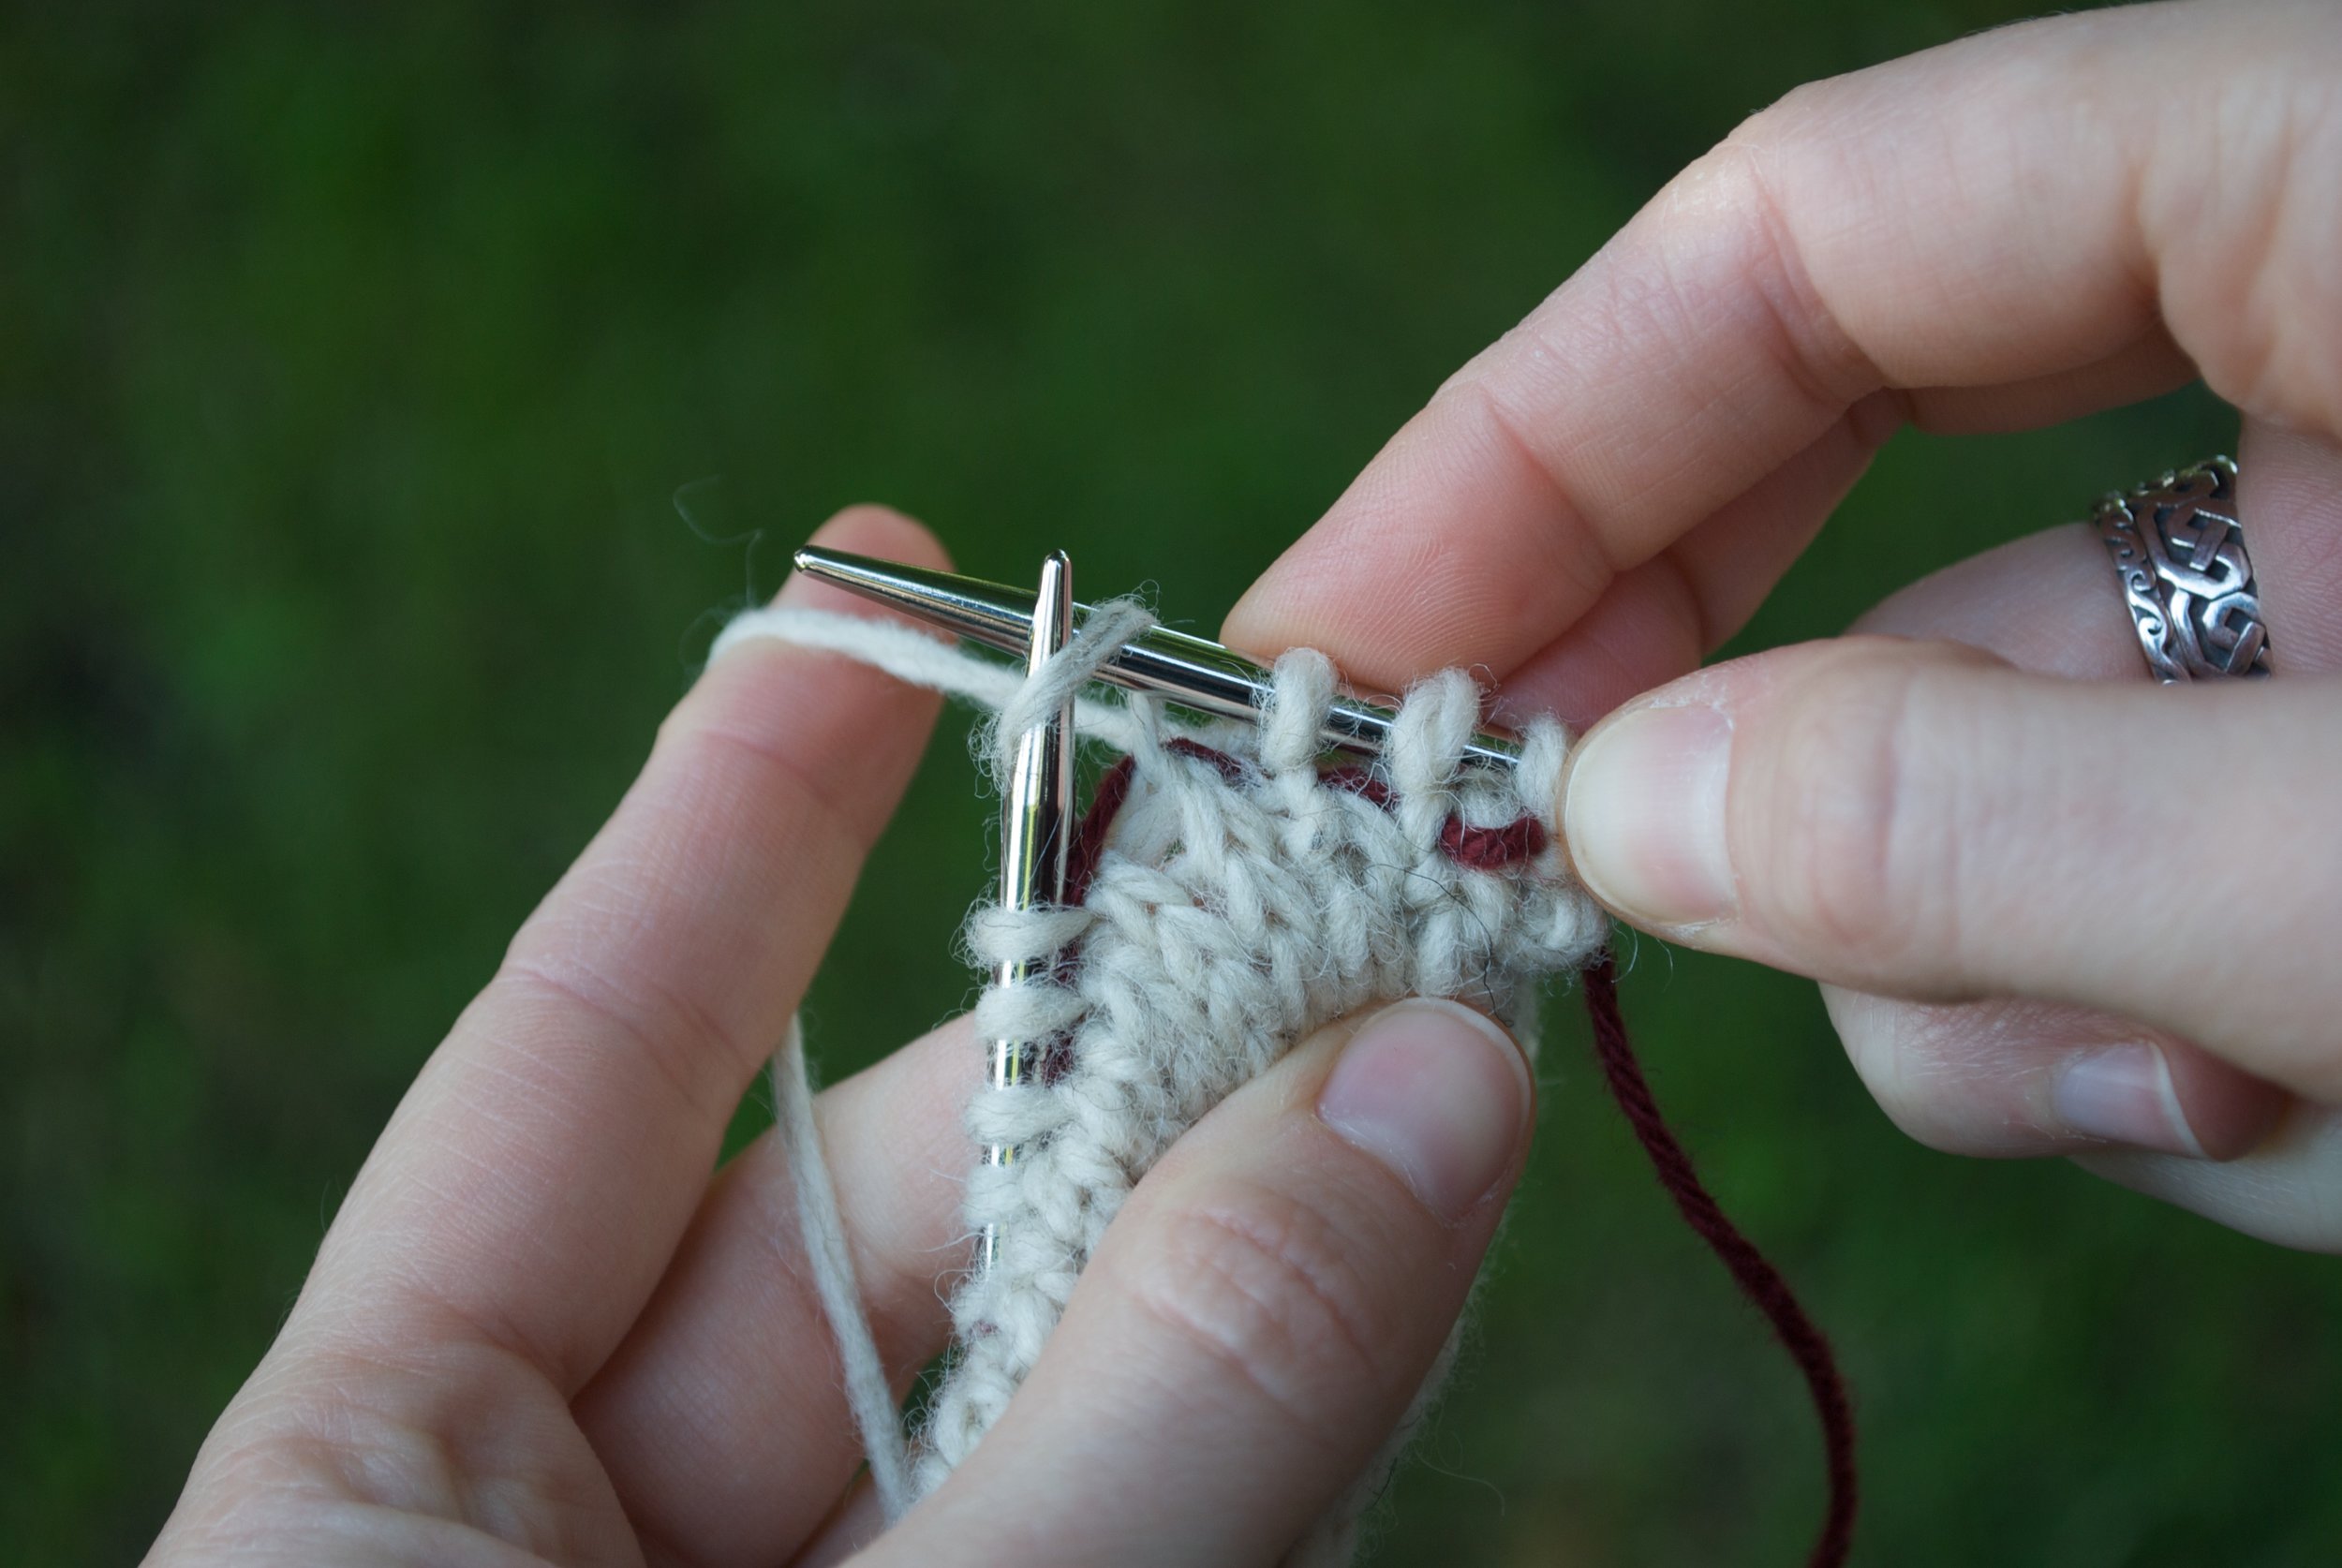
Using smooth, contrasting waste yarn, insert a tapestry needle into the stitches you want to mark and draw your waste yarn through. I usually draw through 4 or 5 stitches at a time.
I used a DK weight cotton when marking this worsted weight swatch.

This is what it looks like when the lifeline has been placed.
Simply work the next row/round as usual, ignoring the lifeline.

After a few rows you can see how the lifeline looks.
If you need to frog your work, just take it off the needle and pull out your work (winding your yarn up as you go - there's nothing worse than a pile of tangled yarn!) until you get to the lifeline. The lifeline will have a row of live stitches held so you can just insert and pick them all up one by one.
If you placed the lifeline for pocket placement guidance, see the tutorial on picking up stitches from a lifeline.
Patterns That Use This Technique