A Simple Fluffy Toque That You Can Make Too!
You all know how I love to swatch, and the other day I was playing with holding a strand of Neighborhood Fiber Company Loft (mohair silk dream!) together with a strand of my very special skein of Ocean by the Sea Haze, and the fabric was so cozy and beautiful that I knew I wanted a project that would just let it shine. So I knit the coziest toque!

Profile shot of Andrea standing on her balcony with her hand adjusting a very fluffy pink toque with a folded-up ribbed brim. She’s also wearing a mustard and grey pullover with a colourwork yoke.
I wanted something that would have very little adornment, but still be a bit over the top, so I decided to go with an enormous folded-up, ribbed brim. Since I wanted precise control over just how long that ridiculous brim would be, I decided to knit my toque starting from the crown. That way I’d be able to try it on as I went to decide when to stop.
Turns out my Full Spectrum Hat was perfect to adapt. The original design is worked from the crown of one side, through the brim, and to the crown of the other, so that the whole doubled hat is worked in one piece. When you’re finished, you just tuck one crown inside the other. For this project, I just had to follow the instructions, but instead of continuing to a second crown, I basically just bound off using a tubular method.
I’ll tell you just how I made my hat, plus share how you can make one too in any size or gauge.

Andrea is staring at the camera. She’s wearing a fluffy, almost puffy toque with a folded-up brim and a mustard coloured pullover.
My Fluffy Pink Toque
Cast on as directed in the Full Spectrum pattern and increase to 144 stitches. My project matched the pattern gauge, of 26 stitches = 4”/10 cm so my hat is about 22”/56 cm around.
Work in Stockinette stitch until the piece measures about 6”/15 cm from cast-on. (This is about an inch/2.5 cm shorter than the pattern calls for.)
Work in ribbing for about 4.75”/12 cm.
Use tubular method to bind off.
Block and wear.

Andrea’s back, particularly showing off the square shape of the crown of her fluffy pale pink hat.

Andrea’s profile as she looks down. The focus is on her folded-brim toque and the patterned yoke of her mustard and grey sweater.

Andrea is attempting a different pose with one hand adjusting her braid. Her head looks kind of enormous with her fluffy pink hat, but in the best way.
Make Your Own!
Cast on as directed in the Full Spectrum pattern and follow the increasing instructions until you have enough fabric to measure your gauge.
You may want to steam block your work-in-progress before measuring to get a more accurate reading.
Measure your gauge and write it down.
Decide how big you want your hat to be. My head is about 21”/53.5 cm around, so my hat is a bit bigger than my head at the Stockinette section. Because the ribbing draws in a lot, it’s smaller around the brim. You can always decrease a few stitches before beginning the ribbing if you want it smaller. For reference, hat sizes are approximately 16”/40.5 cm for a baby, 17.5”/44.5 cm for a toddler, 19”/48 cm for a child, 20.5”/52 cm for an adult small, 22”/56 cm for an adult medium, and 23”/58.5 for an adult large. Of course, how you want the hat to fit matters a lot and everyone has a different head, so those are just suggestions.
Figure out how many stitches you’re going to need by multiplying your gauge per inch or per cm by the size you want your hat to be. For example, my hat is 22”/56 cm and my gauge is 6.5 stitches = 1” or 2.6 cm = 1 cm. So in inches, I would multiply 22 x 6.5 = 43. In cm, that would be 56 x 2.6 = 145.6. For this pattern you’ll need a multiple of 8 stitches, so round that number to the nearest 8. In my case, I rounded to 144. If you’re in between multiples, you’ll need to decide if you want to end up with a slightly smaller or slightly larger finished project than your original target.
Continue increasing until you reach your desired number of stitches.
Work in Stockinette until your hat measures about 6”/15 cm from cast-on.
Work about 4.75”/12 cm in 1x1 rib or to desired brim measurement. If you don’t want to fold your brim up, you can work this a lot shorter.
Bind off using a tubular method. I don’t have a tutorial for a tubular bind-off, but I used the method in my Knitter’s Dude, Ciomara, and Kust patterns. You can also just bind off loosely in pattern if that’s more your style.
Block and wear around the campfire or on early morning hikes!

Andrea with her hair down. She’s adorned by a soft peachy-pink hat and a mustard and grey pullover.
That’s it! This is a great project for using up stash. Maybe you want to use that special skein of speckled sock yarn you’ve been saving for who knows what, or pair your favourite mohair/silk blend with something more affordable to jazz it up.
Oh, and since I was celebrating the joy of knitting mohair/silk with a more rustic wool, I had to wear my Dissent Pullover in Julie Asselin Anatolia and Nurtured Fine.
Happy knitting!
Patterns Featured in this Post

Full Spectrum is a clever reversible hat with fetching stripes on one side and pleasing geometric colourwork on the other. It’s worked from the crown of one side, through the brim, and to the crown of the other, so that the whole doubled hat is worked in one piece. It was designed in collaboration with Gauge Dye Works - their self-striping yarn makes this an addicting and enjoyable knit!
The yarn designed for this pattern is available in three colourways from Gauge Dye Works.
There’s also a cheery Twinkle colourway! You can get the colour-blocked version for the toque (it would also be great for the Botanical Sampler cowl) or the multi-striped version for the Saxe Point socks.
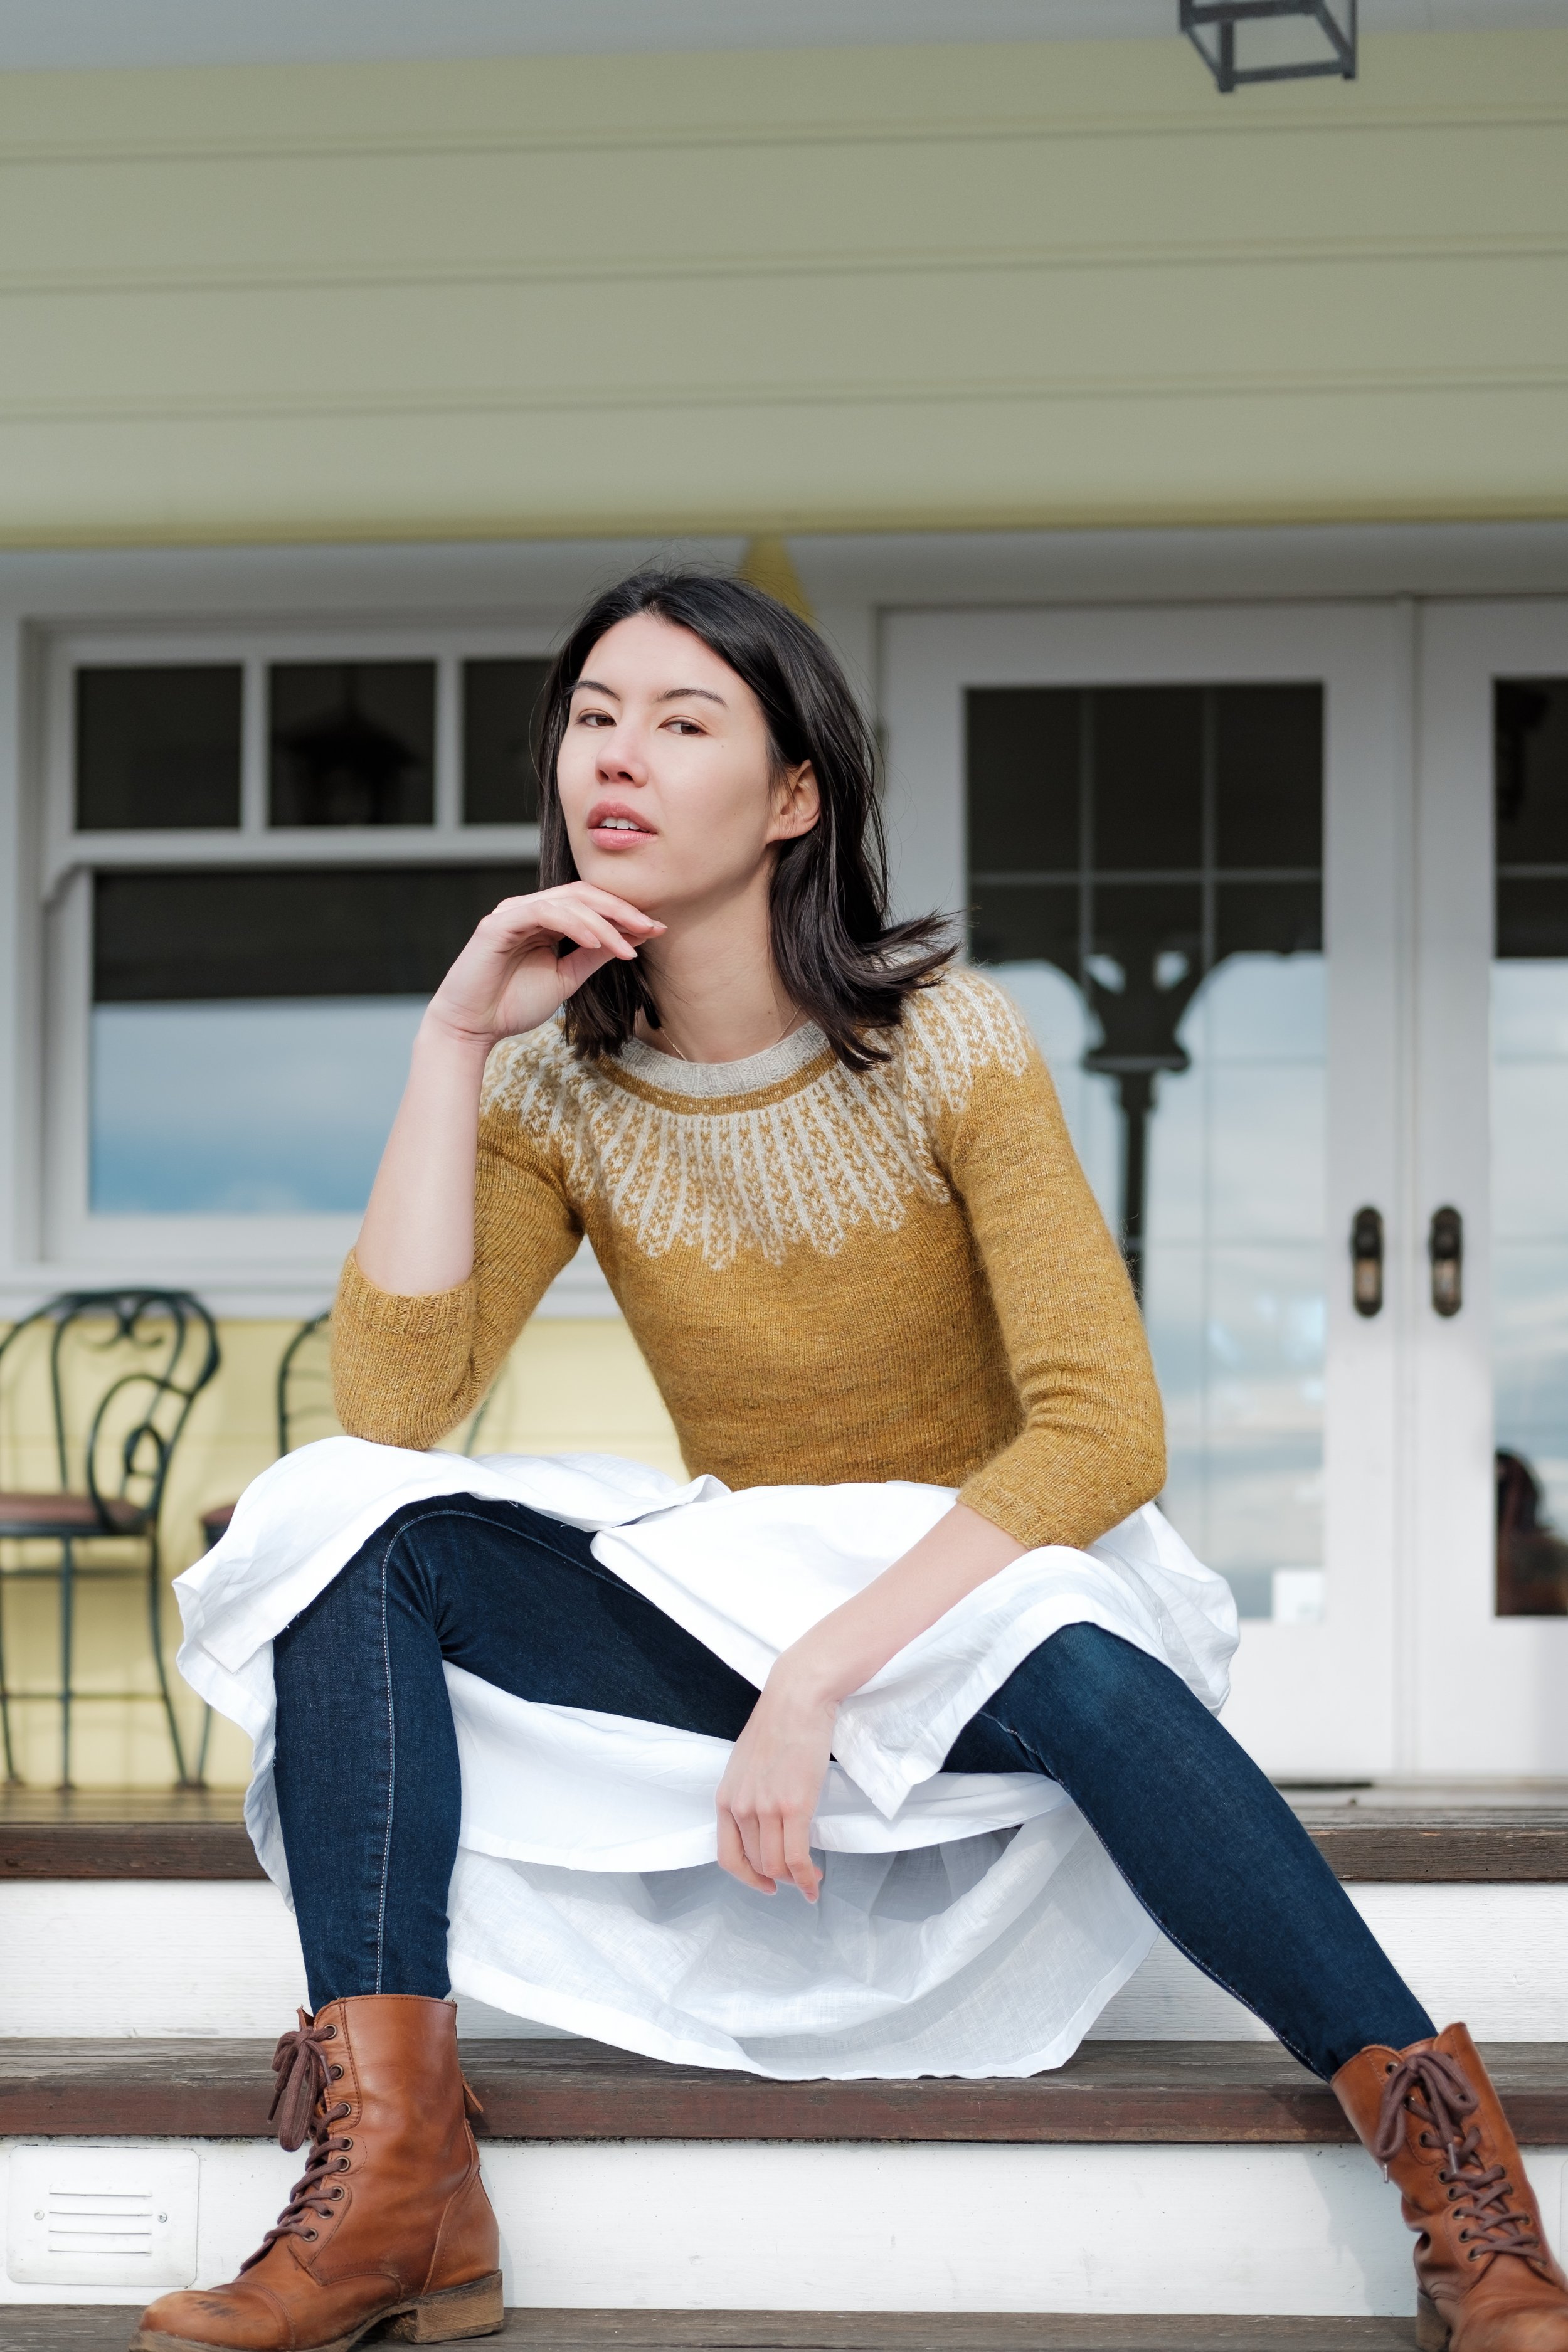
If you know me, you’ll already know that I’m inspired by American Supreme Court Justice Ruth Bader Ginsburg. This is my second design that’s an interpretation of Justice Ginsburg’s Dissent jabot, a decorative collar that she wears when she reads dissenting opinions in the court. This fingering weight pullover comes with several versions to mix and match, including different sleeve and body lengths. I was thinking of persistent women as I knit all three samples. Wear yours with feminist defiance.
There’s also a worsted weight cardigan and a hat version of this design available.
You Might Also Like

6 Steps to Choosing the Right Yarn

AlterKnit Stitch Dictionary

Mill Hill Toque Update