How do you make a knitting pattern?
Knitting Pattern Design
I’ve been writing a blog series about my business lately, so if you want to find out about the history of my company and my company values, you can read my earlier posts, Hello, it’s me and Let’s Talk About Business. This time I want to get into some of the details about how I make actual knitting patterns.
These days almost all of my patterns are for independent publication. That means that I’m responsible for the entire process and that I sell the patterns myself as PDF files on my website and on Ravelry. There are lots of other options for making and selling knitting patterns, including magazine publications, yarn company collaborations, selling print patterns to yarn shops, designing as part of online or IRL classes, and book publication. I’ve done all of those things too, but over my ten years as a full time designer, I’ve found that doing everything myself is significantly more profitable for me, so it generally makes the most sense. I do collaborate with Catherine at Gauge Dye Works for a few patterns every year, but that arrangement is very similar to my indie design model in that they earn revenue from the yarn and I earn revenue from the patterns, rather than one of us taking more responsibility and the other just getting a fee or something.
So here’s what goes into my indie design model.

A skein of pale pink yarn sits on a notebook with a pair of glasses, a black pen, and the typical cactus in a tiny ceramic cup, all in front of a white and silver keyboard.
Design Process
Concept
I know a lot of creative types are asked where they get their ideas and I struggle to answer this question. Whatever I’m thinking about in my life, I tend to relate it to knitting. Like hey, I’m excited about being in the forest! Could I make a pattern out of that excitement? It’s kind of all over the place. So instead of trying to sum up how my creative sparks happen, I’ll give two specific examples.

Kiya's feet standing on a bench in teal and grey floral socks.
Example 1: Climbing Flowers Socks
For about the past year I’ve been a bit fixated on florals. I think that’s partly because I’ve spent so much time poring over the artwork for my tattoo and partly because photographing flowers is something I just adore. All that gazing at pictures of flowers I’ve taken during previous wildflower seasons and so much redesigning my illustration had me in a mood and I wanted to put them on everything, particularly in a sort of unruly, all-over, wildflower meadow sort of a way. I thought socks would be a lovely palette for that, so I started sketching different kinds of flowers, trying to figure out just the perfect chart. I finally realized I already had the motif I wanted in my book AlterKnit, so I did a little arithmetic and tried that chart out on an actual sock. Ta da! There’s how my idea came about.
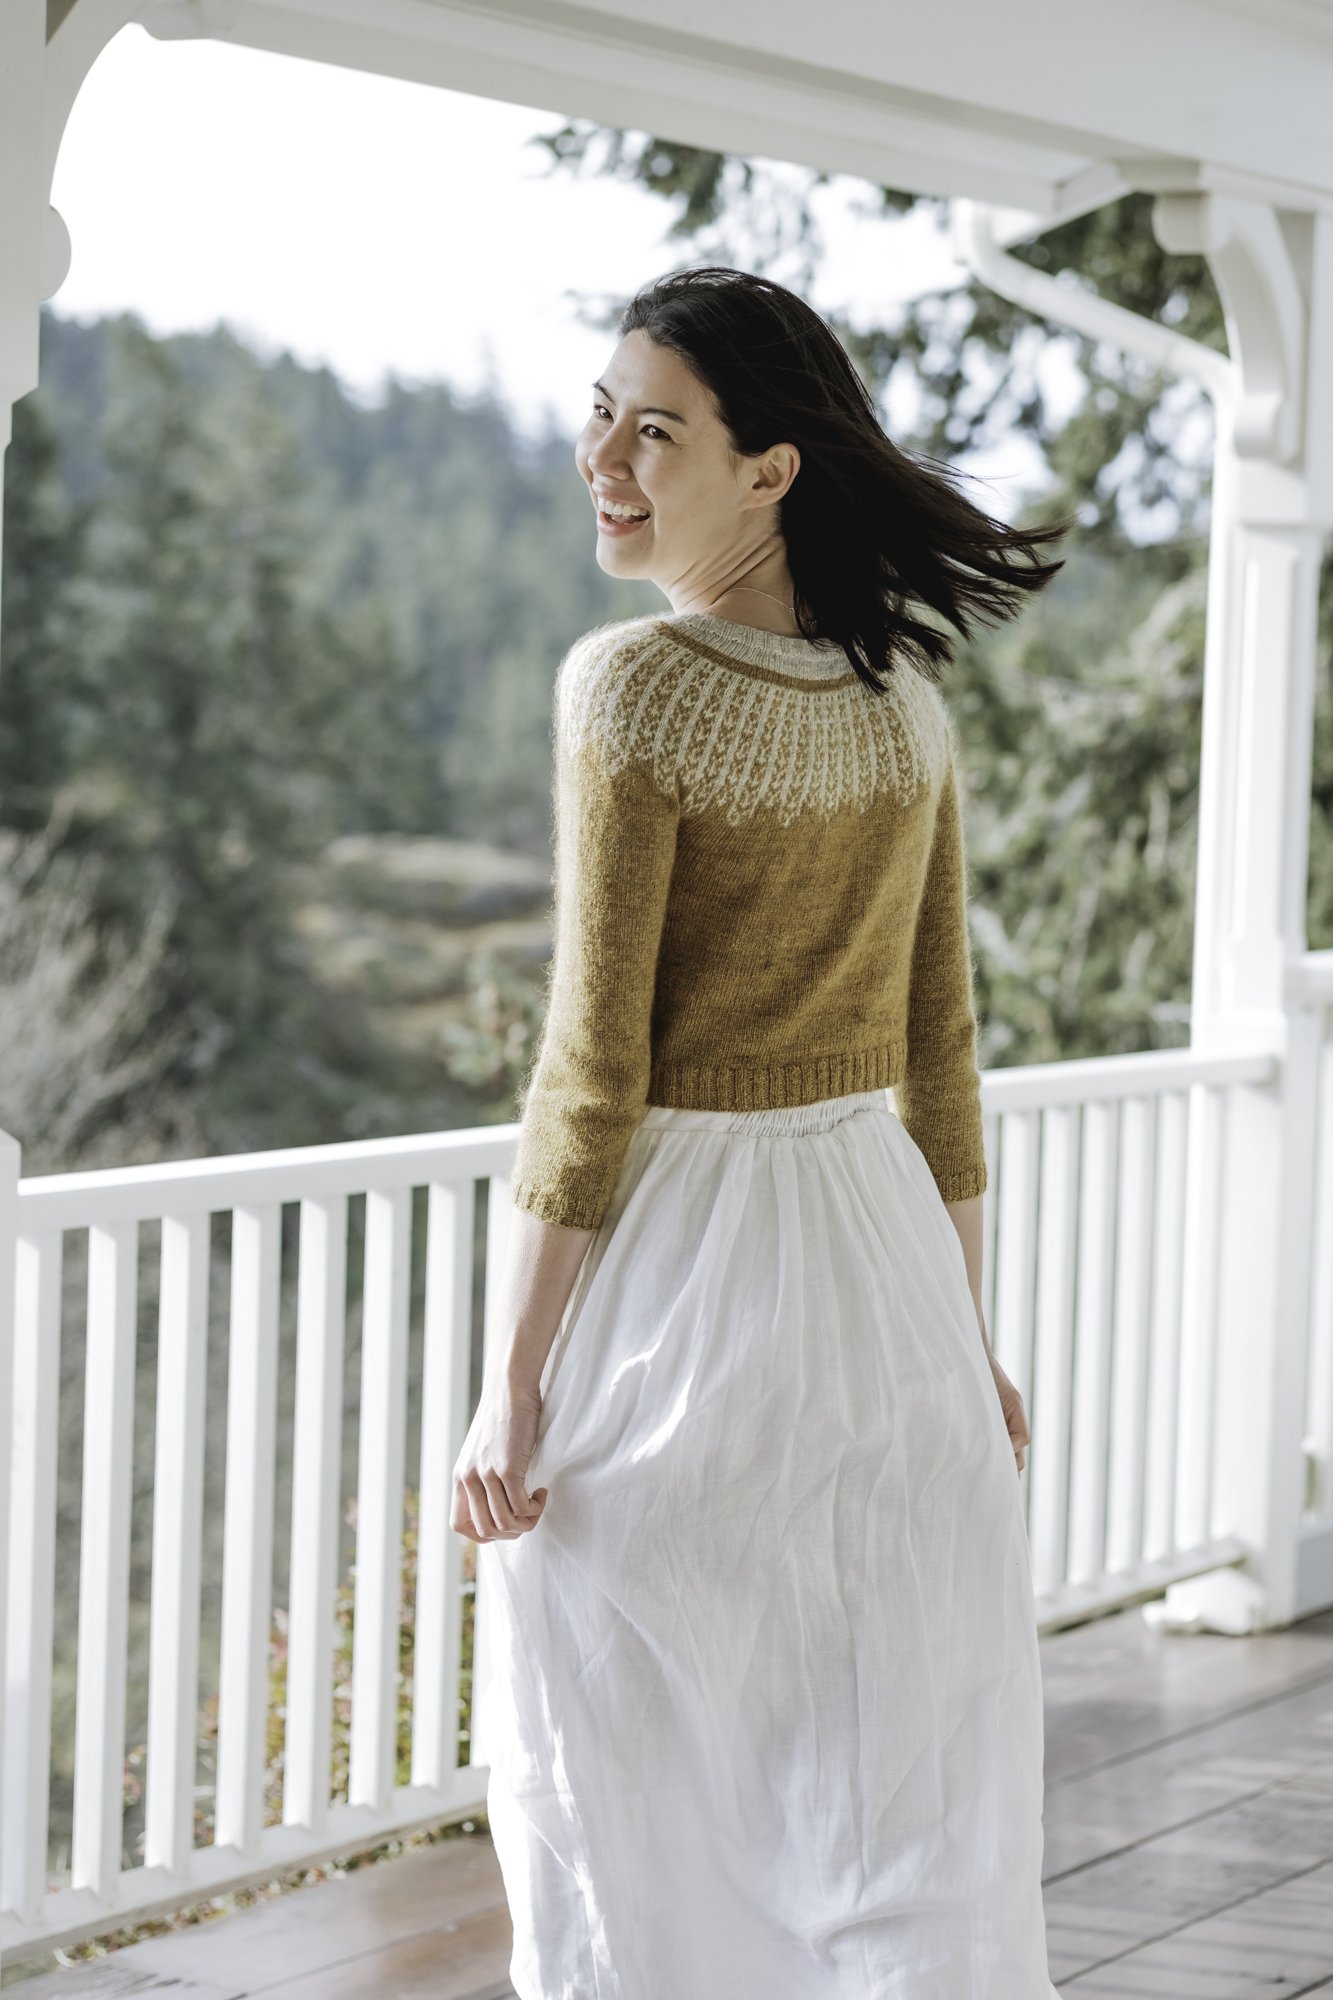
Deanna is twirling in a white dress and an ochre sweater with grey patterning around the yoke.
Example 2: Dissent patterns
I admired the late US Supreme Court Justice, Ruth Bader Ginsburg. Her grit and smart reasoning around feminism and law fascinated me and I felt uplifted and inspired to see someone like her in a position of power. And one thing that particularly inspired me was her use of adornments with her judicial robes. This felt like an embrace of her individuality and fierce femininity that I could really relate to. Plus, as a person who loves clothes and textiles, those collars were just calling out to be interpreted in my chosen medium, knitwear. I was actually surprised it hadn’t already been done a million times. (Other designers have definitely done it though. I particularly love Park Williams’ more literal Knitorious RGB.) So the idea was to create a round yoke pullover with colourwork inspired by the collar the Justice wore to read dissenting opinions. I kept fussing around with the chart until I got one I liked, and now I’ve created a whole series based around that concept.
Those two examples of idea generation are definitely not the same, but they’re kind of how I take my life and what I’m focused on, and put it into knitting. Once the idea is solid, I move on to actually developing the pattern.
Design Development
Swatching
In order to move from concept to reality, I first make a swatch or a bunch of swatches. Sometimes my swatch is a whole sample, like with the Climbing Flowers Socks. I knew the gauge I like on socks and the needles I like to use, and I had picked a yarn I was familiar with, so I cast on and knit a whole sock. That prototype told me that I needed shaping and a gauge change around the foot, but that the concept was solid.
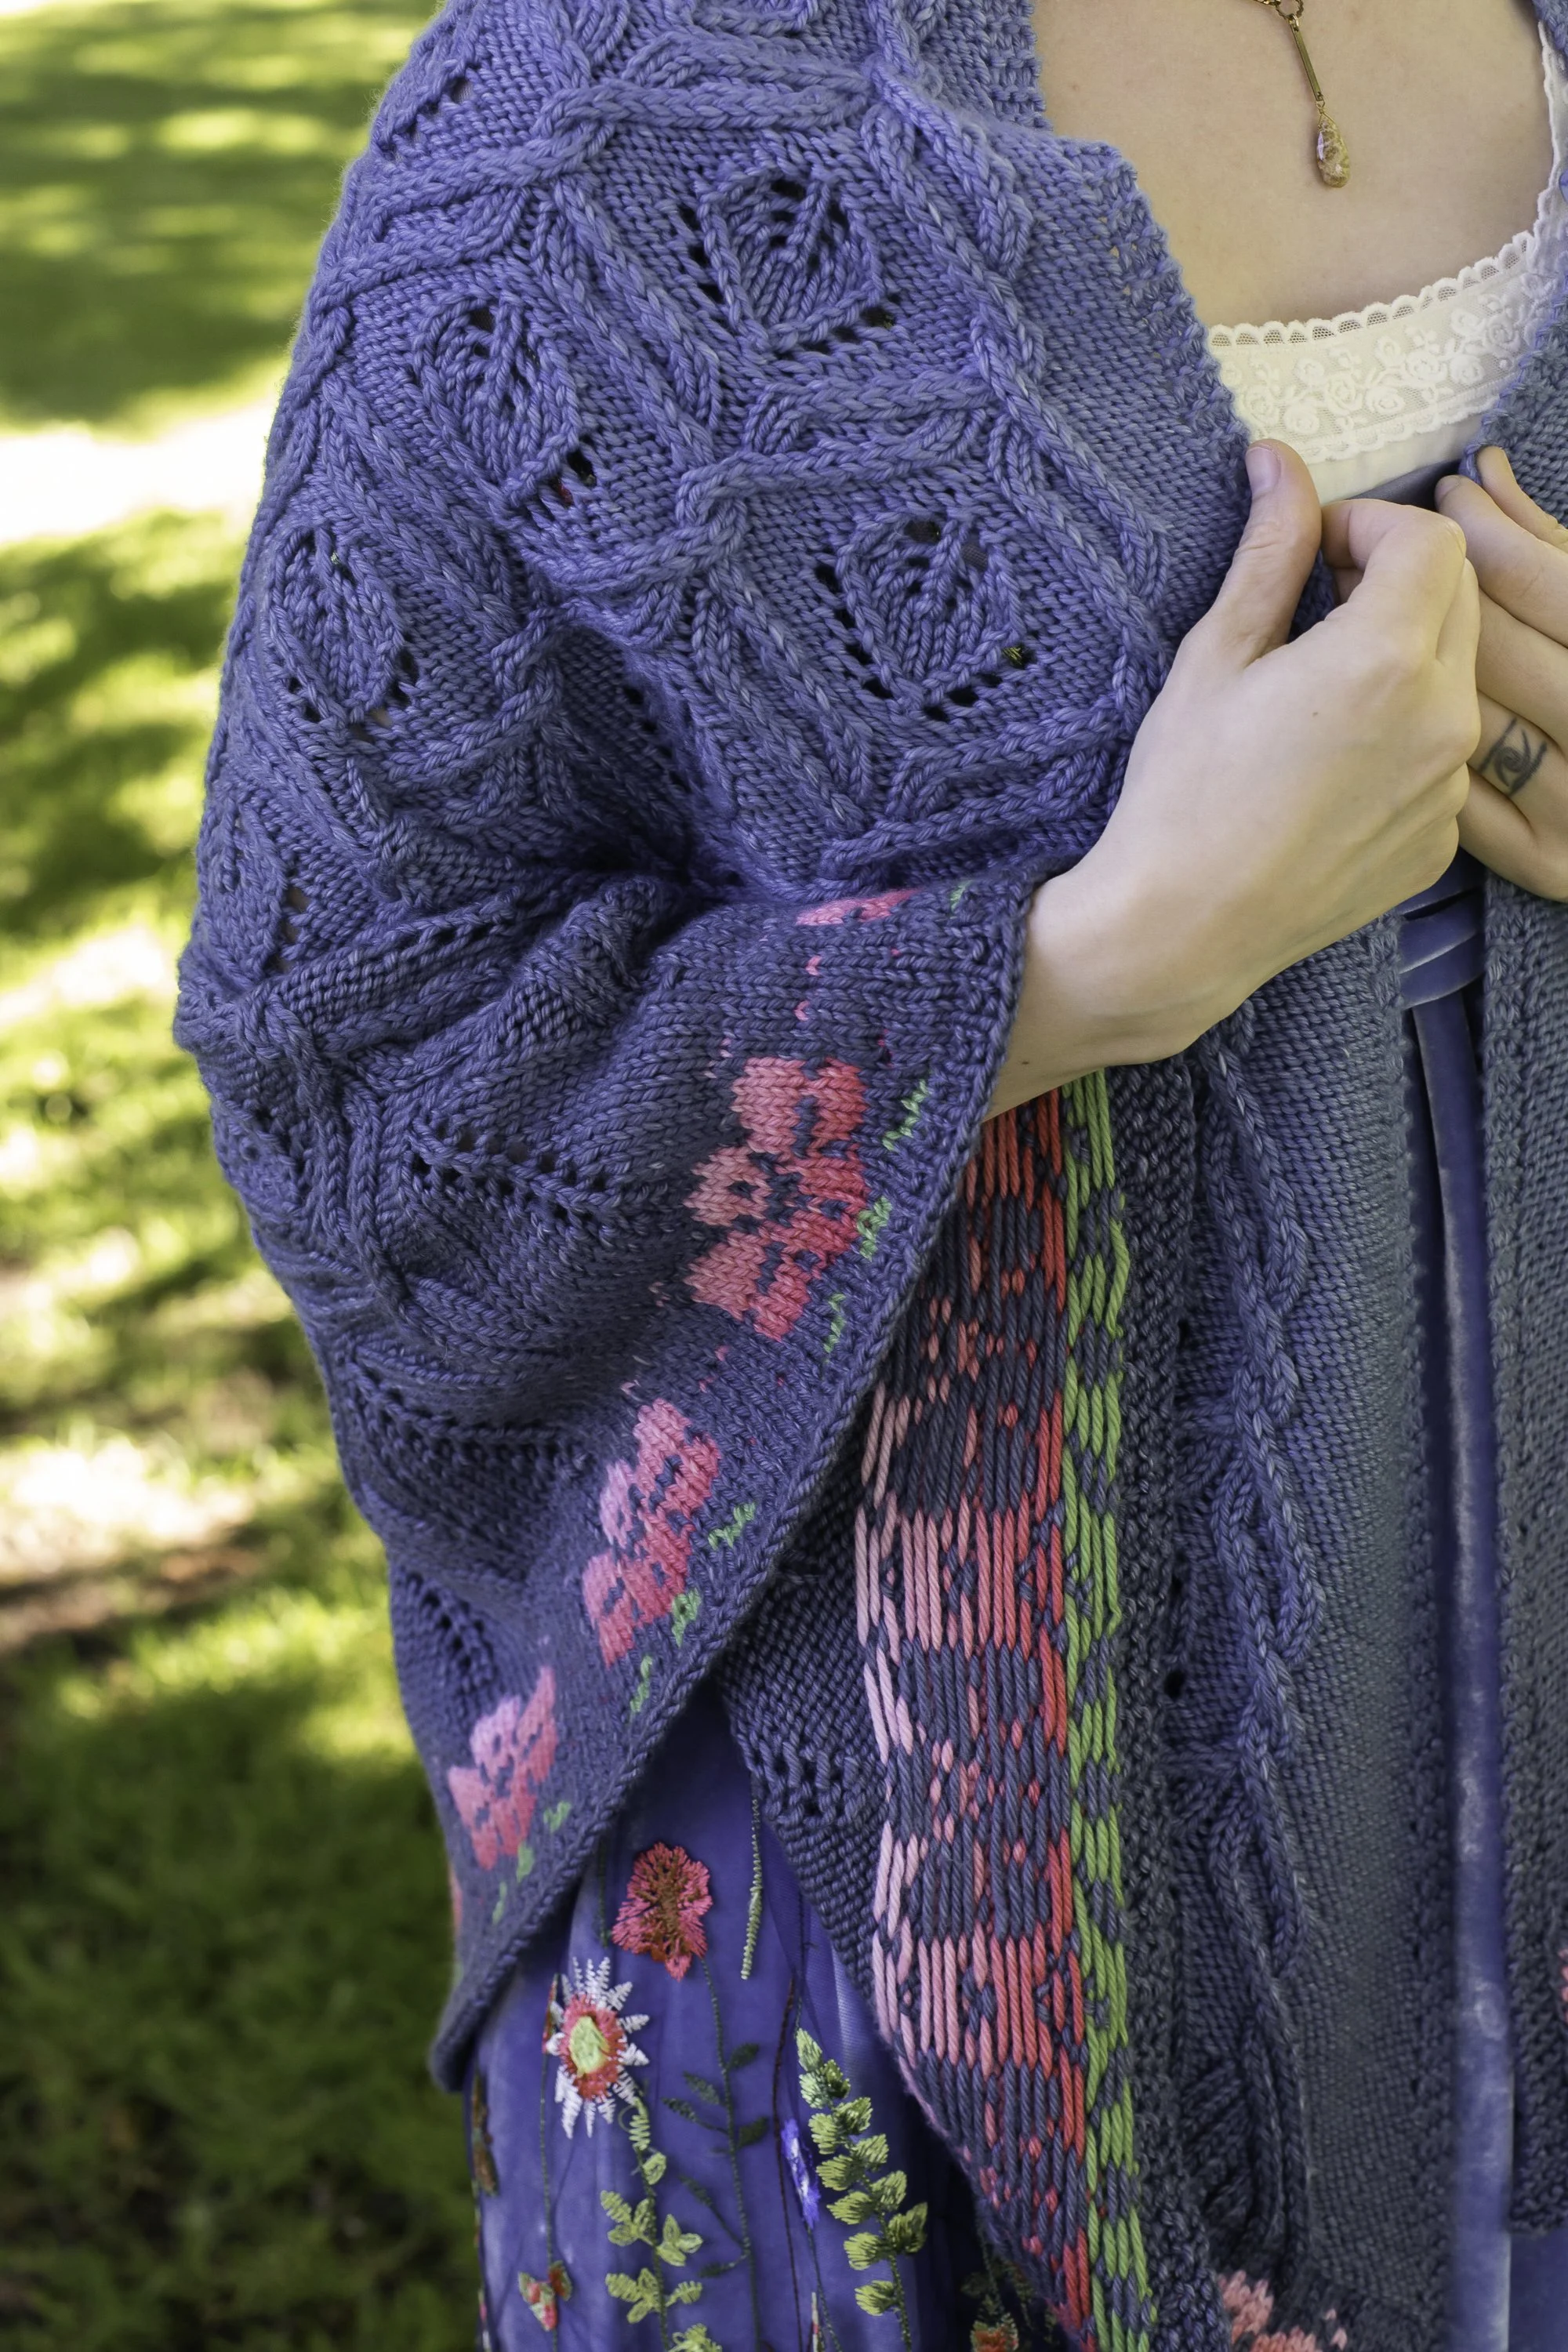
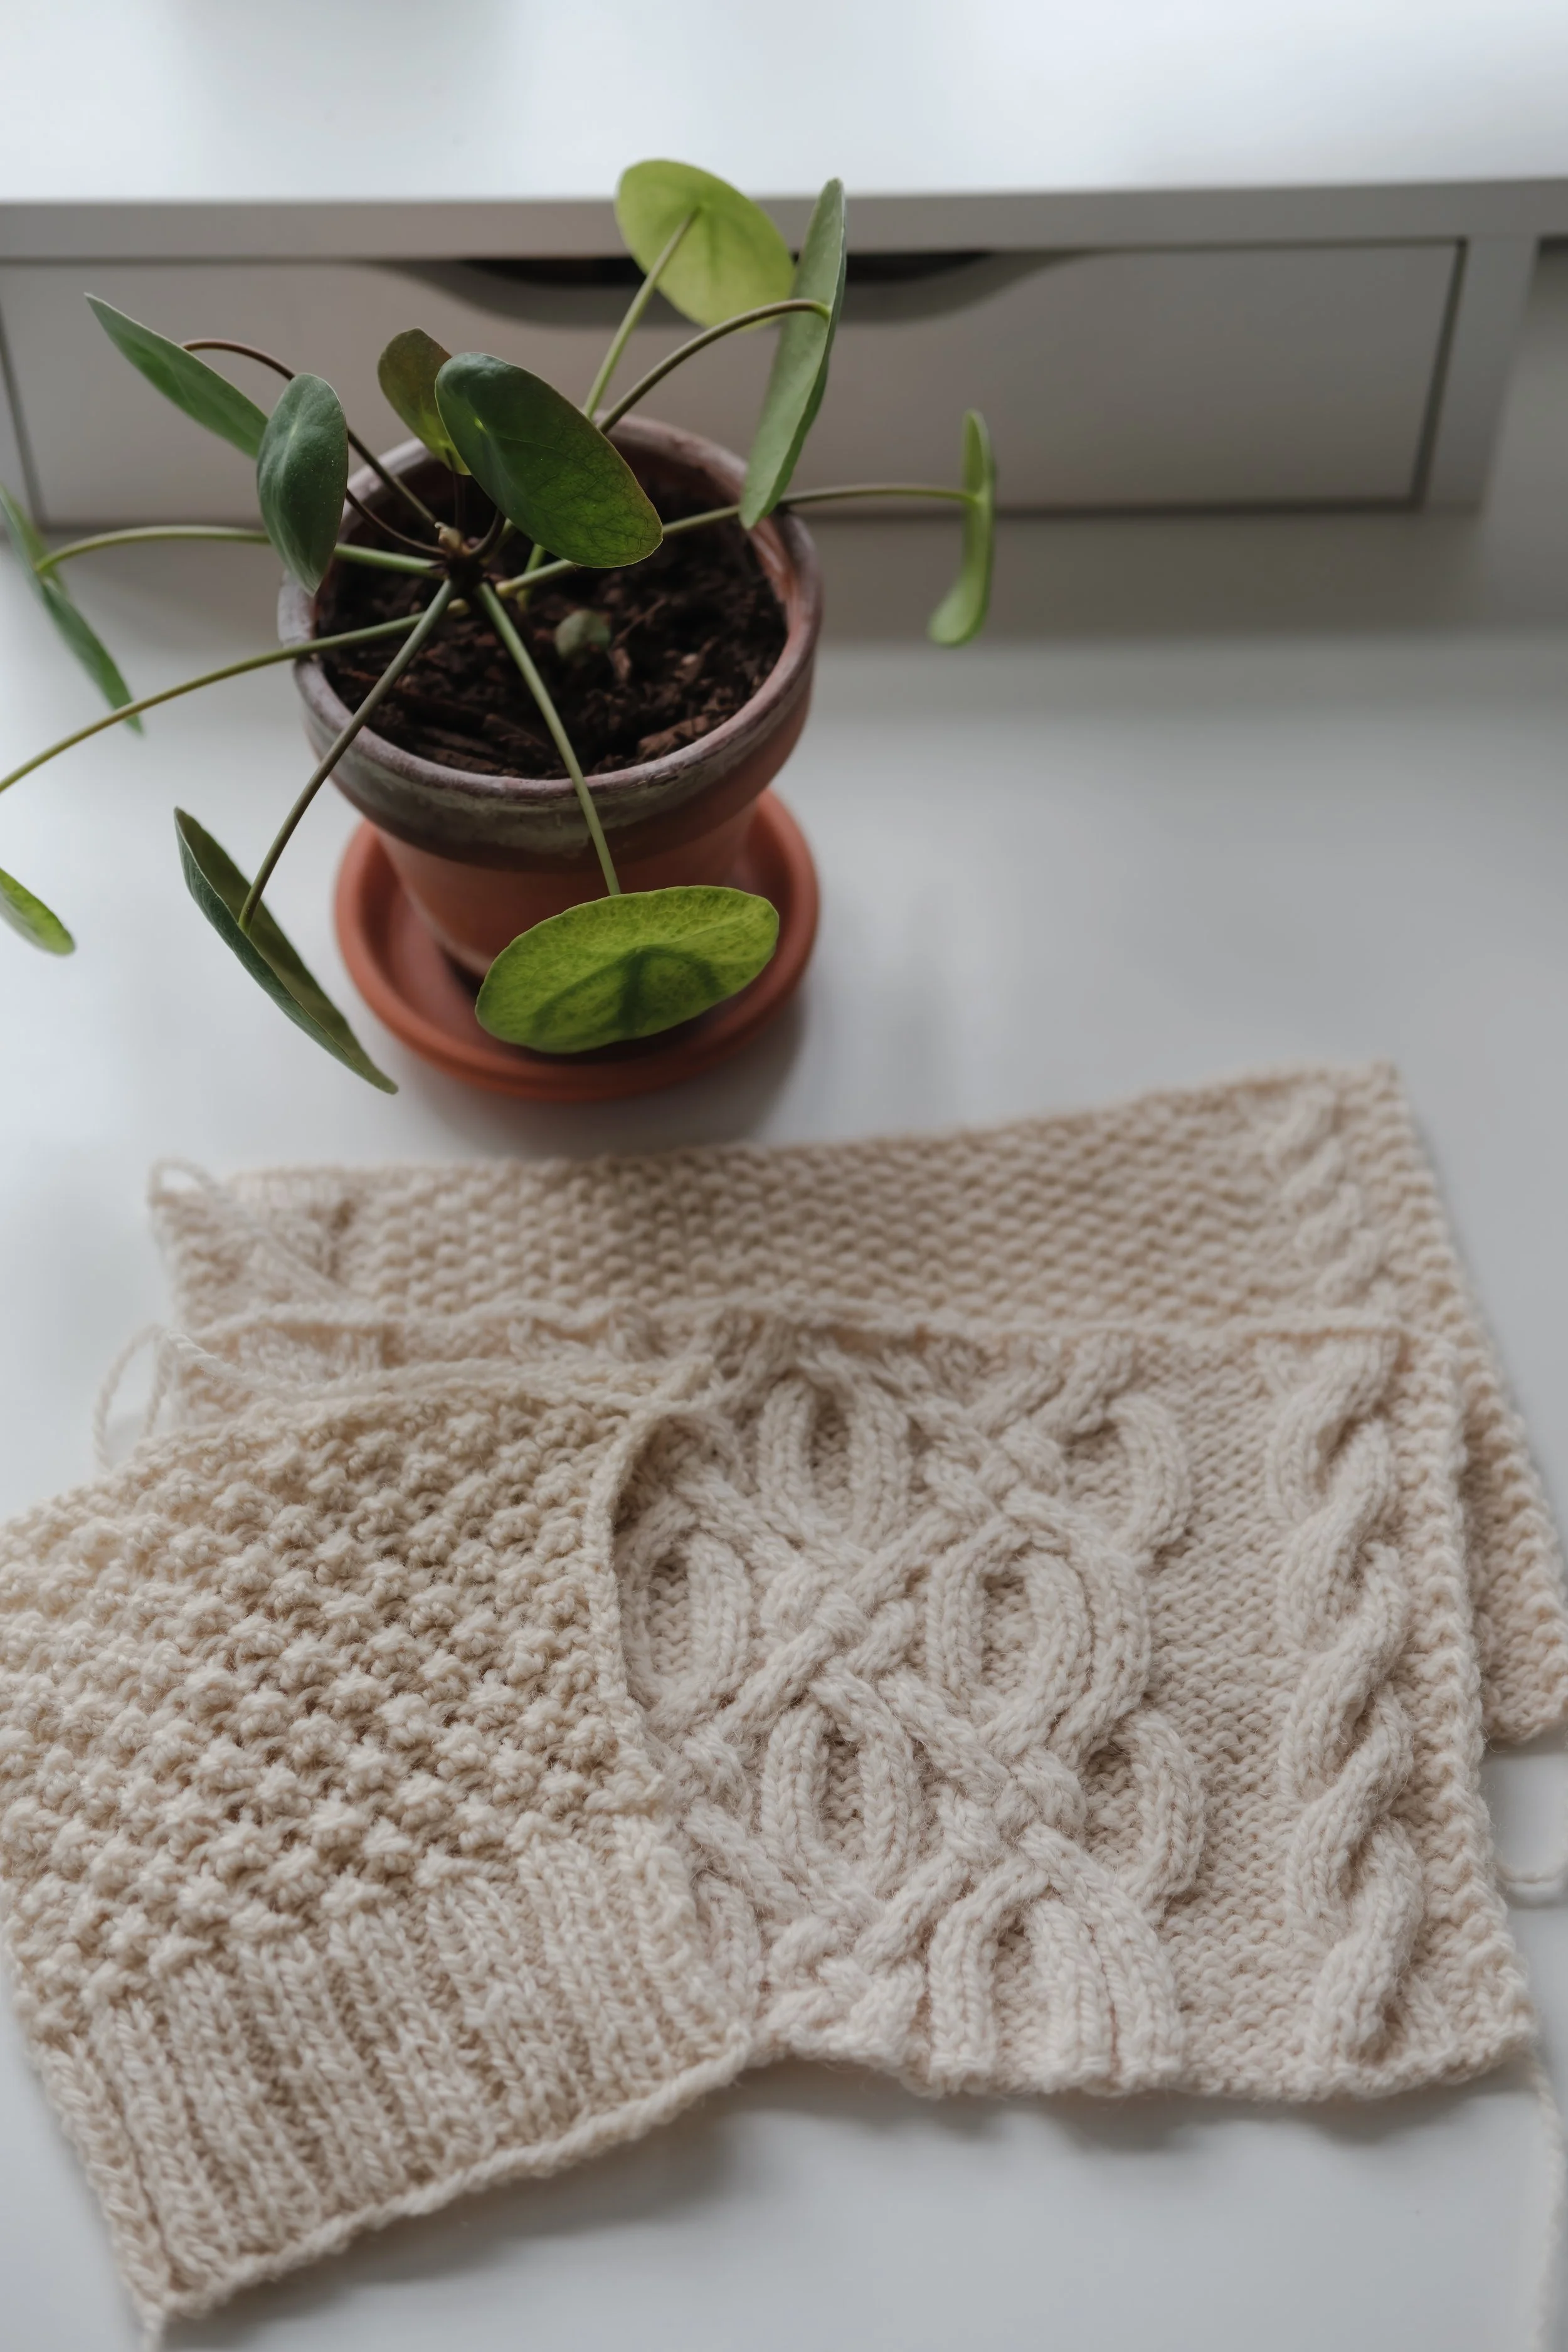
More often, I do actually create regular swatches, about six inches square, in the yarn I’d like to use and with needles that seem right at the time. (And yes, all my swatches are wet blocked before I use them for design.) A swatch tells me if I like the fabric, and if I’m on the right track with the design. Below is one of my swatches for A Garden Wedding Shawl, which I was matching to that frilly gown for my sister’s wedding.

A small knitted triangle is draped over a hanger with a velvet and tulle gown. The swatch has pink colourwork flowers, cables, and lace. It's what will eventually become A Garden Wedding Shawl.
Numbers
Once I have a swatch I’m happy with, it’s time for math! I use spreadsheets and a calculator to figure out numbers using the gauge from my swatch. This is almost always a lot more involved than you might think, particularly for sweaters. A design I’m working on right now has 8 tabs in one spreadsheet. They’re things like, “Sizing Standards,” “Scratch Paper,” “Sample Information,” “Sloper,” “Set Up,” and “Yarn Amounts Sample 1.” I use a lot of formulas that include things like concatenation and unit conversion. (The point of that last sentence was to say, it’s complicated.) Even on designs that are more straightforward and only include one size, there’s always math to figure out stitch patterns and how things will fit together. It all takes time. I learned how to do this from Marnie Maclean’s excellent tutorials, by taking classes like Faina Goberstein’s Craftsy course, reading lots of books like Shirley Paden’s Knitwear Design Workshop, and from very generous sharing of knowledge from other designers, particularly Ysolda Teague. I’ve also just practiced a lot.
Sample Knitting
Once the numbers are sorted out, it’s time to make a sample. I usually do this from my spreadsheet, rather than writing all the instructions out first. Most of the time the first sample reveals some sort of flaw in my original idea and/or math. So I revise and try again. I usually knit more than one sample per design and for sweaters, I’m committed to photographing new work on at least two different people, so that means two samples in different sizes. I love knitting, so this is a very fun part of my job. But again, it’s time-consuming.
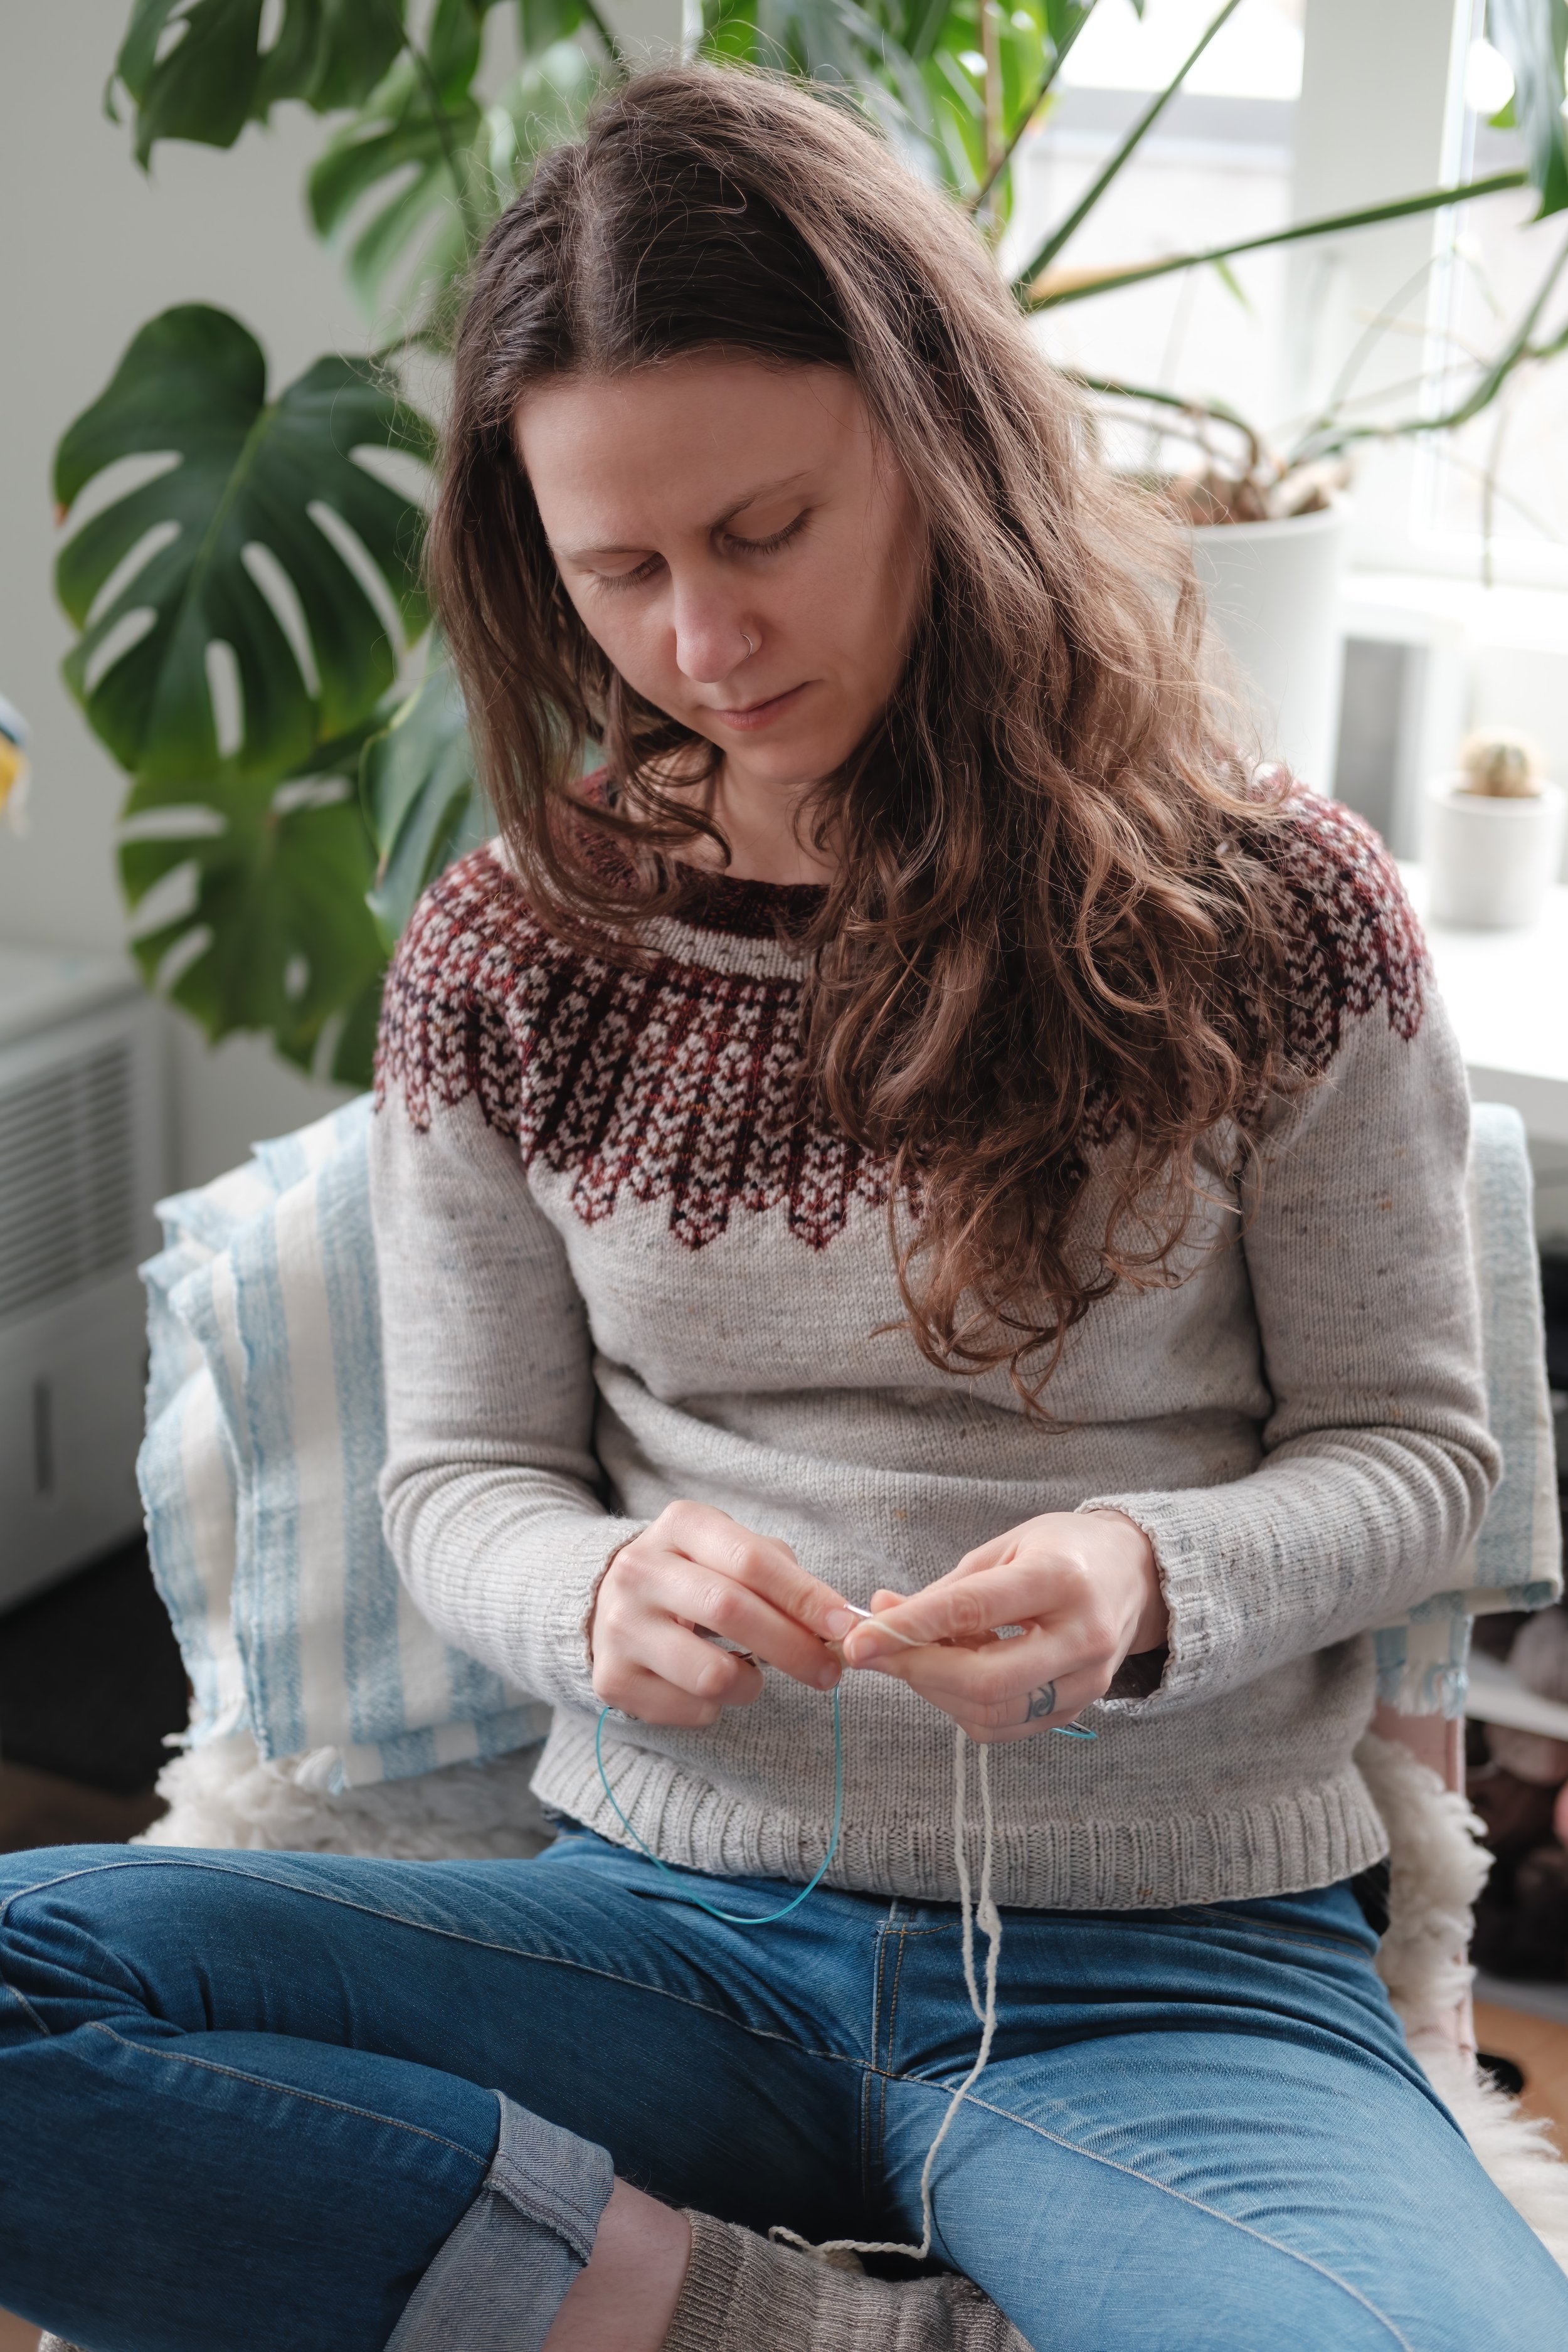
Andrea is sitting cross-legged on a chair knitting with white yarn. She's wearing a grey Dissent sweater with dark read patterning around the yoke.
Pattern Writing
Okay, sample is done! It’s gorgeous and I love it! The next step is to actually write the pattern. I use Adobe InDesign for pattern layout and while I have a template, every pattern has its quirks, so each one needs its own particular language. I use the info from my spreadsheet to populate my template. Since I’ve been doing this for awhile, I have a general style of how I say things, so it mostly goes smoothly. But there are times, especially when there’s a lot of shaping and a lot of sizes, when the wording can be very tricky, so I can re-write things a bunch of times before I’m satisfied. This is also the step where I add in information about choosing yarn, tutorials, and tips about fit.
If a pattern requires charts, I use Adobe Illustrator to create them. For colourwork, I like including both light-background and dark-background versions of the charts in my patterns so your chart will match your project, so that’s another extra thing to do.
Photography
I take snapshots of new designs so I have something for my pattern draft. These are usually just me in my condo using a tripod and a remote. (During the stay-inside days of the pandemic, this was 100% how all my photography was done, even the images that were put in final patterns. But now I’m excited to hire models again!)
In the past I’ve hired photographers for the real pattern photography, but I’m working on doing all of my own photography going forward. A few years ago I invested in pro camera equipment and I’ve been practicing ever since, so I’m looking forward to learning more and continuing to improve. So now I just hire models and spend a couple hours in some pretty place with them.
Then I spend many, many more hours editing the photos with Adobe Lightroom before I’m satisfied with them. Once those pictures are ready, I add them to the pattern layout, being careful to include beauty shots, different views, images of important details, and images of the whole project so you can see what it looks like stretched out.
Below I’m with brilliant model Kiya and Catherine and Mandy of Gauge Dye Works at the shoot for our Checklist of Birds Socks.
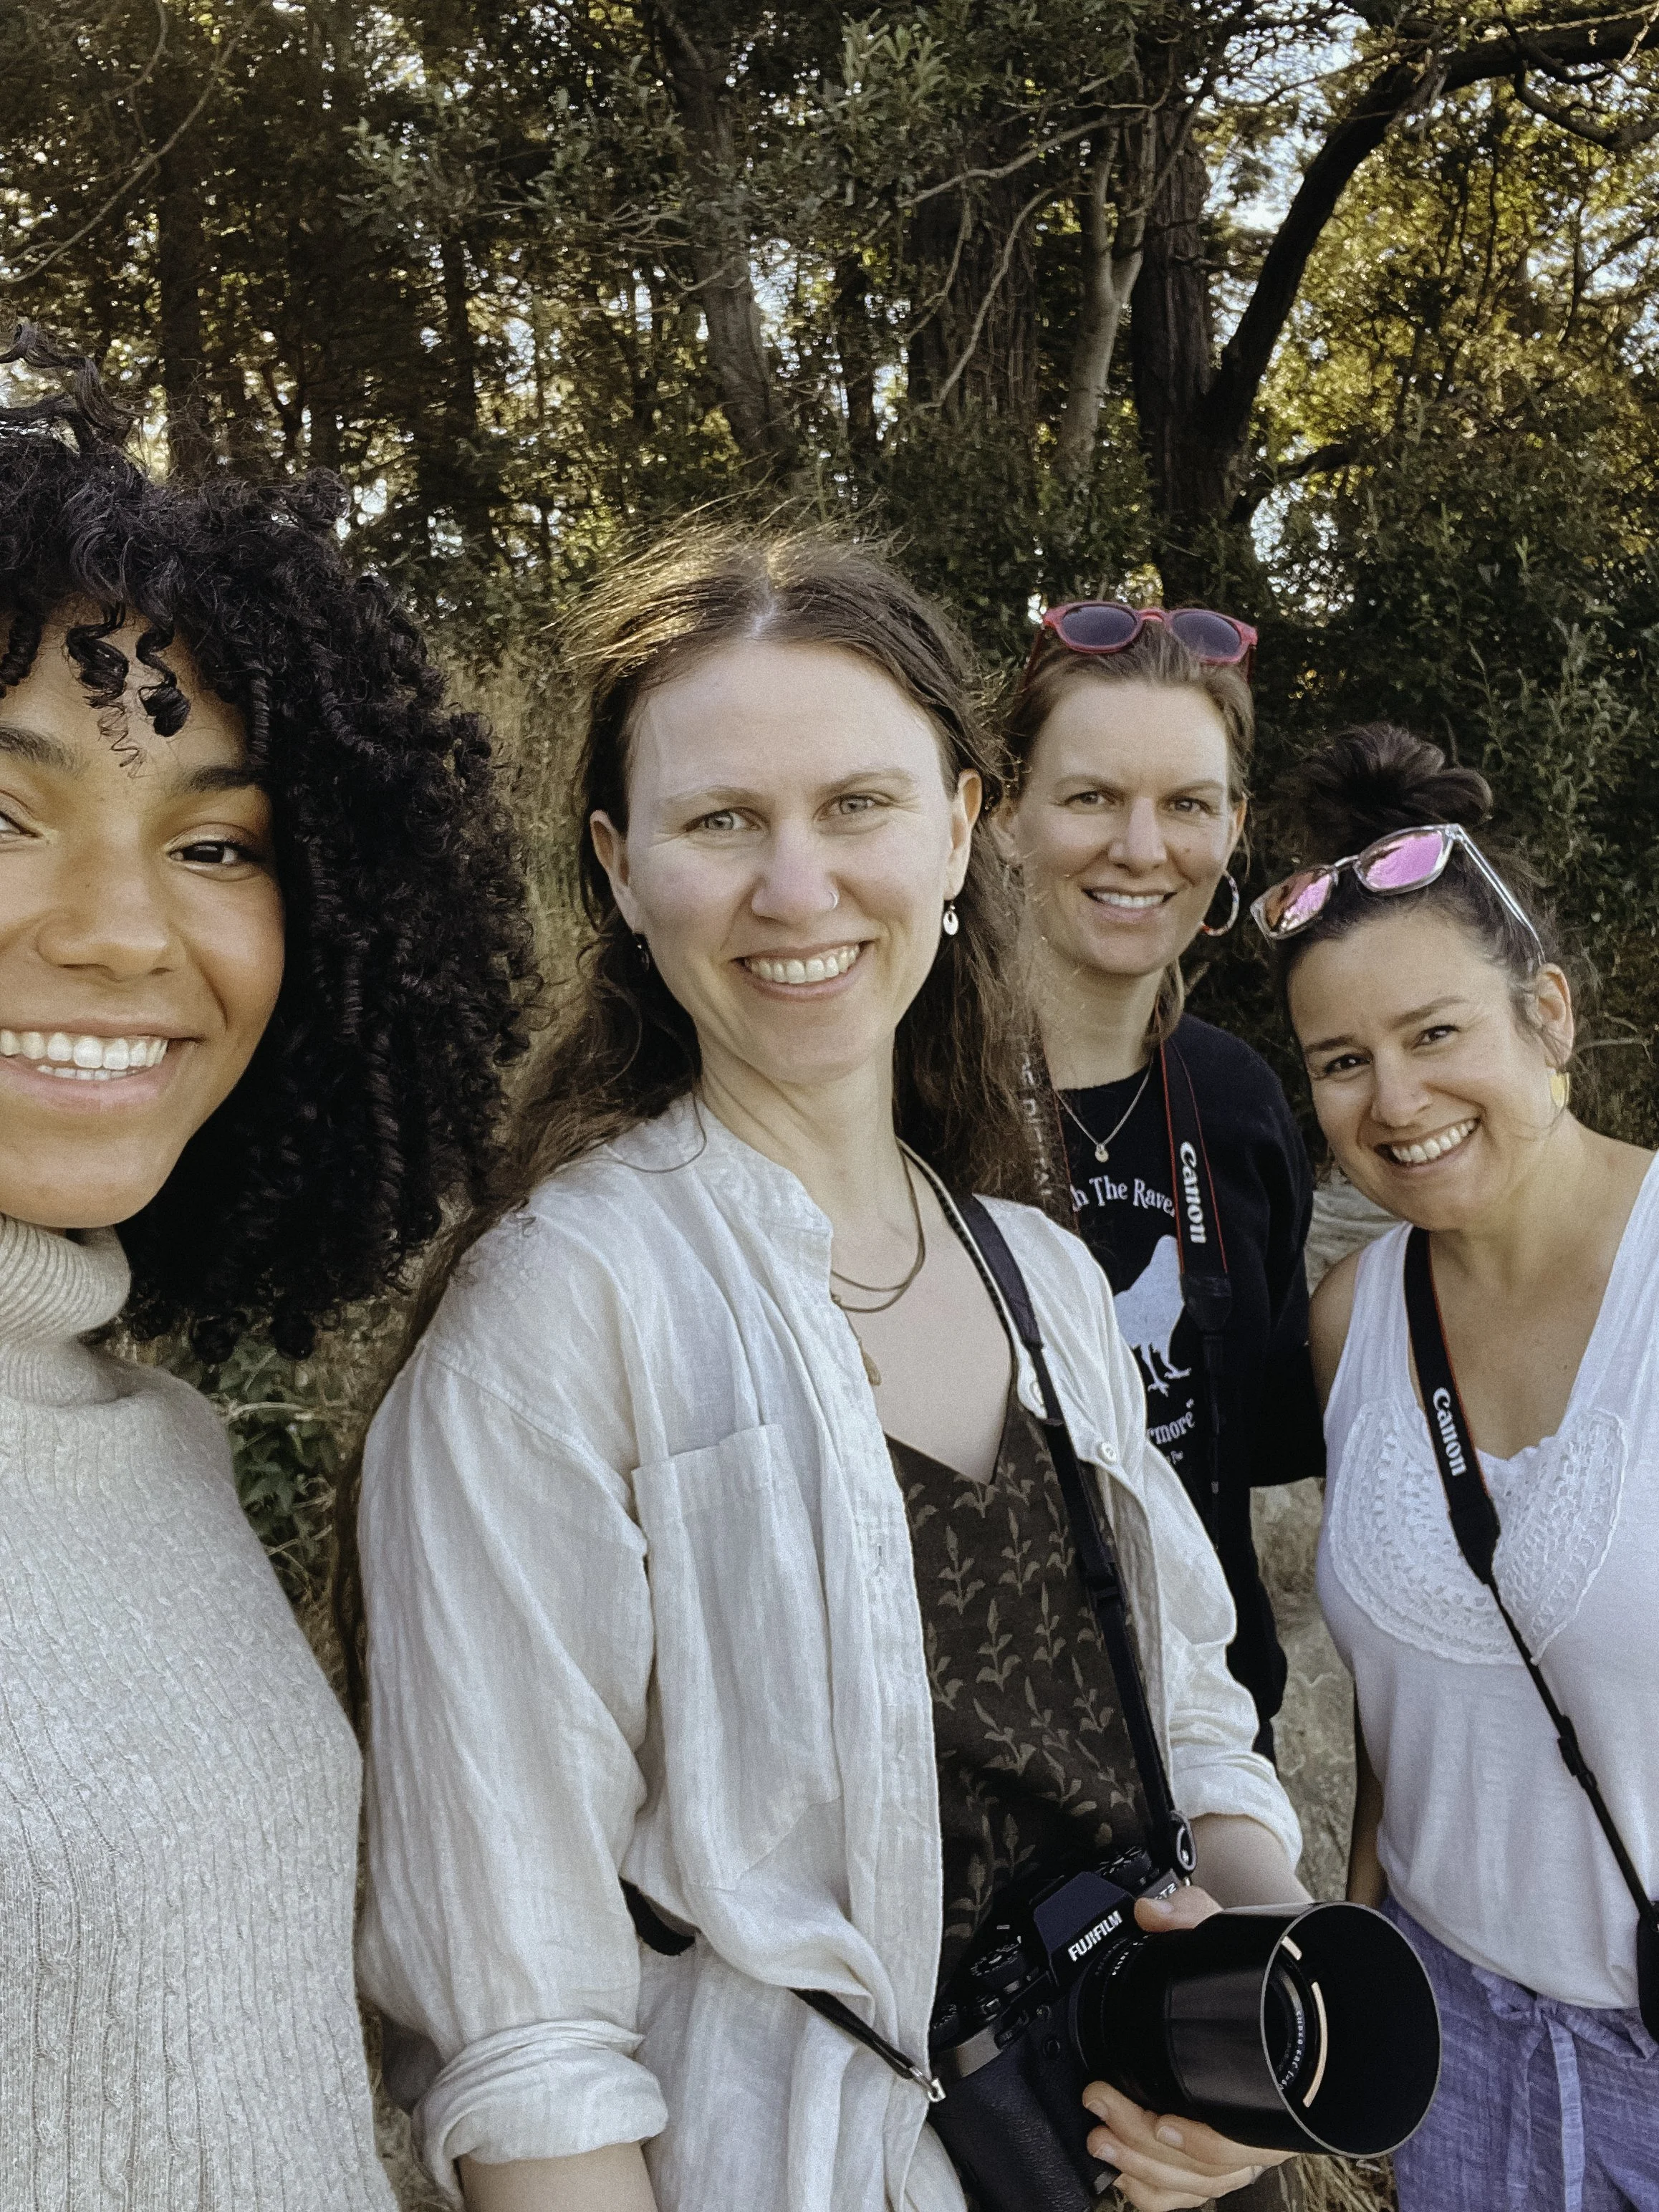
Kiya, Andrea, Catherine, and Mandy smiling in a group selfie.
Technical Editing
Once I have a draft of the pattern, usually just with some snapshot images, I send it off to my technical editor. Her job is to check every single number and all the wording and style to make sure the design works and that there are no errors. She always finds a number of issues, so this step is absolutely critical. I’ve gotten way better at pattern writing over the years, but I will never be infallible, so I appreciate the skills and careful work of my TE!
When she sends back her edits, I review them all and make changes to the pattern as needed, asking questions if my calculations differ from hers. Sometimes I disregard her advice if I like my way better, but most of the time she’s right.
Pattern Testing
This step is one that is done so many different ways by different designers and for many different reasons. I do it in order to get feedback on the layout and general experience of the project. Any issues with numbers or fit should have been sorted out by the tech editor already, but my testers do often catch typos and they always have helpful suggestions for making the pattern more enjoyable to use.
I want to give a shout-out to designer Julie Hoover, who, in a wonderful dinnertime conversation years ago, encouraged me to find a creative way to pay testers, given that one of my core values is fair pay for work. I do this by hiring a limited number of folks who use their own yarn and keep their finished projects, but are paid $25USD/hour for the time it takes to communicate with me, take photos, and optionally, share their projects to social media and/or Ravelry.
I know there are a lot of models for testing/preview knitting, but I feel like this method achieves my goal of getting feedback on the pattern from users. I know that getting more testers who are amazing at social media is helpful for knitters who want to see the design on lots of different kinds of people, but I haven’t found a way to make that work for me yet. For now, I feel good about this sort of middle way between not testing at all and having a ton of testers who don’t get paid.
Here’s my testing process:
I invite a group of people to apply to test via email. These folks have either tested for me before or have subscribed to my tester pool. (If you want to be on that list, you can subscribe here, though I don’t invite every single person on the list every time because that’s too many people.)
I select a small number of testers, usually three per design. I only accept three people because I pay them and I have a budget for that.
Testers work on the project and get weekly check-in emails until the deadline.
Testers answer a questionnaire about the project and send me photos of their finished work. They can add their projects and images to Ravelry or social media if they wish, but it isn’t required.
I request invoices and pay them.
I use their feedback to improve the pattern.
Final Publication Prep
After I’ve added the finished photographs and applied tester feedback, I send the pattern to my copy editor for a final check. Her job is to catch any lingering typos and make wording suggestions. This is a different person from my tech editor so that I get a fresh set of eyes on the pattern.
Marketing and Publication
Before I can launch the pattern, I create product listings on my website and Ravelry, though this actually happens during the testing period rather than afterwards.
Marketing is a vital part of the process — no one will buy the pattern if they don’t know it exists or what’s great about it! So I create a launch plan that includes blog posts, graphics for social media, and information for my newsletter. I find marketing to be a very creative activity and it’s fun to think about how to express my excitement about my work. This part often includes creating new tutorials to help knitters navigate the pattern more easily.
I also like to partner with yarn companies I’m excited about so that we can both benefit from the new design. This is a way of creating community and uplifting other folks in the industry. I’m working on ways to do this better, while encouraging knitters to use yarn that they like and that works for their budgets. It’s a WIP!
Launch!
I activate the pattern on my website and Ravelry and send announcements out into the world on my blog, in my newsletter, and on social media. I offer an introductory sale just to my newsletter subscribers (you can subscribe here if you’d like to get access to those sales) and talk about the pattern a whole bunch for a few weeks. A good portion of sales for any pattern come during this window, so it’s important for me to get the word out and build the momentum around it.
And that’s my process! Because there is no school for hand knitting pattern designers, my methods are constantly evolving and every designer does things differently. But I think this method works pretty well for me for now.
And one other thing I should note is that a lot of my design ideas get discarded or massively altered after the first few steps. I share the things that turn out well, but a lot of my ideas do not work out, so the process isn’t linear at all. And sometimes I’ll revisit an idea years later and decide I like it after all!
Got questions about knit design? Please ask in the comments below! If you learned something new or surprising, I’m curious what it was. Let me know that in the comments too!
If you’re very interested in design and want more of this kind of content, you might like my post, Some Designs Don’t Get Published about designing A Garden Wedding Shawl.
In the next post, I’ll share what makes my pattern special and why I’m proud of the work I do.
You Might Also Like
A Garden Wedding Shawl

Alterknit Stitch Dictionary
Let’s Talk About Business